

At 68°F (20°C), you'll likely feed your sourdough starter every 24 hours. At 75°F (24°C), you may need to feed it every 12 hours, while at 85°F (29°C), you might feed it every 8 hours or use a higher refresh ratio.
That's the part most sourdough schedules leave out. The jar on your counter doesn't know what day it is, and it doesn't care whether a recipe says “feed daily.” It responds to warmth, available food, hydration, and the balance between wild yeast and lactic acid bacteria. I've ruined enough loaves by trusting the clock to know that a working sourdough starter schedule is really a temperature map.
Table of Contents
- Why Your Sourdough Starter Schedule Fails
- Essential Feeding Schedules for Every Kitchen
- How to Revive a Dormant Starter
- Adjusting for Flour Type and Room Temperature
- Troubleshooting Common Starter Problems
Why Your Sourdough Starter Schedule Fails
A fixed calendar routine works only when your kitchen stays reasonably consistent. At 68°F (20°C), a dough fed with 10% starter may need about 10–14 hours to ferment. At 75°F (24°C), the same setup may take 6–8 hours, while at 85°F (29°C) it can shorten to roughly 3–4 hours, according to the temperature chart from Dough Lab. That difference is large enough to turn a morning feed into an over-fermented jar before lunch.
Your starter is a living culture containing wild yeasts and lactic acid bacteria. Feeding gives those microorganisms fresh flour and water, while discard controls how much mature, acidic culture remains in the jar. Leave too much carryover in a warm kitchen and the culture consumes its food quickly. Use a smaller carryover or a higher refresh ratio, and you give it more time before it peaks and collapses.

Three maintenance regimes
There are three useful ways to think about starter care:
- Countertop maintenance: Feed an active starter daily, or every 12 hours when you bake frequently and want it ready on demand.
- Refrigerated maintenance: Feed roughly weekly, allowing the cold to slow fermentation between bakes.
- Warm-weather maintenance: Shorten the interval to 8–12 hours or increase the feeding ratio when the kitchen runs hot.
The temperature sweet spot for a healthy starter is generally 75°F to 82°F (24°C to 28°C). Below 65°F, fermentation tends to become slower and the flavor can become more sharply acidic. Above 90°F, yeast performance can decline faster than bacterial activity, which can leave you with a sour, weak culture rather than a lively one. Dough Lab's temperature guidance explains why room conditions affect both timing and flavor balance.
Practical rule: If your starter peaks and sinks long before the next scheduled feeding, the schedule is wrong for your temperature. Change the ratio or interval before changing the flour.
Essential Feeding Schedules for Every Kitchen
Start with the smallest amount of culture that gives you enough starter for maintenance and the next bake. A typical ratio is written as starter:flour:water by weight. The ratio controls how much mature culture is diluted with fresh food, so it matters as much as the time on the clock.
The daily countertop routine
For a kitchen around 68°F to 75°F (20°C to 24°C), a 1:1:1 or 1:2:2 feeding can work well. Keep a small amount of ripe starter, then add equal or doubled weights of flour and water. At the cooler end, once daily may be enough. At the warmer end, watch for a starter that peaks early, because it may need feeding every 12 hours.
Feed when the starter has risen, shows bubbles through the sides, and is beginning to flatten at the top. If it has already collapsed, it has gone beyond peak and may need a larger refreshment rather than another identical feeding.
The refrigerator routine
Casual bakers can keep the starter in the refrigerator and feed it weekly. After feeding, leave it at room temperature long enough to begin fermenting, then return it to the fridge. Cold storage slows activity, but it doesn't instantly restore full baking strength.
Bring refrigerated starter out before a planned bake and give it room-temperature feedings until it rises predictably. Illinois Extension notes that a new starter can take 14 days to a month to establish, with daily feeding and twice-daily feeding beginning on day 4, as described in its Sourdough 101 guide.
The warm-kitchen routine
When the room is warm, use a larger refresh ratio such as 1:3:3 to 1:5:5. Those ratios provide more fresh flour and water relative to the mature culture, extending the time before the starter exhausts its food. In a cooler room, 1:1:1 to 1:2:2 may be more practical.
The D'BakerAid sourdough starter feeding ratio guide is useful when you want to convert these ratios into a repeatable weighing routine. Whatever ratio you choose, record the room temperature, feeding time, peak time, and whether the starter doubles. That log will become more reliable than a generic chart.
How to Revive a Dormant Starter
A refrigerated starter often looks dead when it is hungry. Gray liquid, a sharp smell, and a sunken surface usually mean the culture has run through its available food. Mold or unusual colored growth is a different matter. If you see that, don't try to rescue the jar.
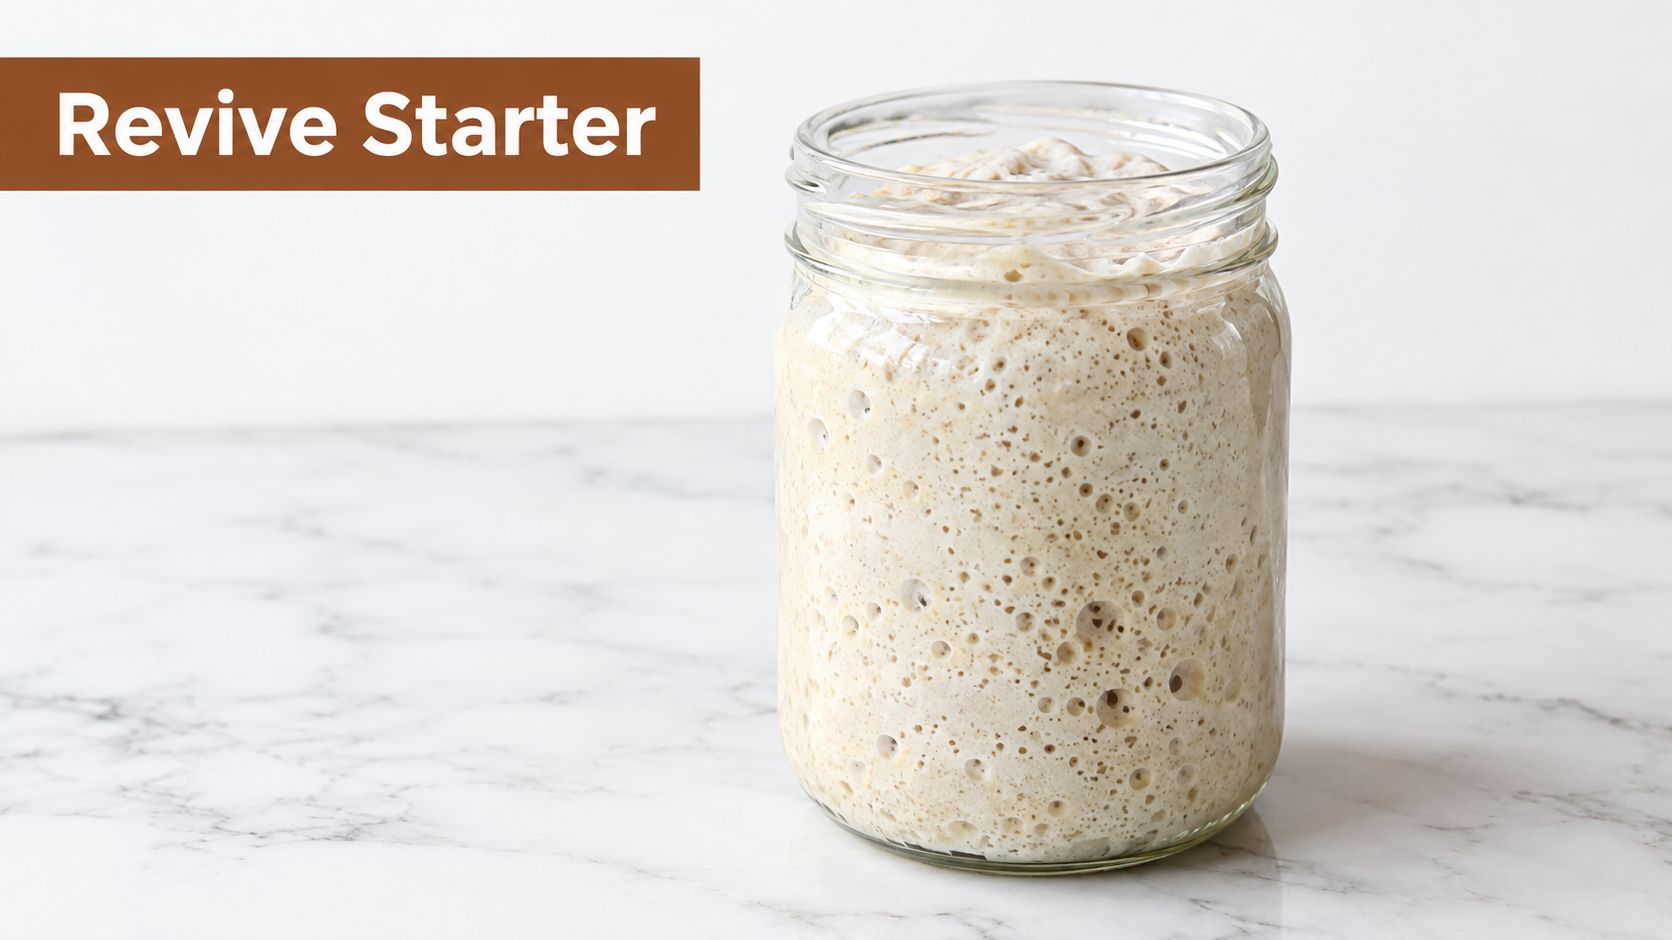
Take the starter from the refrigerator and let it lose its chill. Discard down to a small carryover, then feed it at a moderate ratio such as 1:2:2. Use the flour you normally maintain it with, mark the starting level on the jar, and keep it in a stable room-temperature spot.
Judge recovery by performance
Don't decide that a starter is ready because a certain number of hours have passed. Look for:
- A strong rise: A ready starter roughly doubles after feeding under suitable conditions.
- Visible aeration: Bubbles should appear throughout the mixture, not only on the surface.
- A rounded peak: The top often domes before it begins to flatten.
- A clean fermented aroma: Sour is normal. Harsh solvent-like or aggressively acidic aromas suggest the culture has gone too long between feeds.
A 2024 starter guide from The Sourdough Journey uses a practical readiness checkpoint. Around days 10–14, a starter may be ready when it roughly doubles in 4–7 hours after feeding at about 74°F (23°C). Cooler cultures rise more slowly, so the same clock shouldn't be applied blindly.
If the first feeding produces little movement, repeat the cycle rather than adding a large amount of starter directly to dough. A dormant culture may need several room-temperature feeds before its rise becomes consistent. The dead sourdough starter troubleshooting guide can help distinguish a recoverable, neglected starter from one that should be discarded.
Once the starter is rising predictably, time the final feeding so it reaches peak strength when you plan to mix. For a one-day bake, feed the night before, mix the dough in the morning, bulk ferment through the late morning or early afternoon, then shape, proof, and bake. For a two-day schedule, bulk ferment for 3–5 hours, refrigerate the dough for 1–3 days, then shape and proof for 2–4 hours before baking, following the workflow outlined by Baking Sense.
Adjusting for Flour Type and Room Temperature
Temperature tells you how quickly the culture works. Flour determines how much food and mineral material it has available, and how the mixture behaves as it ferments. Treating those variables separately is why many otherwise careful schedules drift.
Whole-grain flour often ferments vigorously because it brings more of the grain's outer layers into the mix. That can make a starter peak earlier than the same ratio fed with refined white flour. If your whole-grain starter is collapsing before the next planned feed, increase the refresh ratio or shorten the interval rather than assuming the culture is unhealthy.
Build a simple decision matrix
| Kitchen and flour condition | Useful adjustment | What to watch |
|---|---|---|
| Cool room with white flour | Use a smaller refresh ratio or allow more time | Slow rise and sharper acidity |
| Moderate room with mixed flour | Start with a daily routine | Predictable peak and gradual fall |
| Warm room with whole-grain flour | Use more fresh flour and feed sooner | Early peak and loose texture |
| Warm room with refined flour | Increase the ratio before shortening every interval | Fast expansion followed by collapse |
High-protein bread flour can produce a stiffer mixture, especially when you reduce hydration. A stiffer starter may hold a dome longer and show fewer obvious surface bubbles than a liquid starter, so use the jar's rise and texture together. If you switch from white flour to whole wheat or rye, expect the timing and aroma to change before you decide the schedule has failed.
A detailed bread flour guide for sourdough starter can help when you're choosing a consistent flour base. Consistency matters more than chasing a theoretically perfect blend. The best flour is the one you can obtain regularly and evaluate against the same temperature and ratio.
Let flavor guide the final adjustment
Temperature changes speed, but it also changes the balance of flavor. A cooler starter may develop a sharper acidity over a longer fermentation, while a warm starter can become aggressively sour if the refreshment is too small. If you want a milder profile, feed before the culture collapses and avoid leaving it hungry for long periods.
For a warm-room workflow, one guide keeps levain at 74–76°F (23–24°C) for 5–6 hours, then bulk ferments the dough for about 4 hours at the same temperature, with three stretch-and-fold sets spaced 30 minutes apart, as described in The Perfect Loaf's beginner sourdough recipe. The exact times won't transfer unchanged to every flour, but the method is sound: stabilize the temperature, then judge the dough's development rather than forcing it to match the clock.
Troubleshooting Common Starter Problems
The first time my starter formed a dark layer of liquid, I treated it like a crisis. It wasn't. The jar was warm, the feeding ratio was too small, and the culture had consumed its food before I returned to it. After a discard and a larger feed, the smell softened and the rise became more useful.
When the starter refuses to rise
Check the temperature first. A cold kitchen can make a healthy starter look inactive, especially when you've recently switched to a larger refresh ratio. Move it to a warmer, stable location, keep the flour and water consistent, and give it more time before changing several variables at once.
If it still barely moves, reduce the carryover and feed again. A large proportion of old starter can create an acidic environment and leave too little fresh food for the yeast. Mark the jar after feeding so you can distinguish slow fermentation from no fermentation.
When liquid collects on top
Hooch usually means the starter has gone hungry. Stirring it back in produces a more acidic culture, while pouring it off gives you a milder starting point. Either way, discard down to a manageable amount and increase the fresh flour and water, particularly if the kitchen is warm.
Don't respond to hooch by feeding more often forever. First ask why the culture is finishing early. A 1:3:3 or 1:5:5 refresh can extend the cycle in warmth, while a cooler kitchen may need a smaller ratio or a longer interval.
When the smell turns harsh
A strong sour or solvent-like aroma often appears after over-fermentation. The culture may still recover, but repeated small feeds can preserve the problem by leaving too much acidic carryover. Use a larger refreshment, keep the jar at a moderate temperature, and wait for a clean rise before baking.
A starter is ready when it performs consistently, not when it merely bubbles once. If you're planning a bake, use the King Arthur Baking schedule guide as a timing reference, then adapt it to your jar's actual peak. The most dependable schedule is the one that matches your kitchen, flour, and baking habits.
DBakerAid™ offers controlled fermentation and proofing through a temperature and time hub, with a sourdough workflow designed to reduce the swings that make starter timing difficult. Visit DBakerAid™ to see how the system can support a more repeatable sourdough routine at home.