

It's a weeknight, you want a proper sandwich, and the bread basket is empty. A single homemade white loaf is a practical fix, but it's also a useful bake to learn: weigh the ingredients, watch the dough, and you can make a soft, sliceable loaf without guessing at cup measures.
This recipe for 1 loaf of white bread uses a 500 g flour base and clear visual cues from mixing through cooling. You'll get a standard pan loaf with a tender crumb and dependable slices, whether you're baking by hand or using a temperature-controlled proofing setup.
Table of Contents
- Why One White Loaf Became the Home Standard
- Exact Ingredients for a Single Pan Loaf
- Mixing Kneading and Bulk Fermentation Done Right
- Shaping Panning and Final Proof for a High Crown
- Baking Temperature Time and Cooling for Clean Slices
- Troubleshooting Portions and Next Loaf Upgrades
Why One White Loaf Became the Home Standard
The familiar white sandwich loaf is built for everyday use: an even crumb, a rectangular shape, and slices that fit neatly into a sandwich. That practicality grew alongside a major change in how Americans got their bread. In 1890, about 90% of bread in the United States was baked at home; by 1930, factory production had largely displaced household baking, reversing the balance between homemade and purchased bread (Smithsonian Magazine's history of sliced bread).
Mechanical slicing helped turn a uniform loaf into a mass-market standard. The first commercial sale of mechanically sliced bread took place at the Chillicothe Baking Company in Missouri on July 7, 1928, using Otto Rohwedder's technology. The bakery reportedly saw a 2,000% increase in sales after introducing sliced bread, and by 1933 about 80% of bread sold in the United States was pre-sliced and wrapped, according to the same account.
That history explains why a one-loaf formula is more than a scaled-down bakery recipe. Flour, water, yeast, salt, and often a little sugar or fat are balanced to make dough that rises into a predictable shape, cools without losing its structure, and can be cut into even portions. A well-made loaf should feel soft, hold sandwich fillings, and slice cleanly once it has cooled.
For repeatability, pay attention to dough temperature and readiness, not just the clock. D'BakerAid's Stage 1 fermentation bowl and Stage 2 proofing bowl are designed to control those parts of the process, while its hub manages temperature and time. A steady environment can help when your kitchen runs cold or fluctuates, but you can make a reliable loaf with a scale, a covered bowl, and the visual cues below.
Exact Ingredients for a Single Pan Loaf
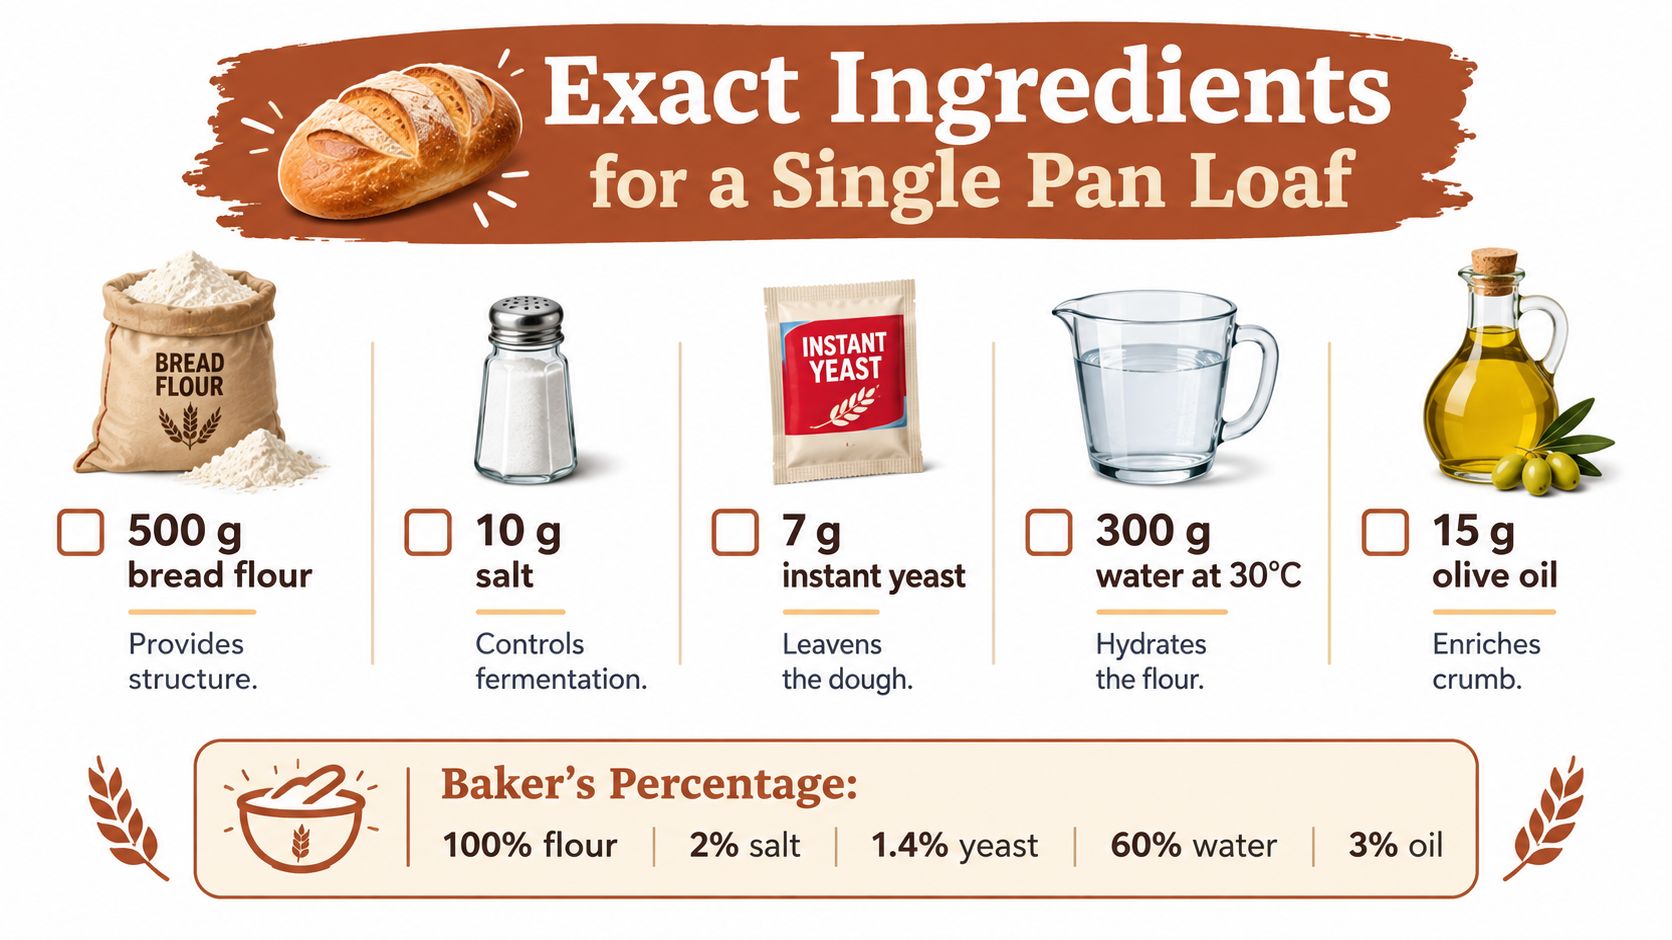
Weigh everything before you start. For a standard white sandwich loaf, the baker's-percentage framework uses flour as the 100% reference, then scales water, sweetener, fat, salt, and yeast against it. For 500 g flour, the established range is about 325–350 g water, 25–40 g sugar, 20–30 g butter or oil, 10 g salt, and 5–8 g instant yeast (King Arthur Baking's classic white sandwich bread formula).
One loaf white bread formula by weight
| Ingredient | Baker's % | Grams for 1 loaf |
|---|---|---|
| White bread flour | 100% | 500 g |
| Water | 65–70% | 325–350 g |
| Sugar | 5–8% | 25–40 g |
| Butter or oil | 4–6% | 20–30 g |
| Salt | 2% | 10 g |
| Instant yeast | 1–2% | 5–8 g |
For a balanced starting point, use 335 g water, 30 g sugar, 25 g butter or oil, 10 g salt, and 7 g instant yeast. Water hydrates the flour and brings the dough together. Sugar supports browning and adds sweetness, fat softens the crumb, salt seasons the loaf and moderates fermentation, and yeast leavens it.
Use a digital scale rather than scooping flour into a measuring cup. A small difference in flour weight changes how much water the dough needs, so volume measuring can make the same recipe feel dry one day and sticky the next. A 9-by-5-inch loaf pan is a useful home-kitchen choice; grease it lightly so the loaf releases without tearing. If you're choosing pans or other bakeware, Everti's baking ware selection guide can help you compare shapes and materials. For flour choices and their baking properties, see this guide to bread flour and how it behaves in dough.
Mixing Kneading and Bulk Fermentation Done Right
Put the flour, sugar, salt, and instant yeast in a mixing bowl. Add the water and softened butter or oil, then mix until there's no loose, dry flour left. The dough will look rough at first. That's expected; give it time to hydrate before judging the texture.
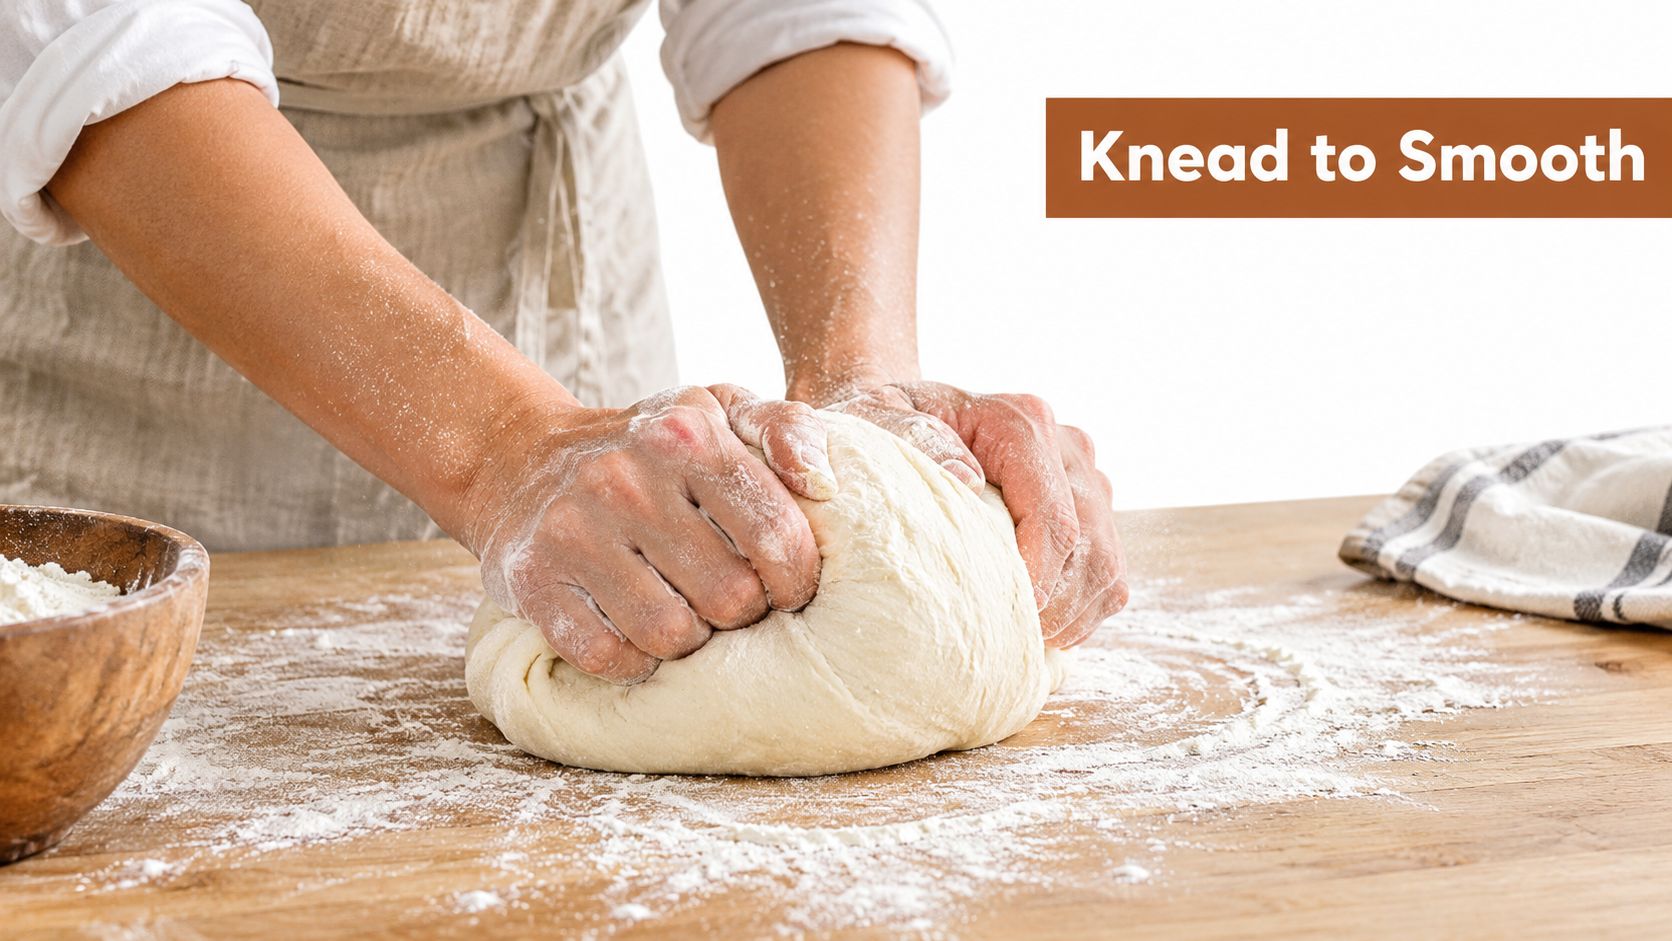
Knead until the dough feels smooth and elastic. By hand, press it forward with the heel of your palm, fold it back, and turn it as you work. You're looking for dough that stretches into a thin membrane before tearing, rather than breaking immediately into a ragged edge. If it's sticky, resist the urge to add a lot of extra flour; a lightly tacky dough usually bakes softer than a stiff one.
Dough cue: Smooth, elastic dough should stretch. If it tears at once, keep kneading before you move on.
Cover the bowl to prevent the surface from drying out. Aim for a final dough temperature around 24–27°C and let it ferment in a warm spot for about 60–90 minutes. The clock is a guide, not the decision-maker: the dough should look noticeably puffy and often close to doubled, though the amount of expansion can vary by formula and conditions. A proofing bowl with temperature control, such as D'BakerAid's Stage 1 fermentation bowl, can help maintain a steady environment.
Don't compensate for a cool room by piling in extra yeast or letting the dough ferment without checking it. If it becomes slack, fragile, or begins to lose its shape, it may have gone too far. The goal is a dough with enough gas to feel airy, but enough strength left to hold its form during shaping and baking.
Shaping Panning and Final Proof for a High Crown
After bulk fermentation, turn the dough onto a lightly floured counter and press out only the largest air pockets. You want an even loaf, not a deflated one. Pat it into a rough rectangle, then roll it into a snug cylinder, keeping tension across the surface and pinching the seam closed.
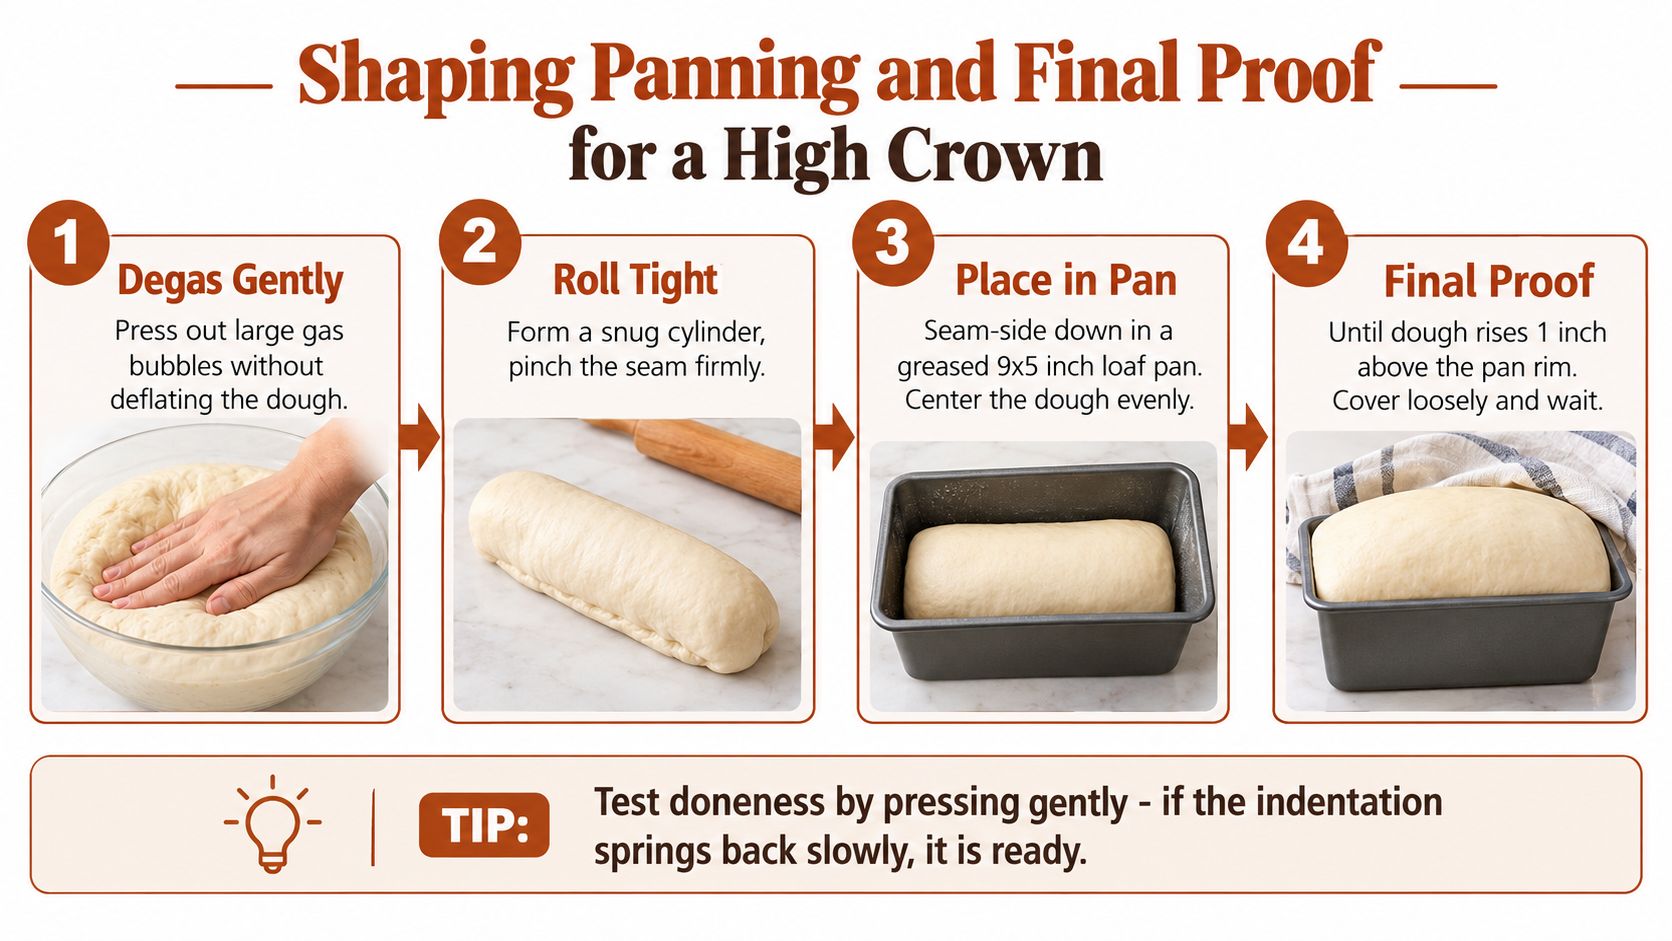
Set the cylinder seam-side down in the greased pan. Tuck the ends under if needed so the dough sits evenly from end to end. A tight, well-sealed roll helps create a uniform sandwich-bread crumb; a loose roll can leave gaps or tunnels inside the loaf.
Cover the pan loosely and proof for about 60–90 minutes. Look for the dough to become visibly puffy and crown about 2.5–4 cm above the rim. The rise may not follow the exact same schedule each time, so check the dough rather than relying on elapsed time alone. A controlled Stage 2 proofing bowl can make it easier to keep conditions steady.
Press the dough gently with a fingertip. If the indentation springs back immediately, it needs more time. If it returns slowly and leaves a slight mark, it's ready for the oven; if it stays sunken, it may be overproofed and could collapse during baking. For more on judging proof, use this guide to how long to proof bread dough.
Baking Temperature Time and Cooling for Clean Slices
Preheat the oven fully before the loaf is ready. Bake at about 190–200°C, and begin checking near 30 minutes. The crust should be evenly browned, but color alone can mislead: a well-browned outside doesn't guarantee that the center has finished baking.
Use an instant-read thermometer if you have one. A center temperature of about 88–96°C is a useful doneness range, with the higher end a helpful target for a fully set, non-gummy loaf. If the crust is browning faster than the center is baking, shield it loosely and continue until the middle reaches the target range.
Yeast responds strongly to temperature. Around 25°C is a favorable condition for many bread yeasts, and bread development commonly takes place across roughly 27–35°C; dough that gets too warm can ferment too quickly and develop weak gluten, sour or alcoholic aromas, or a tendency to collapse (research on yeast and dough temperature). That's why a moderate final dough temperature and covered proofing are more dependable than trying to speed the process with excessive warmth.
For a visual demonstration of a pan-loaf bake, watch the video below.
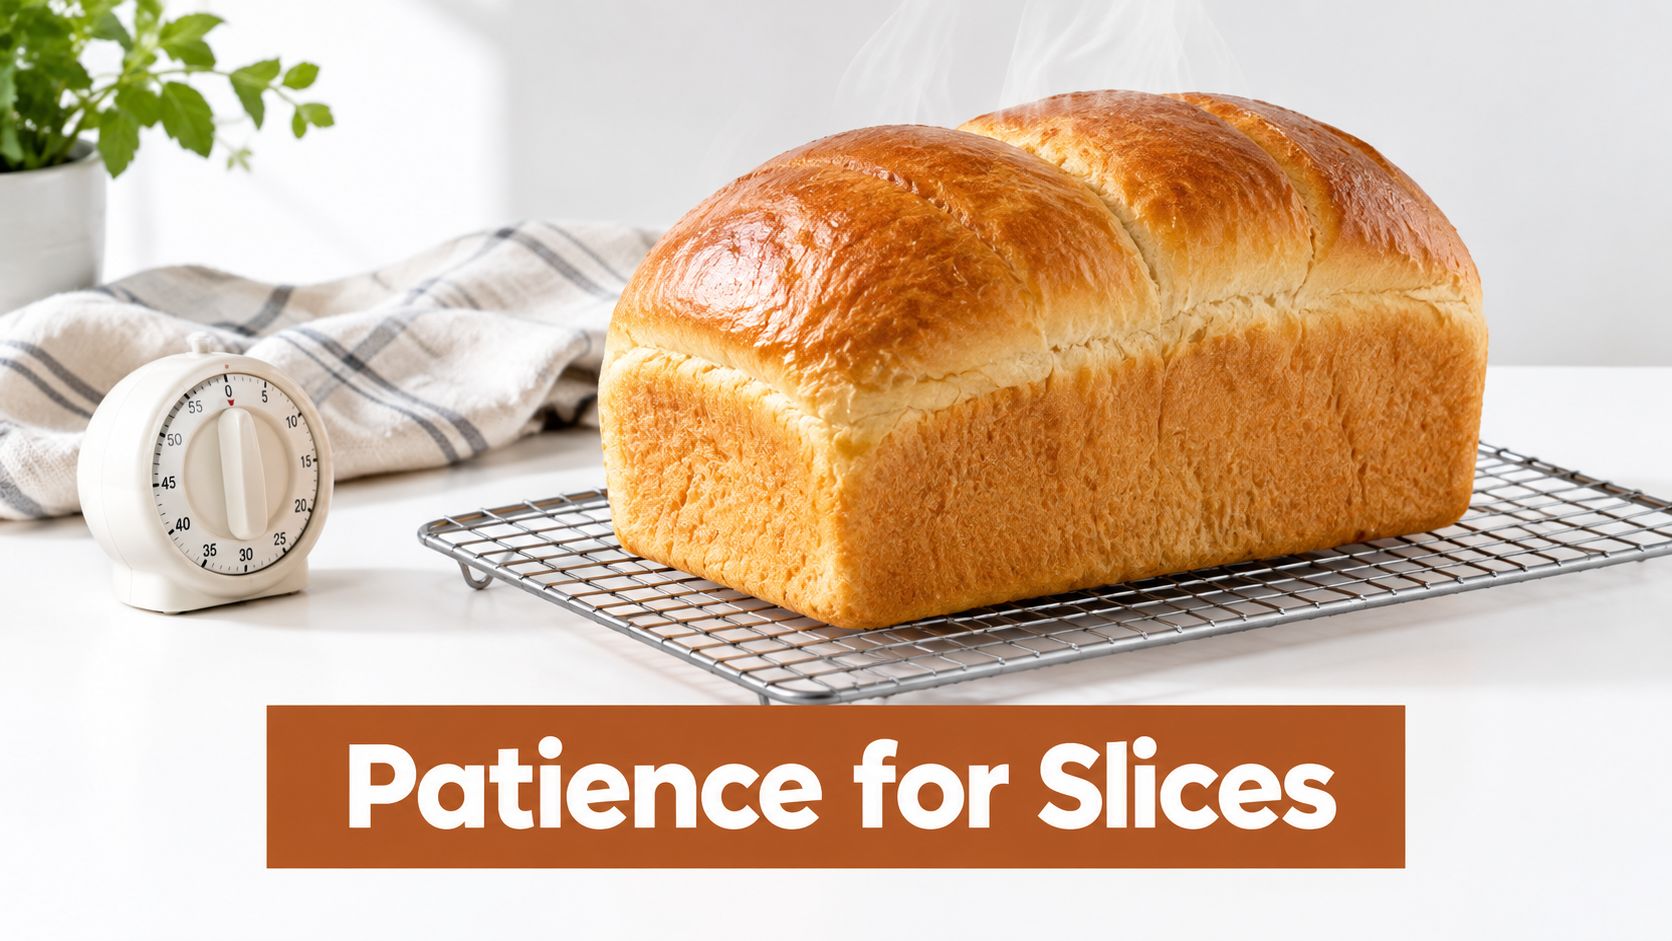
Once baked, remove the loaf from the pan and cool it completely on a rack before slicing. The hot crumb is still setting, and cutting early releases steam that should remain in the loaf as it cools. Waiting is the difference between clean slices and bread that compresses or feels gummy under the knife.
Troubleshooting Portions and Next Loaf Upgrades
A dense loaf usually points to a problem earlier in the process: flour may have been over-measured, the dough may not have been kneaded enough, or fermentation may have been cut short. A collapsed top often means the dough rose past its ability to hold structure. If the crust looks ready but the middle is gummy, check the center temperature next time and let the loaf cool fully before cutting. This guide to homemade bread troubleshooting covers common causes and adjustments.
Portion size affects the nutrition estimate. A thin slice of white bread at about 24 g is listed at approximately 60 calories, while a 30 g homemade or bakery slice is about 90 calories; a 35 g medium homemade slice is reported at roughly 93 calories, with about 17.2 g carbohydrate, 2.9 g protein, and 1.1 g fat (USDA FoodData Central-derived white bread data). Values vary with ingredients, moisture lost in baking, and how thickly you slice.
If you divide the cooled loaf into 12 slices, each portion's weight depends on the loaf's final mass and your knife work. Thinner slices can fall near the 24–30 g reference range; thicker slices may reach 35 g or more. For consistent serving estimates, weigh the cooled loaf and slices rather than assuming every slice weighs the same.
Store the completely cooled bread in a sealed bag or bread box, and freeze slices you won't use soon. Once this plain loaf feels familiar, D'BakerAid's recipe app includes a separate gluten-free range, but those recipes are not the same as high-protein bread. For a repeatable fermentation and proofing workflow, its two-bowl appliance system controls temperature and time; the right recipe still depends on the type of bread you want to bake.
D'BakerAid™ combines a yeast fermentation bowl, a dough proofing bowl, and a temperature-and-time control hub to help make dough development more repeatable. Visit DBakerAid™ to explore the system and find recipes for your next loaf.