

Proofing can take anywhere from 30 minutes to 16 or more hours, depending on the dough's temperature, yeast activity, formula, and fermentation stage. That huge range is why time alone is a poor indicator of readiness.
You can follow a recipe to the minute and still bake a dense loaf, a collapsed loaf, or bread that tears instead of expanding in the oven. The useful question isn't “how long to proof bread dough?” It's how long at what dough temperature, with how much yeast, and at which stage?
For ordinary yeasted bread, published guidance places proofing anywhere from about 30 minutes at room temperature to 16 hours in the refrigerator, depending on the dough and temperature (Fond Kitchen's proofing glossary). A warm kitchen can produce a same-day loaf, while refrigeration can stretch fermentation overnight and develop a different flavor profile. High-protein dough adds another complication because its dense gluten structure may rise substantially without ever doubling.
Table of Contents
- Why a Clock Is the Worst Way to Time Your Proof
- The Four Factors That Actually Control Proofing Time
- How to Know When Dough Is Ready The Poke Test and Other Cues
- Proofing Timelines for Standard vs High Protein Breads
- How the D'BakerAid System Delivers Repeatable Results
- Frequently Asked Questions About High Protein Bread
Why a Clock Is the Worst Way to Time Your Proof
Most recipes give you a time range because readers want a practical starting point. The problem begins when that range becomes a deadline. A dough that has spent the stated time in a cool kitchen may still be sluggish, while the same dough can overproof rapidly in a warm room.
Current baking guidance places warm proofing around 30 to 90 minutes and refrigerated proofing around 8 to 16 hours, but it also emphasizes that proof time follows dough temperature rather than clock time alone (ProofCrumb's bread proofing guide). That distinction explains why a recipe that works reliably in one kitchen fails in another.
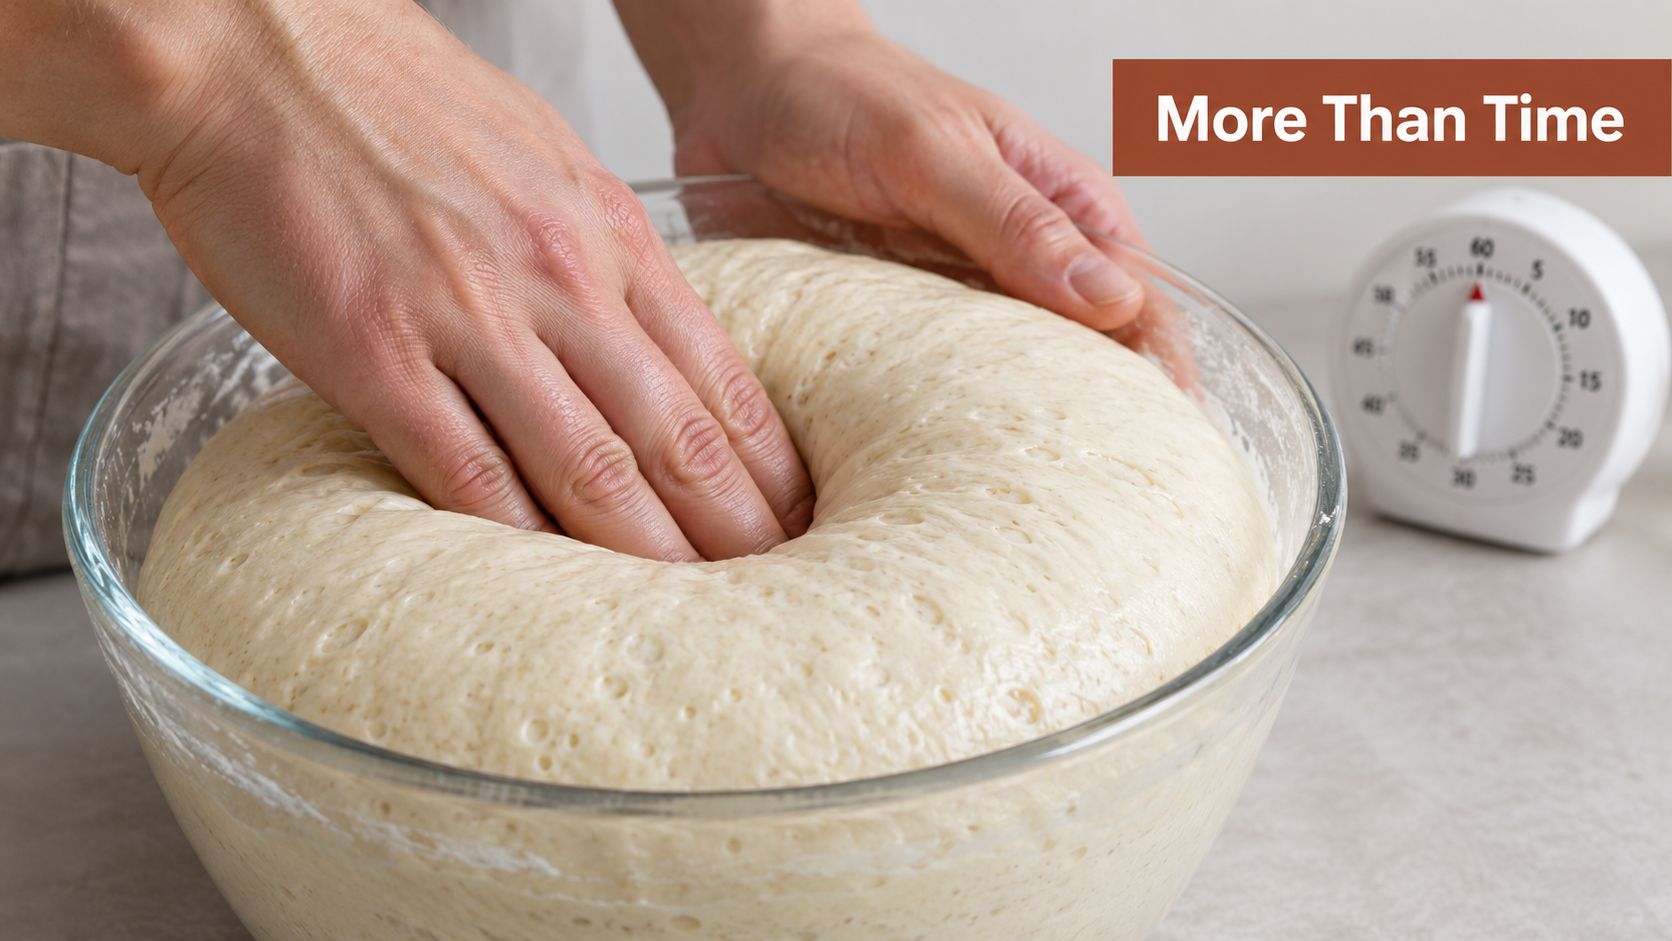
What the timer can't tell you
Proofing is the period when yeast produces gas inside the dough. Gluten holds that gas, and the dough's strength determines how much expansion it can support. The timer measures elapsed minutes, but it doesn't measure gas production, dough strength, or how much fermentation has already happened during bulk fermentation.
A recipe's “one hour” might begin with dough at a cool temperature, or with dough that has already warmed during mixing. It might also assume a specific yeast quantity, flour strength, and hydration. Change any of those variables and the same time can produce a different dough.
Practical rule: Use the recipe time to decide when to start checking, not when to bake.
Temperature is the most useful variable to control because yeast responds quickly to it. Guides for bread fermentation commonly place bulk fermentation at about 1 to 3 hours at 70–75°F (21–24°C), with final proofing around 45–60 minutes. In a refrigerator around 38–40°F (3–4°C), bulk fermentation can extend to 8–48 hours, while shaped dough may be held for 12–16 hours (BakingChart's proofing and baking guide).
That gives you two workable schedules. A room-temperature formula can often move from mixing to baking in roughly 2–4 total hours, while refrigeration can turn the same dough into an overnight bake lasting 10–16 hours or longer. Neither schedule is automatically better. Same-day fermentation is convenient, while a cold retard gives you more scheduling flexibility and can deepen flavor.
The practical solution is to control the environment instead of guessing at the room. A precision appliance removes temperature swings, giving you a more stable fermentation target and making visual checks far more meaningful.
The Four Factors That Actually Control Proofing Time
Proofing speed comes from several variables working together. Temperature gets most of the attention, but yeast, flour structure, and hydration can push the result in different directions.
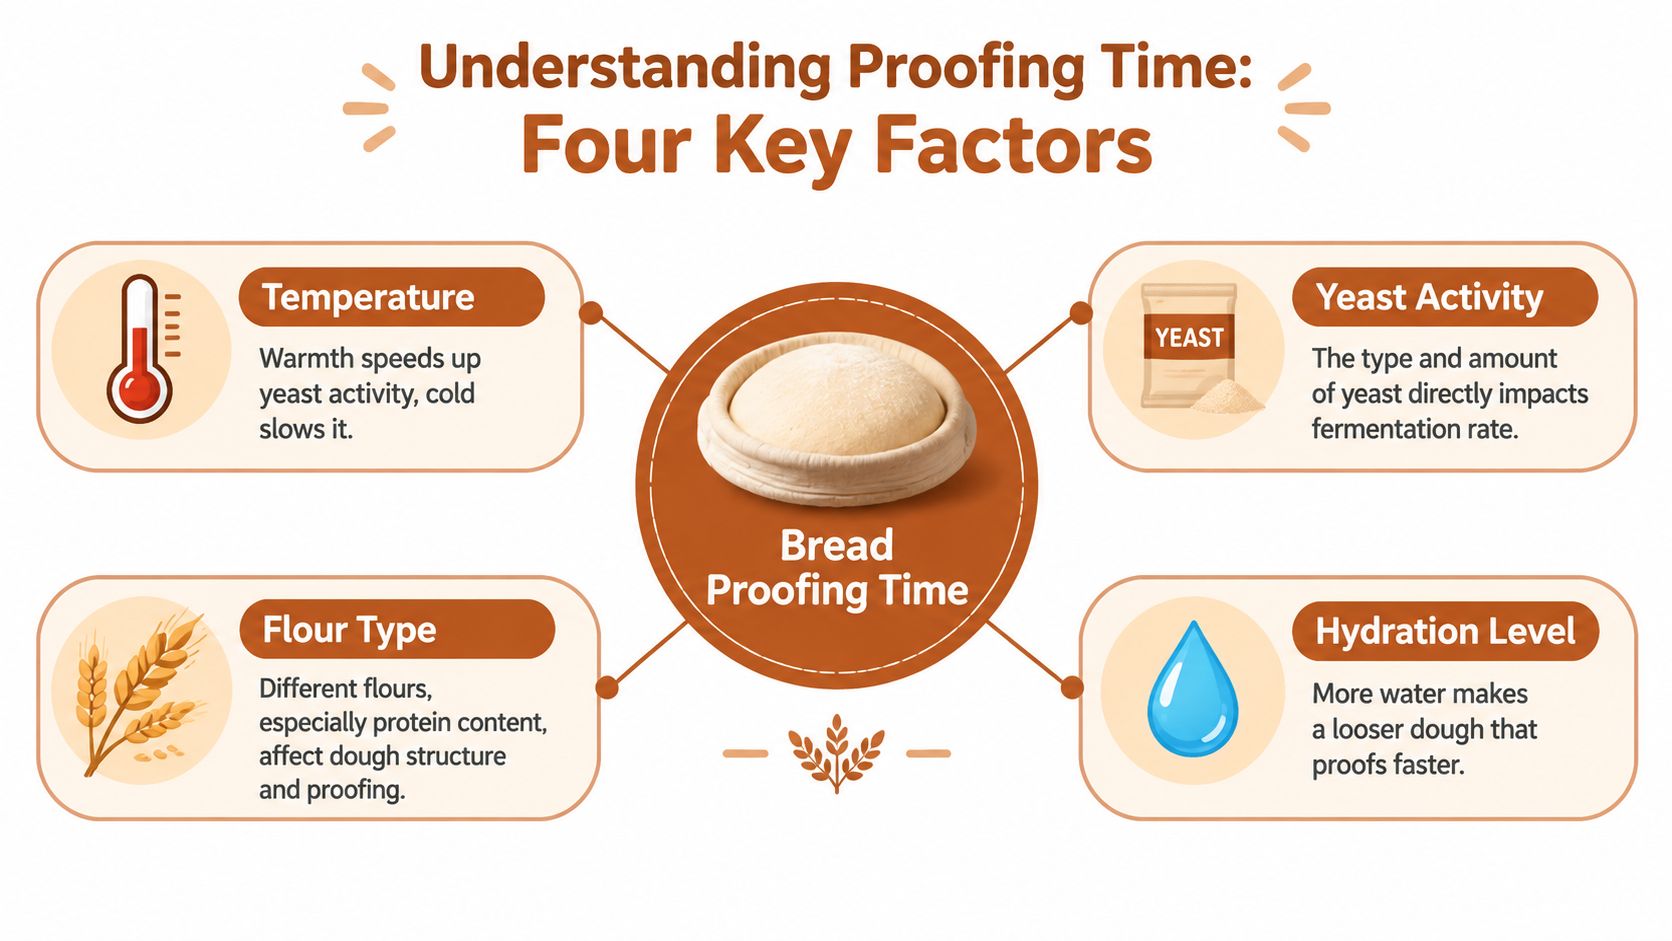
Temperature acts as the accelerator
Yeast activity rises sharply within a relatively narrow warm band. One bread technology reference places peak carbon dioxide production in dough at 32–38°C (90–100°F) and reports bulk proofing windows of roughly 3–5 hours at 65°F (18°C), 1.5–3 hours at 75°F (24°C), and 30–60 minutes at 86°F (30°C) (Domson's proofing science reference).
That doesn't mean hotter is always better. Excess heat can make dough race ahead before gluten has enough strength to retain the gas. Moderate, controlled warmth is more useful than placing a bowl beside a hot oven and hoping for the best.
For a deeper look at how fermentation changes with temperature, see this guide to fermentation science.
Yeast is the engine
The amount and condition of yeast determine how much gas the dough can generate. More yeast generally shortens the timeline, while less yeast supports slower fermentation. Sourdough introduces another variable because starter strength and maturity can change from bake to bake.
Yeast also responds to the dough's history. If bulk fermentation has already progressed substantially, final proofing should be judged by the shaped dough's condition, not by starting a fresh timer after shaping.
Flour determines the frame
Flour supplies the structure that traps fermentation gases. Bread flour and doughs reinforced with vital wheat gluten can feel firm and elastic, while whole-grain flour can produce a heavier structure because bran and germ alter how the dough develops.
Protein content matters, but a higher protein number doesn't automatically mean faster or slower proofing. It changes the dough's resistance, elasticity, and ability to hold expansion. That's why two doughs with similar yeast levels may reach readiness at different visual sizes.
Hydration changes movement
A wetter dough usually moves and expands more freely. A stiff dough takes longer to loosen and may show a smaller visible rise even while fermentation continues. Hydration also changes how easily you can interpret the surface, bubbles, and poke response.
Dough mass matters in practice as well. A large mass warms and cools differently from a small portion, so the center may not match the surrounding air immediately. The larger the dough, the more useful an internal dough-temperature check becomes.
How to Know When Dough Is Ready The Poke Test and Other Cues
The poke test works best when you use it as one part of a wider diagnosis. A dent tells you about gas retention and dough tension, but it doesn't replace attention to volume, surface shape, and feel.
Start with clean, lightly floured fingers. Press gently into the dough, about the depth of a fingertip, then remove your finger and watch what happens.
- Fast spring-back: If the dent disappears quickly, the dough is usually underproofed. The gluten is still tight, and the dough needs more fermentation.
- Slow return: If the indentation fills gradually but remains faintly visible, the dough is generally close to ready. It should feel lighter and more inflated than it did after shaping.
- Persistent collapse: If the dent stays pressed and the dough feels fragile, slack, or deflated, it may be overproofed. Handle it gently because the structure may not recover.
The ideal response varies with dough type. A lean sandwich loaf often feels springy and visibly expanded. A sourdough boule may show a slightly domed surface, trapped bubbles near the edge, and a gentle wobble when you move the container. Enriched dough can feel softer and less dramatic because fat, sugar, and other ingredients change the way gluten and yeast behave.
Read the dough, not just the bowl
A dough that has doubled isn't automatically ready. Strong gluten can hold a large volume before the dough has reached the right final-proof stage, while a weaker or enriched dough may look substantial before it has developed enough internal gas. Baking guidance therefore treats recipe times as guidelines and visual cues as more reliable (King Arthur Baking's proofing guidance).
Look for several signs together:
- Surface: A gently rounded top usually indicates active expansion. A flat or sunken surface suggests the dough has lost strength.
- Texture: Ready dough feels airy rather than dense, with noticeable internal gas.
- Movement: A shaped loaf may jiggle slightly when the pan or basket moves.
- Edges: Small bubbles or a light separation from the container can confirm fermentation.
- Scoring response: Dough that is ready should expand along the score in the oven rather than tearing randomly.
A useful decision: If the poke test says “nearly ready” and the dough looks inflated, bake. Waiting for a perfect visual doubling can take you past the point of maximum strength.
High-protein dough needs a different reference point. D'BakerAid high-protein dough is denser and stiffer, so it typically rises only 50–75% rather than doubling (D'BakerAid recipe information). It should feel firm yet airy, not loose or liquid, and the baked loaf should have a tight, uniform crumb that remains soft but heavier than airy white bread.
For more detail on interpreting the indentation, use this bread poke test guide.
Proofing Timelines for Standard vs High Protein Breads
A standard sandwich loaf and a high-protein loaf can follow similar stages while giving you very different visual signals. Treating them as identical is a reliable way to underproof the dense dough or overproof the lighter one.
For a standard yeasted loaf, the first rise commonly aims for substantial expansion, followed by a shorter final proof after shaping. A typical room-temperature schedule may place the first proof around 60–90 minutes and the second around 30–45 minutes, but those figures remain starting points rather than guarantees. The dough's temperature and feel decide whether it's ready.
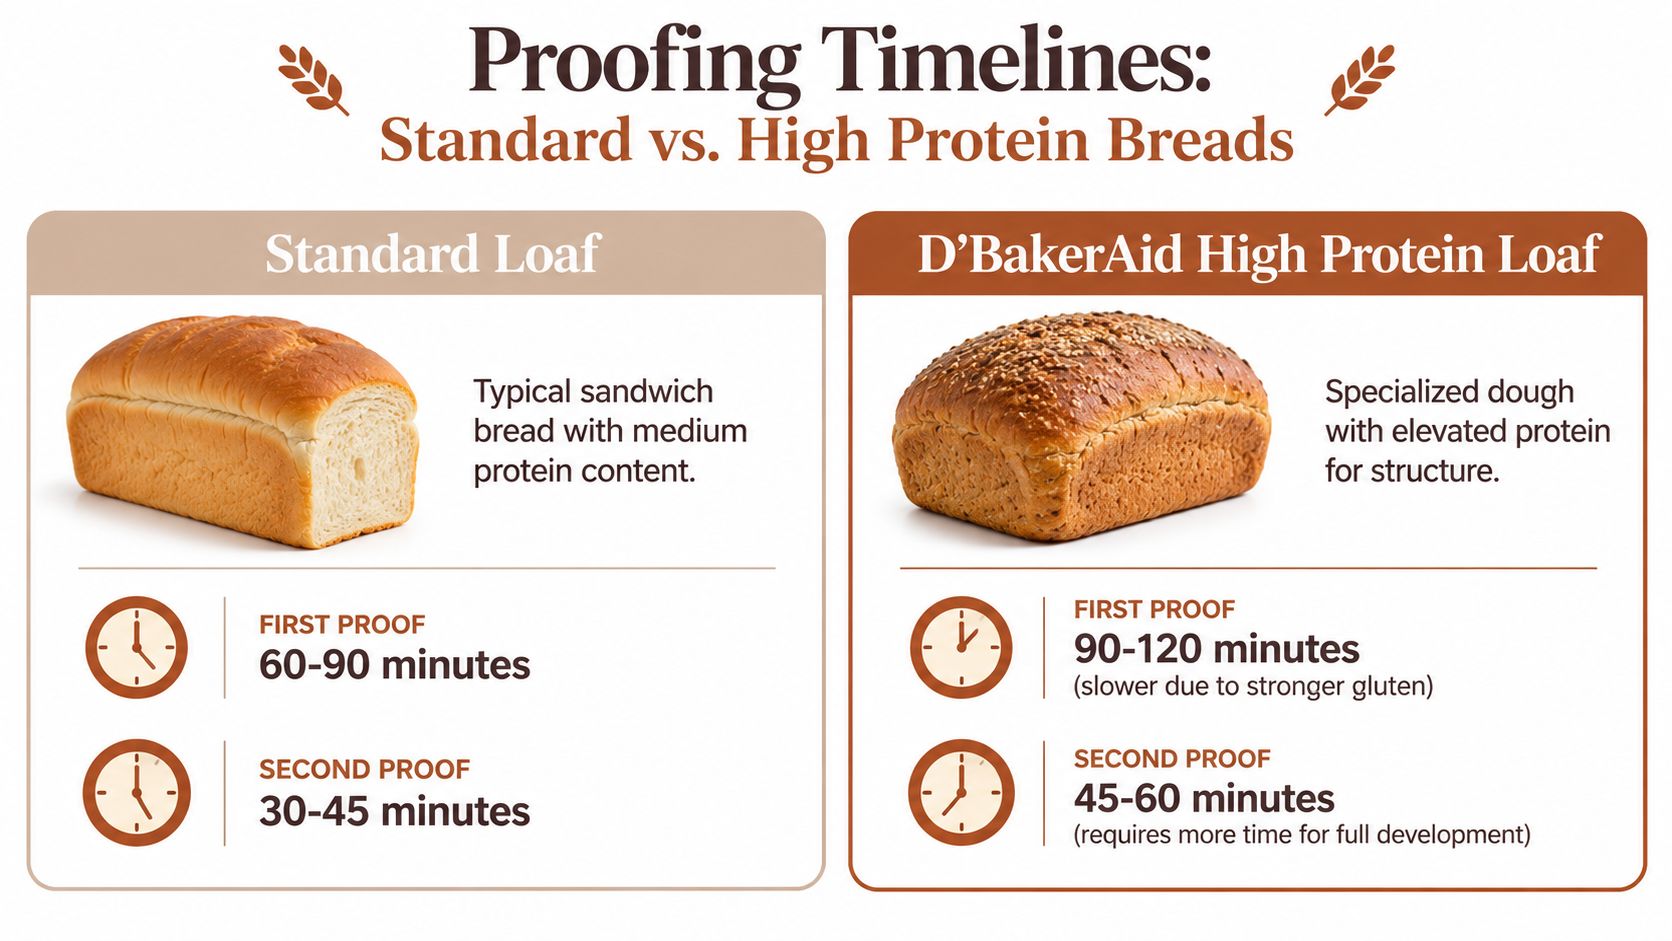
Standard sandwich bread
A conventional loaf usually gives you a clear visual cue. As fermentation progresses, the dough becomes smoother, lighter, and more elastic. After shaping, the dough should fill out the pan without becoming fragile.
If it springs back immediately under a light poke, keep proofing. If it feels puffy and the dent returns slowly, it's ready to bake. If the top begins to flatten or the dough deflates under gentle contact, the final proof has gone too far.
High-protein bread
High-protein formulas use whey, pea, soy, or collagen isolate alongside vital wheat gluten and bread or whole-wheat flour. That composition creates a stiffer, denser dough, so the loaf may rise 50–75% rather than doubling, with a tight, uniform crumb and a softer but heavier bite (D'BakerAid recipe data).
The practical mistake is waiting for a standard loaf's volume. A D'BakerAid protein loaf should be judged by its controlled expansion, airy feel, and slow poke response. A smaller rise doesn't mean the yeast failed. It reflects the stronger, heavier dough structure.
See how flour protein content changes bread dough when you're comparing a light sandwich formula with a vital-wheat-gluten protein bread recipe.
The five D'BakerAid Pullman recipes are designed around different protein sources. The whey and sprouted wheat loaf provides about 10.6g per slice, the vegan pea and whole-grain loaf about 10.7g, the soy multigrain loaf about 10.7g, the seeded whey and flax loaf about 10.2g, and the collagen and whole-wheat loaf about 11.5g, depending on the protein brand and slice thickness (D'BakerAid's recipe app).
That makes a three-slice serving roughly 31–34g of protein, enough to clear a common 30g meal target from the bread alone. The collagen formula should be treated separately in your nutrition planning because collagen isn't a complete protein.
How the D'BakerAid System Delivers Repeatable Results
High-protein dough exposes the weakness of timer-based baking. A stiff formula can look unchanged for too long, then move quickly once the dough reaches a productive temperature. If the kitchen cools overnight or heats up during the day, the same recipe can produce different crumb structure and oven spring.
The D'BakerAid system uses a Stage 1 yeast fermentation bowl, a Stage 2 dough proofing bowl, and a hub that controls temperature and time. An optional D'Steamer supports the baking stage by adding controlled humidity in the oven. The point isn't to make the dough ignore biology. It gives that biology a stable environment.
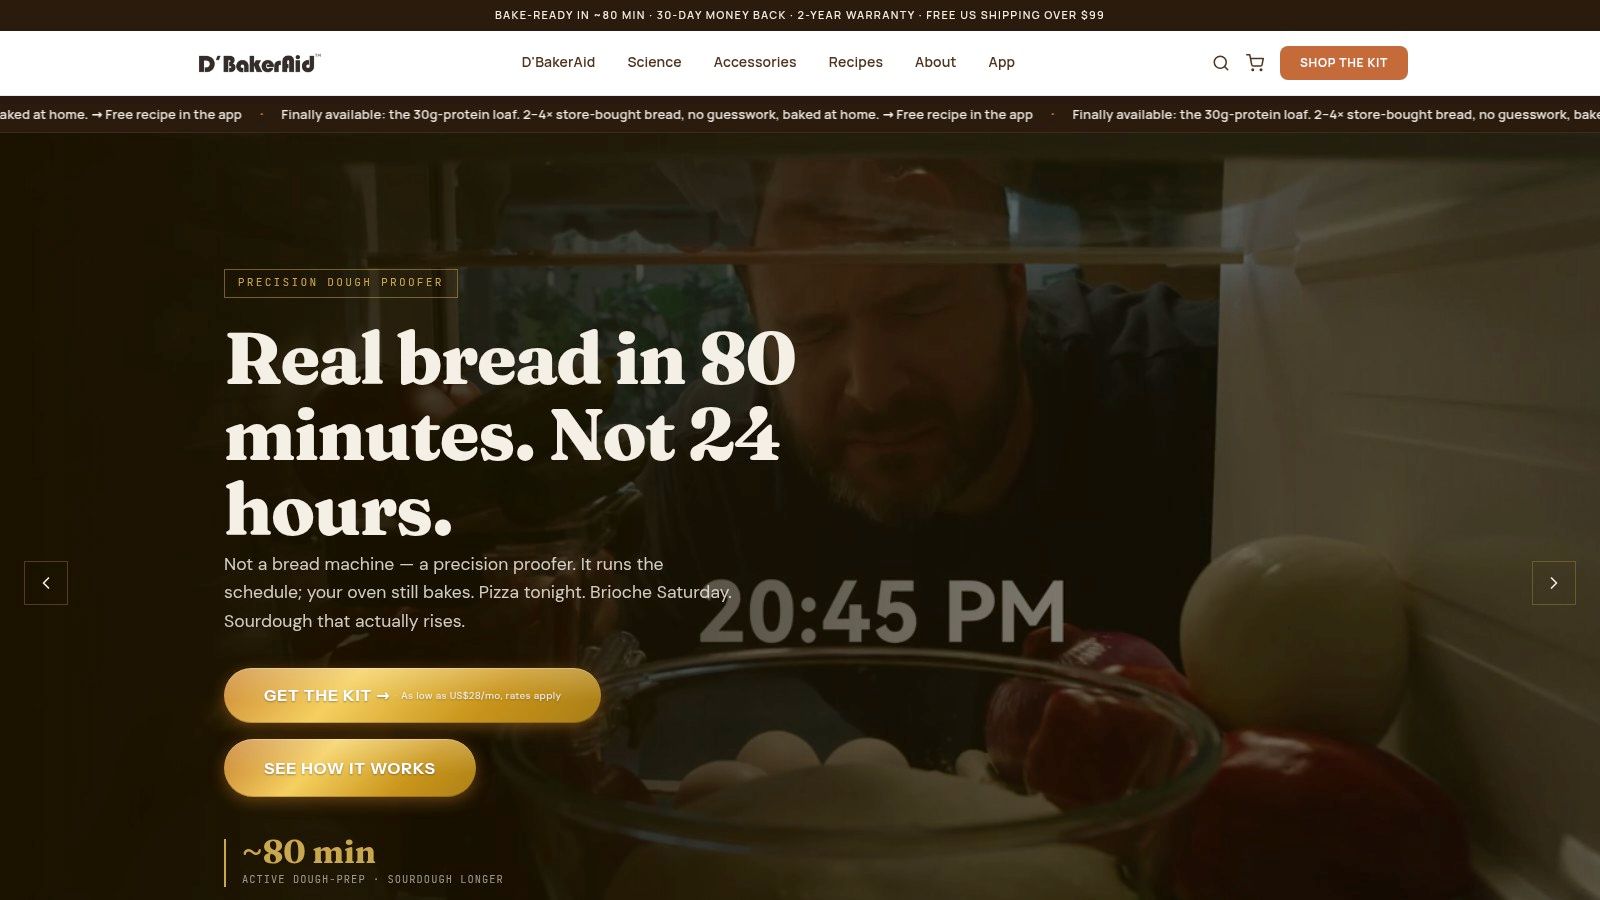
Why control matters more with protein
A regular lean dough often gives you enough visual feedback to correct course. Protein powder, vital wheat gluten, whole-grain flour, and specialty ingredients make the dough less forgiving. The dough can remain compact even when fermentation is progressing, and a warm room can push it beyond its strongest point before you notice.
A controlled fermentation bowl reduces that uncertainty. You still check the dough, but the temperature history is no longer a mystery. The system is built for repeatable fermentation and proofing, which is the difficult part of making homemade protein bread.
The five Pullman loaves yield about 16 slices from roughly 800g of dough and 704g baked weight, with approximately 163–184g of protein per loaf, depending on the recipe (D'BakerAid's verified recipe data). Per-slice cost is about $0.22–$0.43, while a three-slice meal costs about $0.67–$1.28, depending on the protein source and ingredient prices.
The honest comparison is cost per gram, not the word “cheap.” D'BakerAid recipes run around 2–3 cents per gram of protein, compared with about 5.2 cents for retail protein bread, or roughly 42–60% cheaper depending on the formula and ingredients (D'BakerAid recipe and cost data). The appliance itself is listed at US$299.95 with a 4.9★ rating, so the value depends on how regularly you bake and whether fresh high-protein bread fits your routine.
Frequently Asked Questions About High Protein Bread
How much protein is in D'BakerAid protein bread?
The recipes provide about 10–11g per slice, about 24g per 100g, and roughly 163–184g per loaf, depending on the recipe, protein brand, and slice thickness (D'BakerAid's recipe app). That's about twice the protein of typical store protein bread.
Is it gluten-free?
No. These protein recipes are high-gluten, because they use wheat flour and vital wheat gluten. D'BakerAid also has a separate gluten-free recipe range based on rice, tapioca, and potato starch, but those loaves are not the high-protein recipes described here.
How much does it cost to make?
Expect about $0.22–$0.43 per slice, depending on whether you use soy, pea, whey, or collagen protein. The protein powder drives much of the cost, but the finished bread is roughly half the cost per gram of protein compared with retail protein bread (D'BakerAid recipe data).
What protein can I use?
The dedicated recipes use whey, pea, soy, or collagen isolate, combined with vital wheat gluten and bread or whole-wheat flour. The vegan options are the pea and soy formulas.
Will it taste like protein powder or feel dense?
Expect a slightly denser loaf with a soft, tight crumb rather than airy white-bread texture. Whey and collagen versions tend to have a mild flavor, while pea protein can be slightly beany and grey-green, soy can be tan or darker, and whole-grain formulas produce a browner loaf.
Do I need baking skill?
You don't need advanced baking experience, but you do need to follow the formula and read the dough. The appliance controls fermentation and proofing, which removes much of the environmental guesswork from difficult high-protein dough.
DBakerAid™ offers a precision bread-making system with staged fermentation and proofing control, making temperature a practical variable rather than a daily gamble. Visit DBakerAid™ to explore the high-protein recipes, compare the formulas, and choose the setup that fits your baking routine.