

You've followed a kamut flour bread recipe exactly, yet the loaf comes out low, heavy, or slightly gummy. The usual mistake isn't the grain. It's treating KAMUT® khorasan wheat like ordinary bread flour. This flour absorbs water gradually, develops a less elastic gluten network, and loses strength when fermentation, mixing, or heat runs beyond its limits.
A reliable loaf comes from controlling those variables rather than forcing the dough to behave like modern wheat. The process below focuses on hydration, dough temperature, fermentation length, shaping support, and baking steam, the points where kamut bread succeeds or fails.
Table of Contents
- Why Kamut Flour Bread Demands a Different Approach
- Understanding Kamut Flour Properties and Nutrition
- Mixing and Hydration Techniques for Kamut Dough
- Fermentation and Proofing with Precision Temperature Control
- Shaping and Baking Methods That Prevent Spreading
- Common Misconceptions About Kamut and Gluten Content
Why Kamut Flour Bread Demands a Different Approach
The classic failure starts with a direct substitution. A baker replaces modern bread flour with kamut flour, keeps the same water, kneading time, rise schedule, and oven temperature, then waits for a tall, airy loaf. Instead, the dough feels soft but oddly weak, spreads during shaping, and may bake into a dense crumb.
KAMUT® khorasan wheat has a documented commercial history, but its ancient-grain identity shouldn't be mistaken for a simple baking advantage. The brand story traces modern commercial use to 1949, when American airman Earl Dedman reportedly received unusual wheat grain in Portugal, said to have come from an Egyptian tomb. Oasis Breads produced the first bread made with KAMUT® khorasan wheat in 1989, helping establish the product as a specific branded grain rather than a generic ancient-wheat label. The timeline and product background are documented in the KAMUT® brand story.
What changes in the dough
Kamut flour is often described as thirsty, but the important detail is that it doesn't always reveal its final hydration immediately. The flour may look adequately hydrated at the mixer, then tighten as it rests. Adding all the water at once can leave you with a dough that's either too stiff to develop or too wet to hold shape after absorption catches up.
Its gluten behaves differently from the gluten in strong modern bread flour. Breadtopia's Kamut baking guidance notes that white Kamut contains about 13% protein, yet its gluten-protein composition produces dough that's less elastic and less extensible. High protein, therefore, doesn't automatically mean a powerful, stretchy dough.
Practical rule: Don't chase a perfect windowpane. With kamut, smoother and moderately stretchy is a better endpoint than endlessly kneading for dramatic elasticity.
The starches also break down more readily under excessive heat and rough handling. A fast same-day process, aggressive mixing, or an oven that starts too hot can turn a promising dough into a loaf with poor oven spring and a gummy interior. The fix is controlled fermentation, gentle development, and structural support from a loaf pan or Dutch oven.
Understanding Kamut Flour Properties and Nutrition
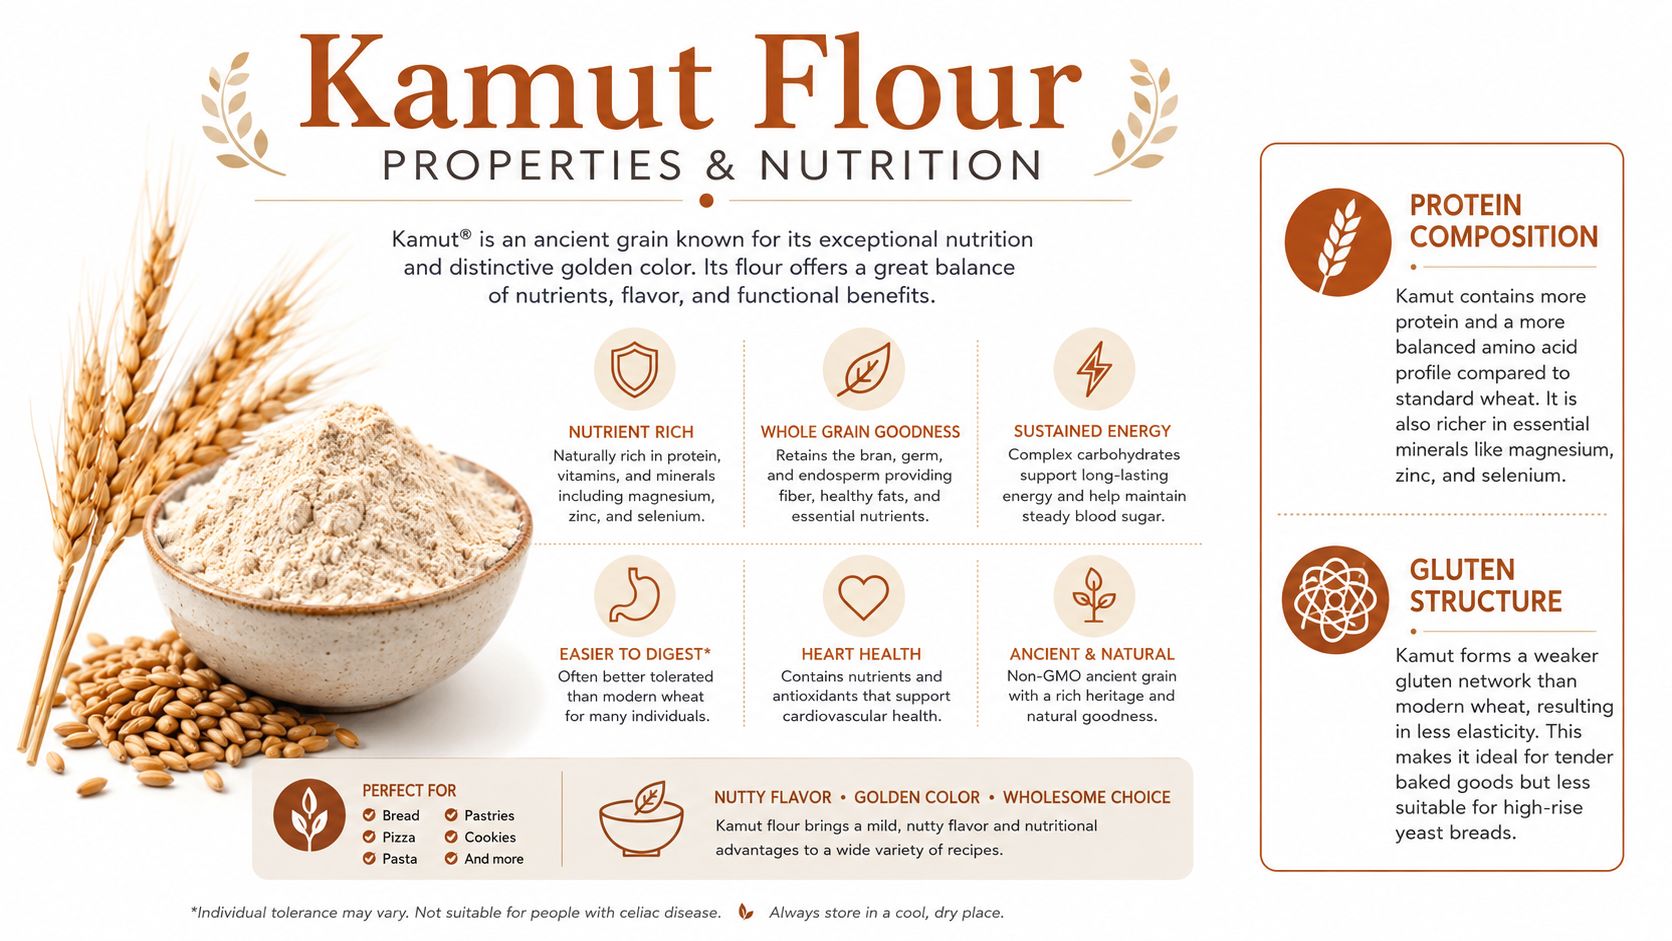
A kamut loaf can look well mixed yet still bake up weak or dense. The reason is not only protein quantity. KAMUT® brand wheat flour contains 14.56 g protein per 100 g, along with 60.42 g carbohydrates and 10.76 g water per 100 g, according to the nutrition summary from Nutrition Advance. It is a protein-dense wheat ingredient, but it remains flour, not a concentrated protein supplement.
Nutritional differences that matter
Protein percentage describes composition. It does not predict how well the dough will stretch, trap gas, or hold its shape. Kamut's gluten is less stretchable than the gluten in many modern bread flours, so a dough can contain substantial protein and still tear during shaping or spread during proofing. That distinction matters more at the bench than the number on the nutrition panel.
KAMUT® products have been reported to contain more carotenoids and higher protein than breads made with modern wheat. Independent compositional studies also found higher antioxidant activity and higher levels of minerals including potassium, magnesium, phosphorus, zinc, and iron in KAMUT flour compared with control wheat products, as summarized in the Whole Grains Council summary.
Bread composition can shift with the formula. In one comparison, KAMUT-based tortillas made with 60% flour contained 6.7% fiber versus 3.5% in comparison bread-wheat tortillas, while starch measured 44.3% versus 48.6%. Ancient-wheat breads have also been reported to contain higher total phenol content than modern-wheat controls.
Human dietary research has associated KAMUT® wheat consumption with measurable changes in blood markers. The cited crossover intervention reported an average 4.0% reduction in total cholesterol, a 7.8% reduction in LDL cholesterol, and 23% to 36% reductions in selected inflammation markers. The PubMed-indexed report describes a mean total-cholesterol reduction of 8.46 mg/dL and a mean LDL reduction of 9.82 mg/dL in the same research line. These findings provide context, not a medical promise, and they do not make every kamut loaf nutritionally identical.
For baking, the useful conclusion is straightforward. Kamut offers a distinctive protein and mineral profile, while its gluten quality determines whether the loaf rises and stays supported. Use the nutrition label to understand the ingredient, then adjust hydration and fermentation according to the dough's behavior. For a broader comparison, see this guide to flour protein content.
Mixing and Hydration Techniques for Kamut Dough
Start with a rest, not a long knead. Kamut flour benefits from an autolyse or fermentolyse of at least 45 minutes, giving the flour time to absorb water before you ask the gluten to support the dough. This rest is especially useful with freshly milled flour or formulas that feel dry at first.
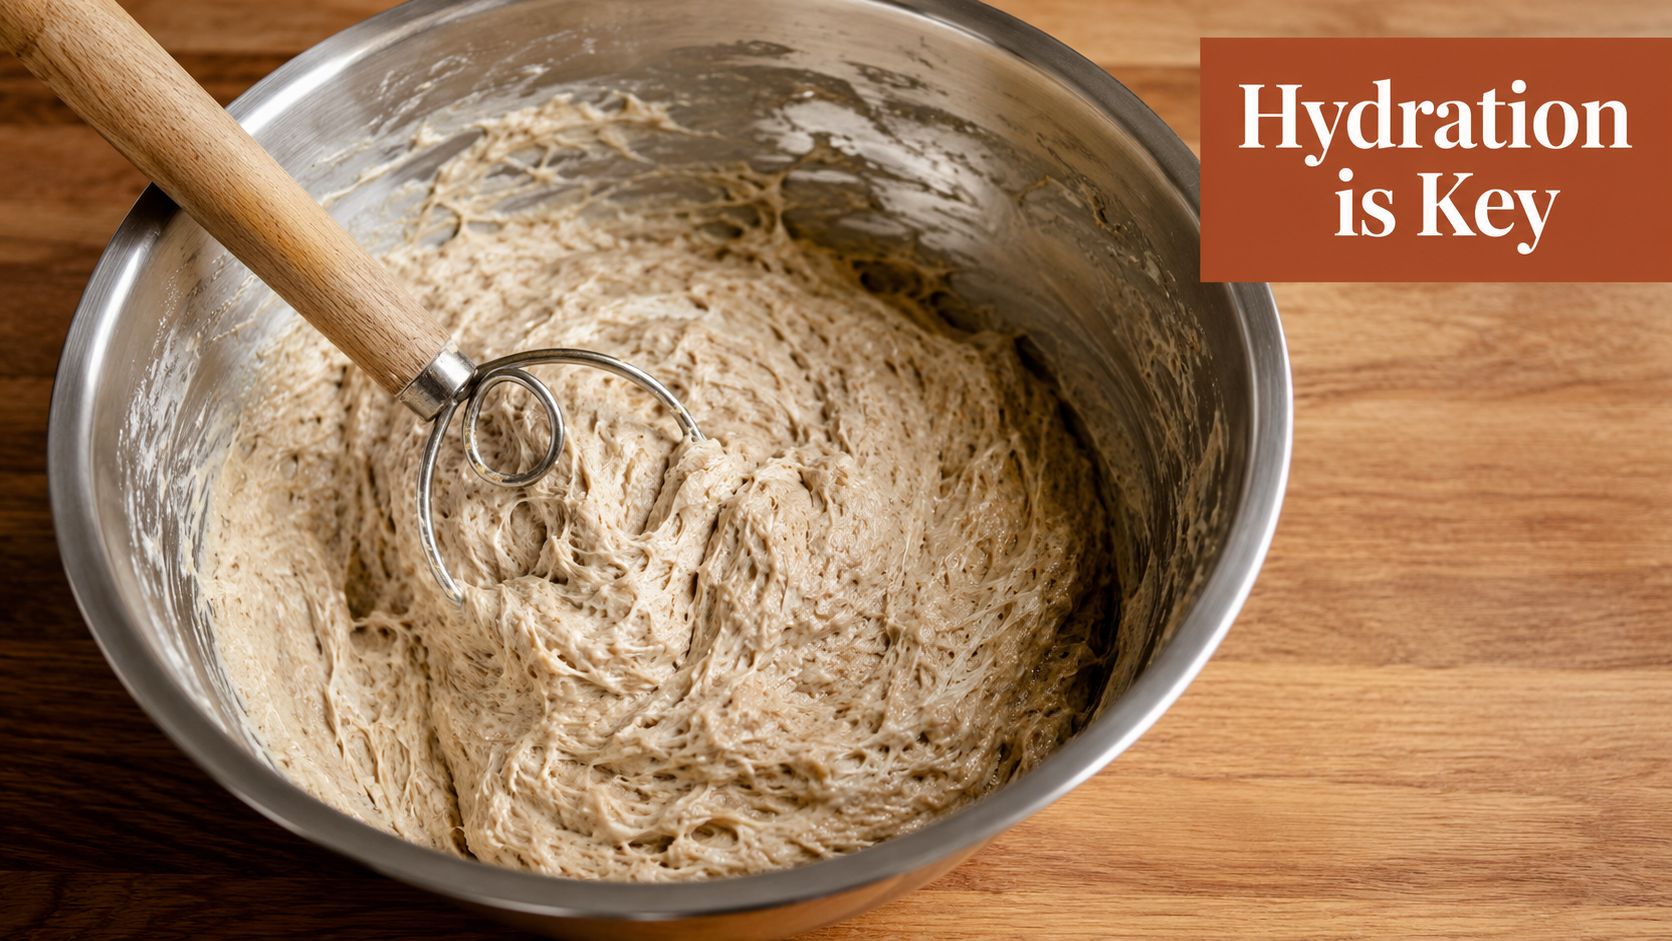
Combine the flour with most of the water and let it stand. Hold back a portion of the water for later adjustment, then add the yeast and remaining ingredients after the rest if you're using a fermentolyse. The dough should look rough initially, then become more cohesive as absorption catches up.
Add water gradually
Whether you mix by hand or use a stand mixer, reserve some water. Add it in small additions only after the dough has begun to smooth out. This prevents the common mistake of correcting a temporarily stiff dough with too much liquid, then discovering that the rested dough can't hold itself.
Use these cues rather than relying on a fixed appearance:
- Early stage: The dough is rough, sticky, and may leave residue on the bowl.
- Developing stage: The surface begins to smooth, and the dough pulls together without becoming dry.
- Ready stage: It feels supple and slightly tacky, stretches modestly, and retains a rounded shape for a short time.
A stand mixer should work at low speed first. The documented 100% KAMUT® method uses 6 minutes at low speed in a spiral mixer, with water added gradually until the dough develops smoothly, according to this 100% Kamut bread method. At home, stop when the dough is smoother and moderately stretchy. More mixing isn't automatically better.
Avoid the overworked dough trap
Kamut's delicate structure can deteriorate under prolonged, forceful kneading. If the dough starts smooth and then becomes slack, shiny, and smear-like, stop mixing. That change usually means you've passed the useful development point.
Hand mixing works well when you use short folds and pauses rather than trying to create a strong modern-wheat windowpane. Lightly wet hands or the work surface instead of repeatedly adding flour, since extra flour makes the final crumb firmer and can hide the hydration problem.
The dough may remain slightly tacky when it's ready. A dry, tight ball is often a warning sign, not a success signal.
Fermentation and Proofing with Precision Temperature Control
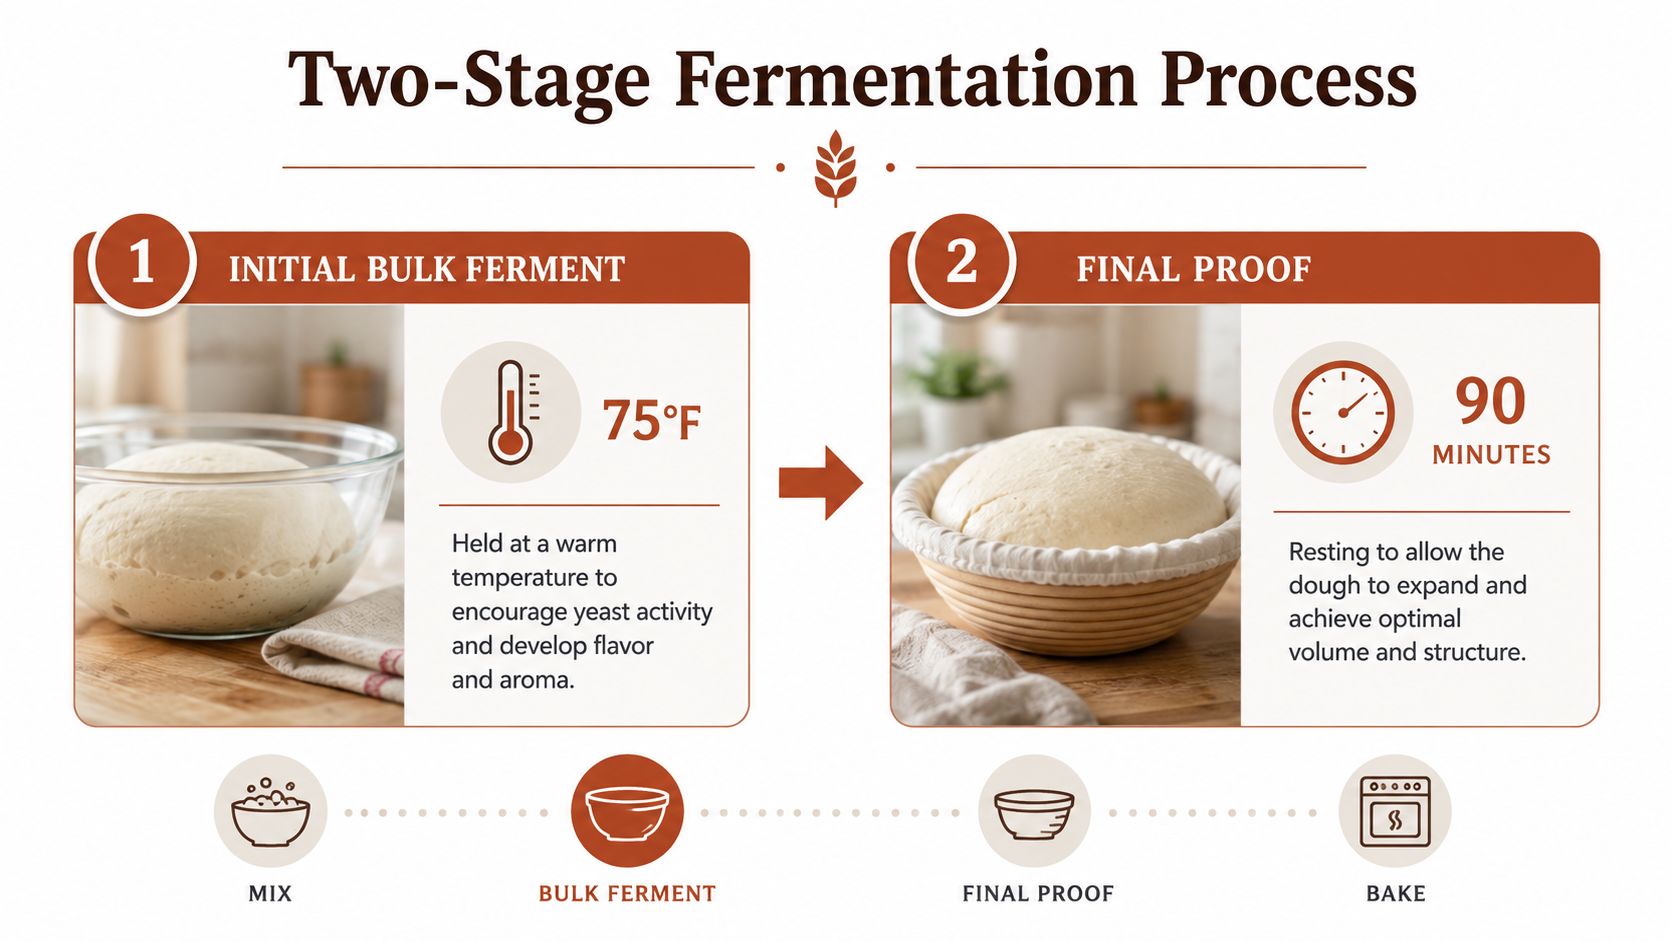
Kamut bread benefits from a deliberately slow first rise followed by a controlled final proof. The documented 100% KAMUT® method targets a final dough temperature of 27–28°C, then uses a room-temperature rise of about 10–12 hours. That long schedule gives the flour time to hydrate and the dough time to develop without relying on aggressive mechanical handling.
Temperature matters because a warm dough can ferment faster than its structure can tolerate. If the dough overruns its strength, it may look inflated in the bowl but collapse during shaping or in the oven. A cooler dough can remain compact and underdeveloped, producing a tight crumb even after a long wait.
Judge bulk fermentation by strength
Don't use “doubled in size” as an automatic target. Kamut dough may rise substantially without doubling, and the practical expectation for some formulas is a 50% to 75% increase, not a full doubling. Look for a dough that has expanded, shows some internal aeration, and still responds with enough strength to be shaped.
For commercial yeast, follow the long-rise approach and monitor the dough rather than forcing the clock. For a natural starter, fermentation will vary with starter strength and dough temperature, so the same visual cues matter even more. A starter-based dough can work, but it shouldn't be judged by a rigid schedule copied from a modern wheat sourdough.
The fermentation science guide explains why stable temperature matters during yeast activity. The useful home-baking principle is that repeatability comes from holding the dough near its target temperature, not from guessing based on room conditions.
Give the final proof a controlled environment
After shaping, the KAMUT® method calls for a second proof at 28°C and 80% humidity for 90–120 minutes. That environment keeps the surface from drying while the dough expands, which helps prevent a skin that tears when the loaf enters the oven.
Use a proofing chamber if you have one. Otherwise, choose a sheltered, humid space and monitor the dough closely. A final proof that's too short leaves a dense loaf with limited oven spring. One that runs too long creates dough that feels fragile, spreads easily, and may deflate when scored.
The poke test is useful, but don't treat it as a standalone diagnosis. A slow partial spring-back, combined with visible expansion and a dough surface that still has tension, suggests readiness. A permanent indentation points toward over-proofing. Kamut requires a narrower margin than many standard sandwich loaves, so your hands and eyes should confirm what the timer says.
Shaping and Baking Methods That Prevent Spreading
A well-fermented kamut dough can still fail during shaping. The gluten network doesn't provide the same elastic support as modern bread flour, so a free-form loaf may relax into a low shape before the oven has a chance to set it.
Use a loaf pan or Dutch oven when baking 100% kamut. The recommendation to treat these loaves more like rye bread is practical, not cosmetic. Side support keeps the dough from spreading and lets the heat build upward instead of allowing the loaf to flatten.
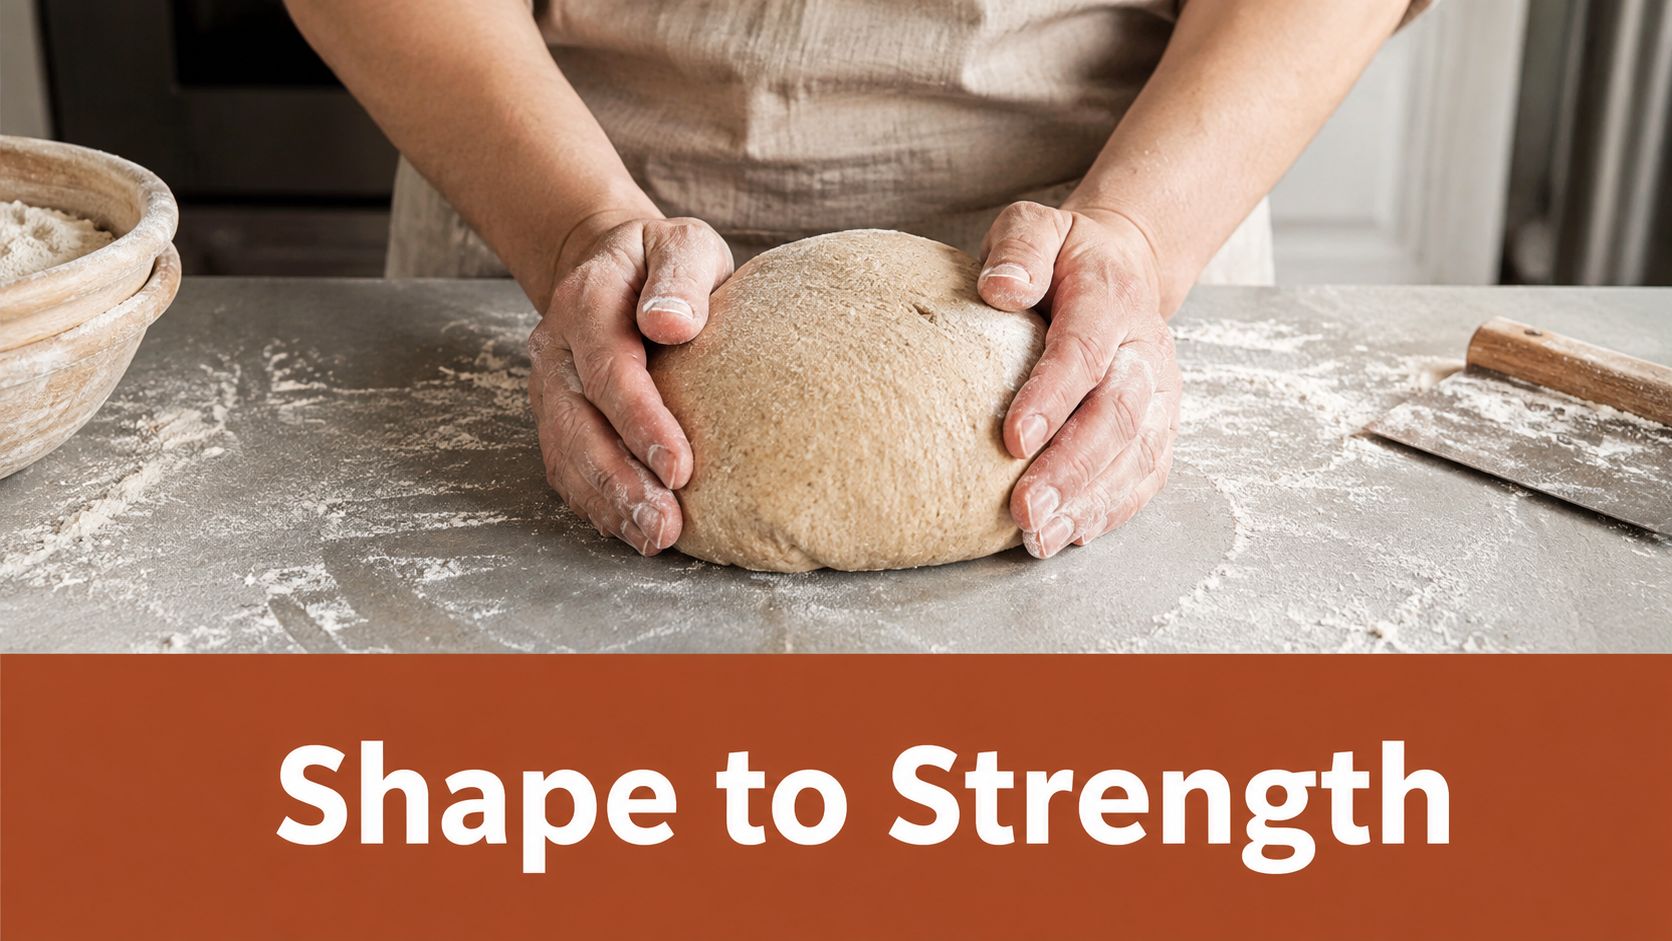
Turn the dough onto a lightly floured or lightly oiled surface. Press it gently into a rectangle, fold it to create a seam, then roll it firmly enough to create surface tension without tearing the outer layer. Place the seam down in the pan. Don't repeatedly degas and reshape the dough, since each rough handling pass removes gas and weakens the already delicate structure.
For basket or Dutch-oven baking, choose a tight shape and keep the final proof conservative. Guidance on using a banneton proofing basket is useful for supported fermentation, but a pan remains the safer choice for a very soft or highly hydrated 100% loaf.
Bake with moderate heat and steam
High temperatures can damage kamut's starch structure, so avoid the extreme heat often used for lean artisan wheat loaves. The documented KAMUT® method uses steam baking for about 35 minutes, removing the steam valve once browning begins. Steam delays early crust setting, allowing the loaf to expand before the surface hardens.
A Dutch oven supplies that humid environment naturally. Preheat the pot, load the shaped dough carefully, cover it for the initial bake, then uncover once the crust has developed enough color. With steam injection, apply steam at the beginning and stop it when browning starts rather than keeping the chamber wet throughout the bake.
This shaping demonstration can help you compare how much tension your dough needs before it goes into a supported vessel.
Expect a loaf with a tight, uniform crumb, a soft but heavier texture, clean slices, and a crust that browns somewhat faster than a plain white loaf. Whey and collagen versions tend to stay near a normal cream color, pea can look slightly grey-green and taste faintly beany, soy is darker and tan, and whole-grain formulas produce a browner loaf.
Common Misconceptions About Kamut and Gluten Content
Kamut isn't gluten-free. KAMUT® khorasan wheat is wheat, and the 100% kamut recipes discussed here also contain wheat flour and, where specified, vital wheat gluten. They aren't appropriate for people who need to avoid gluten for celiac disease.
The phrase “easier to digest” creates another problem because it blends several different questions. A person may subjectively tolerate one wheat product better than another, but that doesn't establish that the flour is low-gluten, safe for celiac disease, or suitable for every gluten-sensitive person. Some recent coverage reports gluten levels comparable to or higher than common wheat, so kamut shouldn't be marketed as a universal “healthier gluten” substitute.
Separate safety from baking performance
Bakers sometimes add vital wheat gluten to improve rise or shape retention. That's a technical adjustment, not evidence that kamut is safer for gluten-sensitive diets. If you need a gluten-free loaf, use a separately formulated gluten-free recipe and avoid cross-contact. D'BakerAid's separate gluten-free range uses rice, tapioca, and potato starch, but those loaves are not the high-protein kamut recipes described here.
Kamut flour bread can be a good choice for people who enjoy wheat and want its buttery, nutty flavor, especially when they're willing to manage hydration and fermentation carefully. It isn't the right choice for celiac diets, strict gluten avoidance, or anyone assuming that an ancient-grain label removes wheat's gluten.
DBakerAid™ offers controlled fermentation and proofing through a yeast fermentation bowl, a separate dough-proofing bowl, and a hub that manages temperature and time, with an optional D'Steamer for humid baking conditions. If you want more repeatable kamut flour bread without guessing through every rise, visit DBakerAid™ and review the available system and recipes.