

You're halfway through a loaf and already know the feeling. The dough looks too wet, the pan feels too small, and the timer says “done” before the center has any right to be done. That's the normal pain point in gluten free baking tips content, and it's also why better results come from controlling variables, not chasing a magic recipe. When you treat hydration, binders, proofing, and bake environment like separate knobs, gluten-free bread gets a lot more repeatable. A precision system such as D'BakerAid is useful in that kind of setup because it controls fermentation and proofing instead of leaving those stages to room temperature luck. For a parallel sourdough mind-set, the sourdough bread bakers companion is a good reminder that bread rewards process, not wishful thinking.
Table of Contents
- 1. Master Hydration Ratios for Gluten-Free Doughs
- 2. Use Binding Agents and Xanthan Gum Strategically
- 3. Choose High-Quality Flour Blends Over Single-Ingredient Flours
- 4. Incorporate Acids and Fermentation Enhancers for Better Flavor and Structure
- 5. Manage Oven Spring and Crust Development with Steam and Temperature Precision
- 5. Manage Oven Spring and Crust Development with Steam and Temperature Precision
- 7. Test Your Gluten-Free Dough Continuously and Keep Detailed Records
- 7. Test Your Gluten-Free Dough Continuously and Keep Detailed Records
- 7-Point Comparison: Gluten-Free Baking Tips
- From Frustration to Perfection Your GF Baking Journey
1. Master Hydration Ratios for Gluten-Free Doughs
Gluten-free dough usually fails first at the water stage, not the flour stage. If the mix is too dry, starches cannot swell fully and the crumb stays dense. If it is too wet, the structure may never set. That is why the main job is not chasing a single “correct” dough feel, but controlling hydration so the dough matches the flour blend, binder, and room conditions in front of you.
Weigh the dough, then judge it by feel
Volume measures hide too much. A cup of flour can vary by packing, brand, and particle size, so grams are the only practical way to build a repeatable baseline. Use a baker's percentage calculator such as D'BakerAid's baker's percentage calculator to set the dough against flour weight instead of guessing by eye. That makes it easier to compare one batch with the next when humidity, flour grind, or binder choice changes.
A short rest helps the dough tell you what it needs. Starches swell, gums such as xanthan or psyllium take up water, and the dough often firms slightly after sitting. That rest period gives you a truer read on whether the mix is underhydrated or just still absorbing liquid.
Use this kind of feedback loop:
- Start at about 80% hydration. That lands near the middle of a useful range and gives you room to adjust based on flour blend and binder choice.
- Let the dough rest before deciding it is too wet. A sticky mass often firms after hydration, especially once starches and gums finish absorbing water.
- Watch the dough in the bowl, not the clock. If it tears, crumbles, or collapses, it is usually underhydrated or the structure is not holding moisture well enough.
- Adjust for room conditions. Warm, dry air can pull moisture out of the dough faster than a cool, humid kitchen, so the same formula may behave differently from one day to the next.
Dough hydration also changes with flour type. White rice flour, tapioca starch, sorghum, and oat flour all absorb water differently, so a blend that works in one kitchen may need a small correction in another. That is where a precision appliance like D'BakerAid helps, because it gives you a controlled proofing and fermentation environment instead of forcing the dough to compensate for random temperature swings. When hydration, timing, and proofing stay consistent, the baker can make smaller adjustments and see clearer results.
A practical rule is simple. Mix by weight, rest the dough, then make only one change at a time. That is the cleanest way to learn whether the issue is the flour blend, the binder, the ambient humidity, or the amount of water in the formula.
2. Use Binding Agents and Xanthan Gum Strategically
Gluten-free dough can look mixed before it is structured. In wheat dough, gluten forms the stretch and gas-holding network on its own. In gluten-free dough, binders have to do that work without turning the loaf heavy, sticky, or tight. Colorado State University Extension notes that gluten-free formulas often need multiple flours blended together, plus support from ingredients such as egg, gelatin, or oil when a dough breaks apart easily. That shift matters because you are building structure, not just replacing wheat flour with something labeled gluten-free.
Match the binder to the loaf
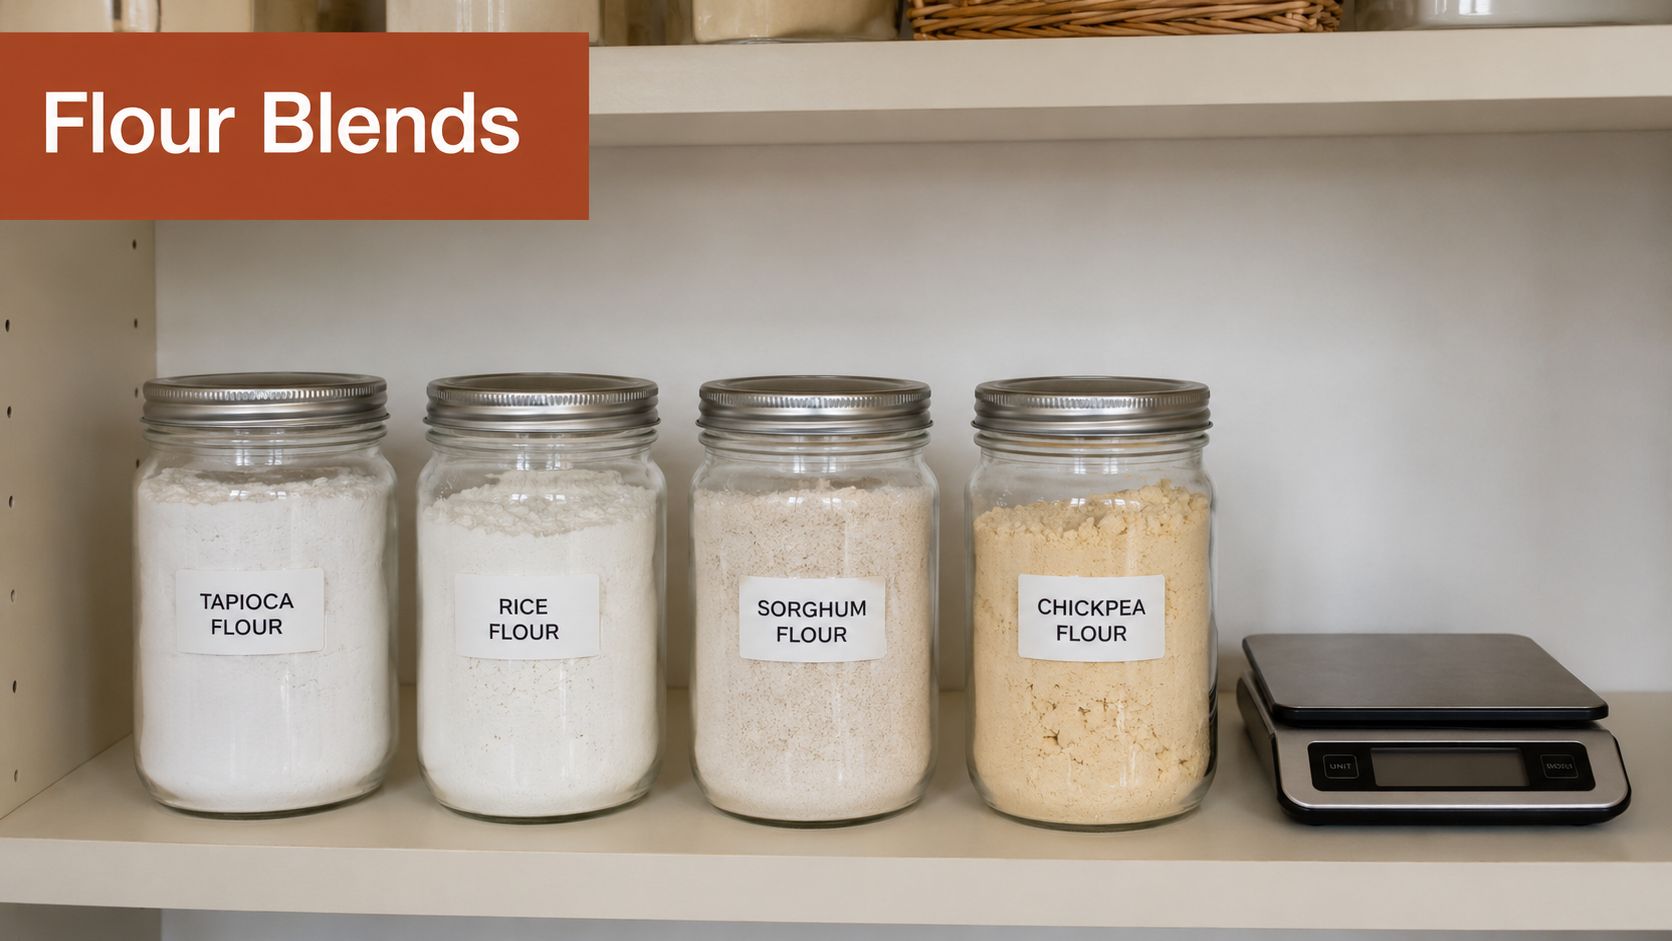
Xanthan gum binds fast and gives immediate cohesion, which helps in lighter batters and mixed flour systems. Too much of it can make the crumb gummy and narrow the rise, especially if the dough already has enough moisture. Psyllium husk behaves differently. It absorbs water more slowly, gives a more bread-like chew, and often improves sliceability in loaves that need stronger structure. Ground flaxseed and chia can also help, but they bring their own flavor and moisture effects. Eggs add lift and protein-based support, which matters in richer doughs where you want structure without a rubbery bite. BBC Food also points to the same trade-off, choosing the binder to fit the loaf instead of treating one ingredient as a default fix BBC Food.
That means the decision starts with the texture you want, then the ingredient that can produce it.
- Xanthan gum for quick binding. Use it in lighter loaves and blended flour systems where you need the dough to hold together fast.
- Psyllium husk for chew and sliceability. It suits sandwich loaves and other breads that need a firmer, more bread-like crumb.
- Flax or chia for extra structure in plant-based formulas. They work well when the flavor profile fits the loaf.
- Eggs for strength and lift. They help when the dough needs both protein support and a softer crumb.
A precision setup like D'BakerAid helps because binder behavior changes with temperature and humidity. Warm dough sets differently than cool dough, and a dry kitchen can make gums pull moisture faster than expected. D'BakerAid gives the baker a controlled environment, so the same binder ratio behaves more predictably from batch to batch. If you want a cleaner starting point, you can also make your own baking mix and adjust the binder separately instead of guessing at a ready-made blend.
For practical testing, keep the binder constant while you change only one variable at a time, such as hydration or flour blend. That makes the result easier to read. If the crumb is brittle, increase structure. If it turns tacky, reduce the binder or check whether the dough needs more rest before judging the texture.
3. Choose High-Quality Flour Blends Over Single-Ingredient Flours
A loaf made from one gluten-free flour usually tells you what it lacks before it tells you what it can do. Rice flour can stay dry and chalky, almond flour can brown early but weaken the crumb, and starches alone can set up a loaf that looks baked before it has structure. Good blends solve that by balancing structure, texture, and flavor, which is the same reason bread formulas work better when they combine starches with whole grains or protein-rich flours instead of relying on a single base Gluten Free Alchemist.
The practical rule is simple. Build the blend around the job the bread has to do. A sandwich loaf needs enough protein and starch to hold gas, retain moisture, and slice cleanly. A tender tea bread can tolerate a softer blend. That difference is why a flour system should be chosen for crumb behavior, not just for ingredient labels.
Commercial blends usually give you the cleanest starting point because the balance is already worked out. From there, keep the formula tied to that exact blend, since changing the flour changes hydration, rise, and browning at the same time. Read the package for starch balance and any binders already included, because some blends already carry part of the structure for you. Storage matters too, since cold, stable storage helps keep the blend consistent from one bake to the next.
If you want to build from scratch, use one controlled base and measure the effect of each change. That is where precision matters. D'BakerAid gives you tighter control over temperature and humidity, so the same blend behaves more predictably during mixing and proofing. If you want a cleaner starting point, you can also make your own baking mix and adjust the binder separately instead of guessing at a ready-made blend. For formulas that depend on fermentation timing and moisture retention, this fermentation science guide shows why those variables shift the final crumb.
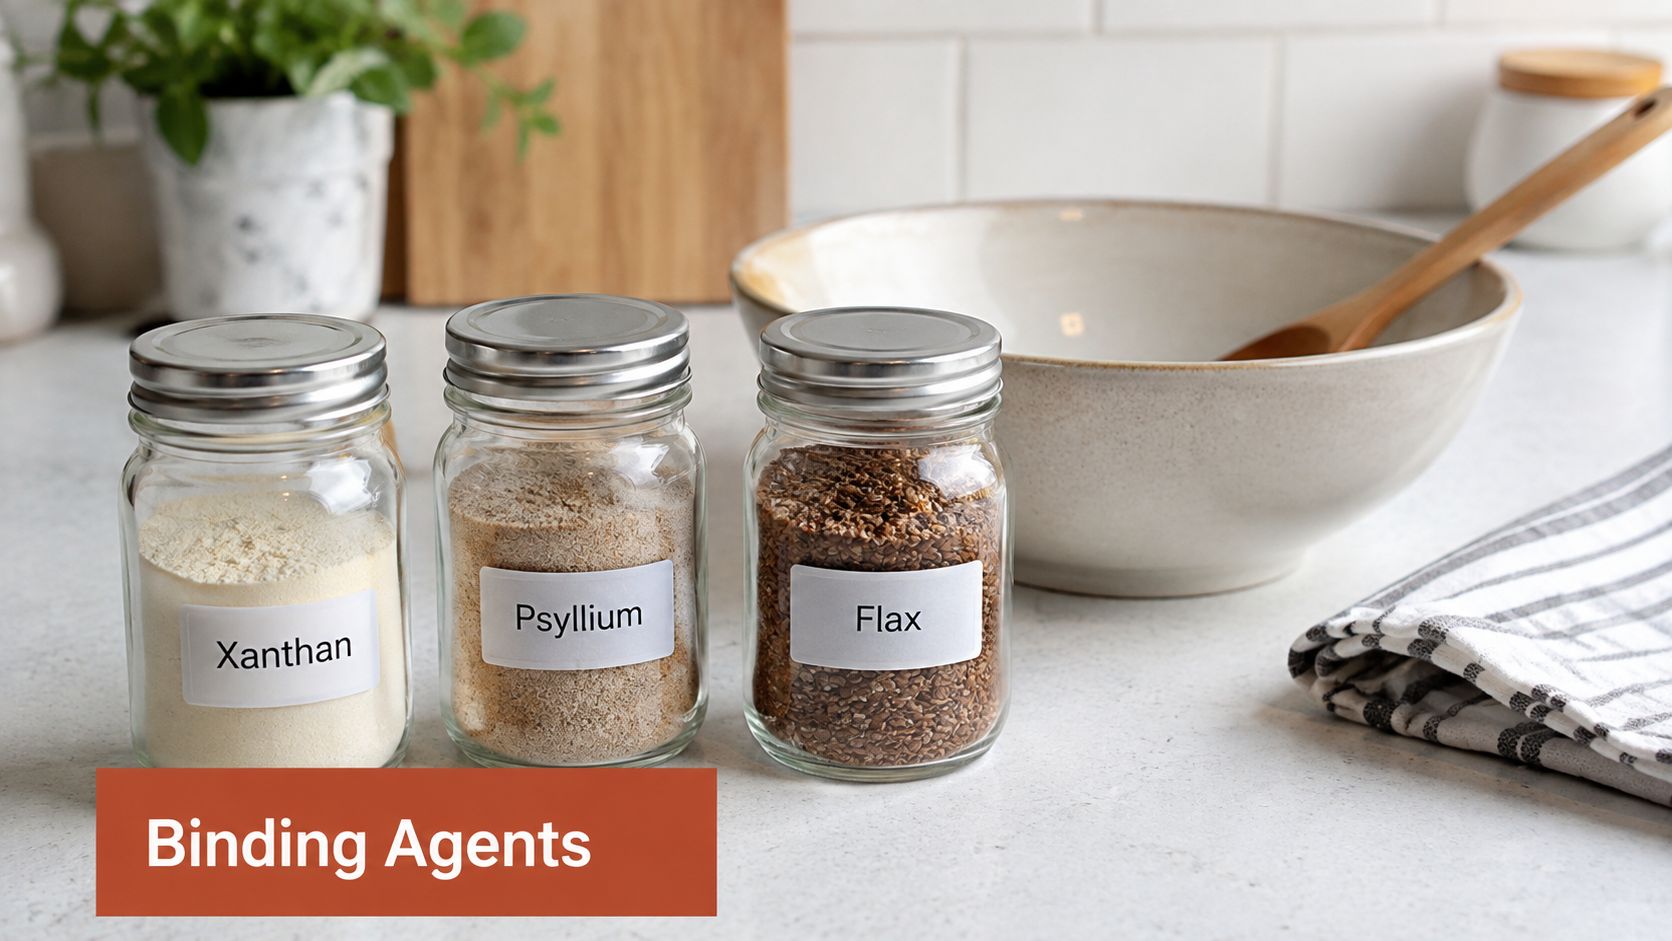
A good test batch tells you more than a long ingredient list. Keep the flour blend constant, then change only one factor at a time, such as hydration, room temperature, or rest time. If the loaf turns crumbly, the blend is too light for the job or needs more moisture retention. If it bakes up dense, the mix may be too starch-heavy or too soft to hold gas during rise.
4. Incorporate Acids and Fermentation Enhancers for Better Flavor and Structure
A flat gluten-free loaf usually needs more than salt and sugar. Acid can sharpen flavor, support browning, and help the dough hold together a little better, especially when the flour mix is already stretched thin on structure. In gluten-free baking, that matters because there is no gluten network to fall back on, so the formula has to do more of the work itself. Practical guidance on adjusting weak crumb formulas also points to adding structure-supporting ingredients like egg, gelatin, or oil when needed, rather than expecting the base mix to carry everything University of Oregon Extension, University of Manitoba Food and Nutrition.
Timing matters more than adding more
Add acid after the first mix, once the dough has started to hydrate. If you add it too early, you can change how the starches and binders absorb water before the dough has any shape. Diastatic malt powder can also help when it is certified gluten-free, since it supports browning and flavor development, but it is strong. Use a little, because too much can turn the crumb gummy or the crust overly dark.
Temperature control makes that process easier to read. D'BakerAid's Stage 1 bowl keeps the dough in a steadier zone, so acid and enzymes behave more predictably while you test a formula. That does not rescue a weak recipe, but it removes one more variable when you are trying to see whether the problem is the flour blend, the fermentation, or the additives. If you want a tighter look at how fermentation changes moisture and crumb, this fermentation science guide breaks down the relationship clearly.
Practical rule: If a loaf tastes flat, do not start by adding more salt. Tighten fermentation control first, then adjust acid and malt in small steps.
5. Manage Oven Spring and Crust Development with Steam and Temperature Precision
Gluten-free bread needs a different oven strategy than wheat bread. With less elasticity in the dough, the crust can set too soon if the oven runs dry, and that locks in a tight shape before the loaf has finished expanding. The core problem is not just rise, it is controlling when the crust firms up and when the center finishes setting. For a practical look at steam in baking, this guide to baking with steam explains how moisture changes the first stage of oven spring.
A dependable finish starts with heat you can measure, not guess.
Steam buys time, heat finishes the job
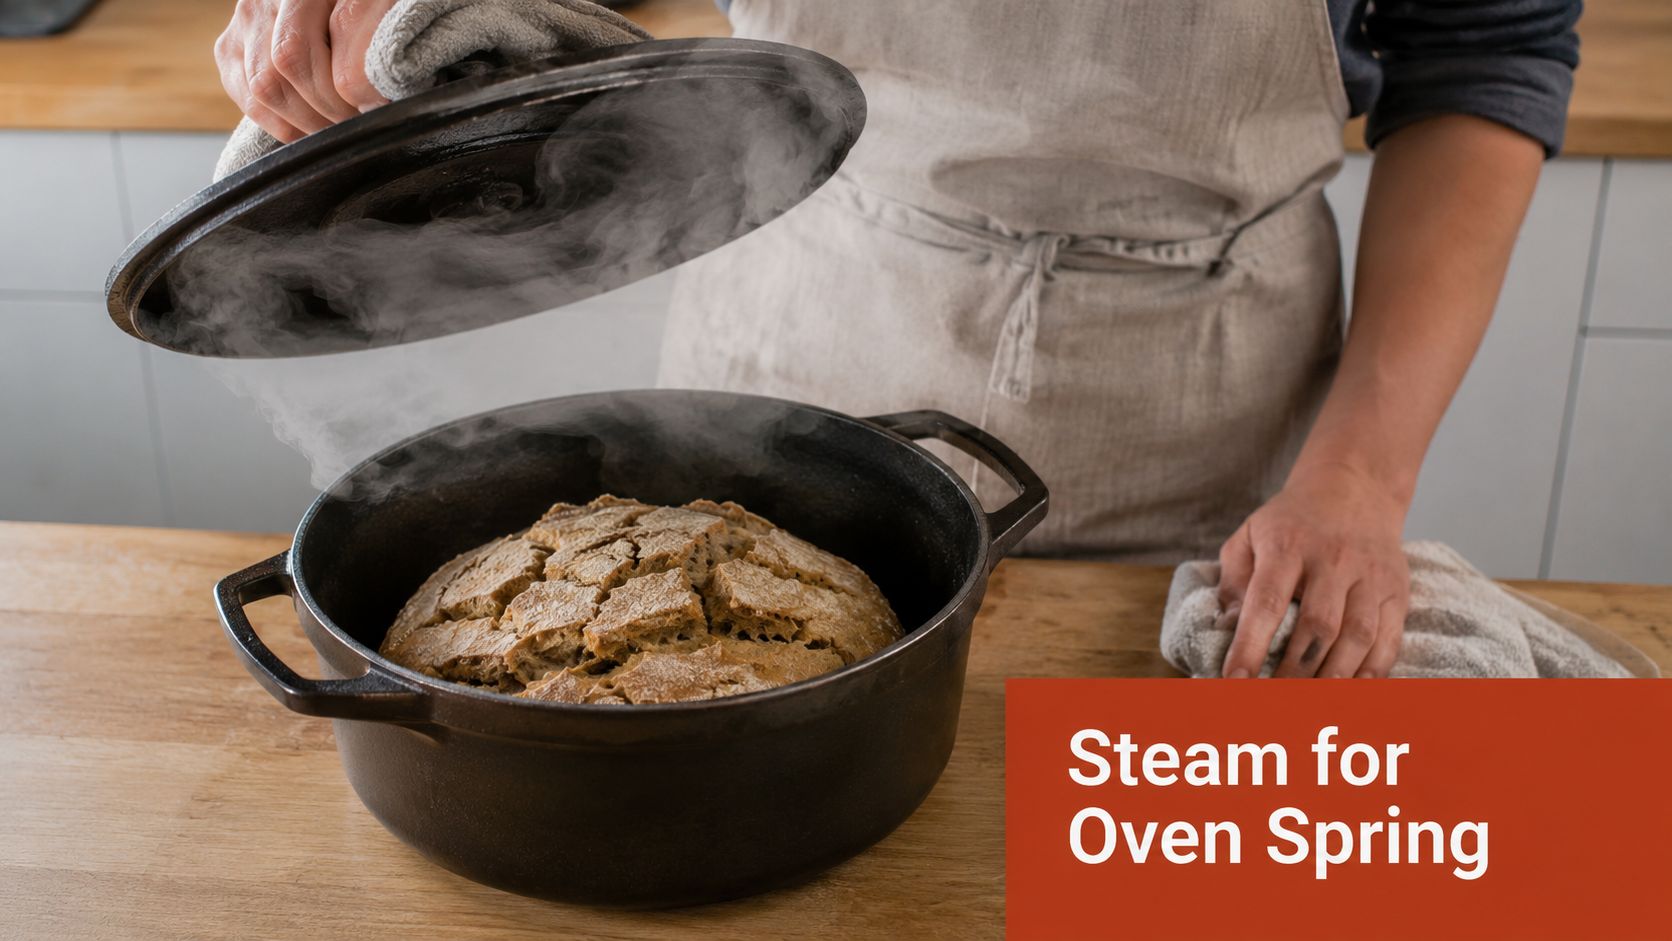
Steam delays crust formation during the first minutes of baking, which gives the loaf more room to expand before the outside hardens. That matters in GF baking because every bit of expansion time counts, and a dry oven can shut it down too early. D'BakerAid's D'Steamer is built for that job, giving you a humid start instead of forcing the loaf to fight a dry, fast-setting crust.
The routine stays simple, but each step has a purpose:
- Preheat fully. A weak preheat throws off spring from the start.
- Use steam early. The first part of the bake is when moisture helps most.
- Lower the heat after the steam phase. That lets the crust finish without scorching.
- Check internal temperature, not just color. Gluten-free loaves can look done before the center has fully set.
A common mistake is trusting crust color and stopping too soon. The loaf may look finished, then collapse while cooling because the middle was still underbaked, which leaves the crumb gummy even though the formula was sound. A steadier oven profile prevents that failure mode by matching surface setting to internal doneness.
D'BakerAid goes beyond being a mixer replacement here because it keeps the bake more repeatable from loaf to loaf. Stable heat, controlled steam, and a reliable target temperature give you the variables you can manage. That is what makes oven spring and crust development predictable enough to repeat, instead of something you hope turns out well.
5. Manage Oven Spring and Crust Development with Steam and Temperature Precision
Gluten-free bread will not spring like wheat bread, and that changes how you judge the bake. With less elasticity in the dough, the crust can set too early if the oven runs dry or too hot at the wrong moment. BBC Food's bread guidance is direct, bake until the center reaches 95–100°C and cool completely so the structure finishes setting without collapsing BBC Food. In gluten-free baking, doneness control beats guesswork every time.
Steam gives the loaf a short window to expand before the surface firms up. That brief delay matters because gluten-free dough has less structural reserve, so the oven needs to support the rise instead of shutting it down early. D'BakerAid's D'Steamer is made for that kind of control, giving the bake a humid start instead of forcing the crust to harden too soon.
A steady routine helps more than a complicated one.
- Preheat fully. If the oven is not fully ready, the loaf starts with poor lift.
- Use steam at the start. The first part of the bake gets the most benefit.
- Lower the heat after the steam phase. That keeps the crust from browning too fast while the center catches up.
- Check internal temperature, not just color. Gluten-free loaves can look finished before the middle has set.
Many home bakers stop too early because the crust looks right. The loaf then sinks as it cools, and the crumb turns gummy even though the formula was sound. Precision equipment reduces that failure by keeping heat and humidity in a tighter range, so the loaf is not fighting a dry oven and an unreliable finish at the same time. For a clear look at the steam method, bake with steam is a useful reference.
7. Test Your Gluten-Free Dough Continuously and Keep Detailed Records
A gluten-free dough can look right and still bake wrong. One batch feels tight because the room is dry, the next spreads because the flour absorbed less water, and a slightly warmer kitchen can push fermentation ahead faster than expected. That is why testing during the process matters more than trusting the final shape. Keep the variables under control, and the loaf becomes easier to read.
Record what the dough actually did
A useful notebook entry starts with the flour blend, the water amount, and the temperature of the room or proofing setup. From there, track how the dough moved through bulk rise and final proof, because those stages tell you more than the clock alone. After the bake, write down crumb texture, sliceability, flavor, and whether the loaf held its shape as it cooled.
A practical log can include:
- Flour brand and batch.
- Hydration amount by weight.
- Bulk rise and proof time.
- Baking temperature and internal doneness.
- Crumb notes, taste notes, and sliceability.
The goal is not perfect recordkeeping for its own sake. It is a pattern you can use. If a dough works only when the kitchen stays cool, or only when the proof runs shorter, that clue is what separates a repeatable formula from a lucky bake.
D'BakerAid helps here because its app records fermentation and proofing conditions while you stay focused on the dough itself. That kind of precision matters in gluten-free baking, where small changes in temperature or humidity can change the result fast. A controlled appliance gives you a steady baseline, so each test means something. It will not create a formula for you, but it will make the next bake comparable to the last one, and that is how better results start to repeat.
Keep the variables steady, then change one thing at a time.
7. Test Your Gluten-Free Dough Continuously and Keep Detailed Records
Gluten-free baking gets easier when you stop treating each loaf like a fresh mystery. Flour brands change, humidity changes, and even a small shift in hydration can change the crumb. The verified guidance across GF baking sources keeps pointing to the same core truth, measure carefully, rest the dough, and adjust one variable at a time Beyond Celiac. That's not glamorous, but it's how reliable bread gets built.
Make the loaf tell you what happened
Your notes don't need to be fancy. They need to be specific enough that the next bake starts from evidence instead of memory. After a few loaves, patterns usually emerge, especially if you keep the flour blend, hydration, and proofing temperature steady.
A useful log includes:
- Flour brand and batch.
- Hydration amount by weight.
- Bulk rise and proof time.
- Baking temperature and internal doneness.
- Crumb notes, taste notes, and sliceability.
D'BakerAid's app helps because it records fermentation and proofing conditions while you focus on what the dough did. That's the value of a precision appliance in gluten-free baking, it gives you a stable baseline so your tests mean something. A machine can't invent a great formula, but it can make your next bake more comparable to the last one, which is what turns casual trial and error into skill.
Keep the variables small. If hydration, temperature, and flour all change at once, you won't know what fixed the loaf or what broke it.
7-Point Comparison: Gluten-Free Baking Tips
| Item | Implementation Complexity 🔄 | Resource Requirements ⚡ | Expected Outcomes 📊 | Ideal Use Cases ⭐ | Key Advantages / Tips 💡 |
|---|---|---|---|---|---|
| Master Hydration Ratios for Gluten-Free Doughs | High 🔄🔄🔄, precise hydration + temp control | Precision scale, higher water %, D'BakerAid Stage 1 | Tackier, moister crumb; predictable rise when correct | Bakers aiming for open crumb and reliable loaves | Start ~80% hydration; weigh ingredients; maintain 76–78°F |
| Use Binding Agents and Xanthan Gum Strategically | Medium 🔄🔄, dosing and combos matter | Xanthan, psyllium, flax, eggs; Stage 2 proofing | Improved structure, reduced crumbling, variable chew | Custom GF recipes; dietary substitutions and texture tuning | Mix gums with dry flour; hydrate psyllium; start conservatively |
| Choose High-Quality Flour Blends Over Single Flours | Low–Medium 🔄🔄, ingredient choice over technique | Purchase premium blends (higher cost), proper storage, D'BakerAid programs | Consistent rise, better flavor and crumb similar to wheat | Bakers wanting reliable baseline and fewer adjustments | Use tested blends (King Arthur, Cup4Cup), store refrigerated/frozen |
| Incorporate Acids and Fermentation Enhancers | Medium 🔄🔄, timing and amounts critical | Lemon/vinegar/yogurt, GF diastatic malt or starter, temp control | Better flavor, browning, slightly stronger gas retention | Flavor-focused bakes and crust improvement | Add acid after hydration; use malt sparingly; keep 76–78°F |
| Manage Oven Spring and Crust Development with Steam & Temp | High 🔄🔄🔄, timing and equipment sensitive | D'Steamer or steaming method, very hot oven, Dutch oven/stone | Maximal oven spring for GF, thin crackly crust, superior browning | Artisan-style crusty loaves; visual/texture-driven bakes | Preheat well; steam 12–15 min at 475–500°F, then reduce temp |
| Proof Gluten-Free Doughs Shorter and Cooler Than Wheat | Low–Medium 🔄🔄, watchful, rule-based | Proofing bowl with ±0.5°C (Stage 2), timers | Reduced collapse risk; more predictable structure | Daily GF loaves seeking consistency and fewer failures | Aim 50–75% rise; final proof 45–60 min at 76–78°F; use poke test |
| Test Your Gluten-Free Dough Continuously & Keep Records | Medium 🔄🔄, disciplined experimental approach | Time, small test batches, camera, app or spreadsheet (D'BakerAid app) | Faster optimization, reproducible recipes, fewer wasted loaves | Recipe developers and bakers troubleshooting variability | Log one variable at a time; photo stages; 5–10 bakes to baseline |
From Frustration to Perfection Your GF Baking Journey
Gluten-free bread gets easier the moment you stop asking one flour to behave like wheat. The better question is how each variable, hydration, binder choice, fermentation time, proofing temperature, and steam, affects the loaf in your kitchen. Once you start thinking that way, the process stops feeling random. It becomes a set of controllable decisions.
That's why precision tools matter. D'BakerAid's fermentation bowl, proofing bowl, and D'Steamer don't replace technique, they make technique repeatable. A loaf that rises unpredictably one week and collapses the next usually doesn't need more hype, it needs steadier conditions. When the machine holds those conditions, you can finally see whether the formula itself is working.
The biggest mistake home bakers make is changing too many things at once. They swap flours, switch binders, alter hydration, and then wonder why the result doesn't match the last bake. The smarter path is slower. Keep one baseline recipe, change one variable, and write down what happened. That's how you move from dense slices and gummy centers to bread that cuts cleanly and finishes with a consistent crumb.
If you're making bread for a family, for a macro target, or just because you're tired of throwing away failed loaves, consistency is the win. You don't need to master every technique in one weekend. You need a method that gives you a fair shot every time you turn on the oven. Start there, and the bread gets better.
D'BakerAid is built for bakers who want repeatable bread, not guesswork, and that's exactly what gluten-free dough demands. If you want controlled fermentation, stable proofing, and a steam-assisted bake that helps tough doughs finish properly, visit DBakerAid and see how the system fits your kitchen.