

Bubbles can make a young sourdough starter look ready, but they don't prove it has matured. Adding commercial yeast can produce gas quickly; it can't instantly create the bacterial activity responsible for sourdough acidity and flavor.
The useful question isn't whether you can add yeast. It's whether you want to rescue a weak starter, speed up a particular dough, or maintain a naturally propagated culture. Those goals call for different methods, and the least disruptive option is often to keep commercial yeast out of the starter and add it only to the dough that needs help.
Table of Contents
- What Adding Yeast Changes
- Choose the Right Yeast Strategy
- Build a Controlled Hybrid Starter
- Add Yeast Directly or Preproof It
- Manage Fermentation and Flavor
- Fix Common Yeast and Sourdough Problems
- Use Yeast Without Losing Your Sourdough
What Adding Yeast Changes
Commercial baker's yeast provides a predictable source of carbon dioxide, the gas that helps dough rise. In a sourdough starter, naturally occurring yeasts produce carbon dioxide and ethanol, while lactic-acid bacteria produce organic acids that lower pH and contribute sour flavor. Adding baker's yeast changes the leavening system, but it doesn't automatically remove the starter's bacteria or replace their work. Penn State's summary of sourdough microbiome research describes a global study of 500 starters in which no two were exactly alike, a reminder that starter performance and flavor can vary.
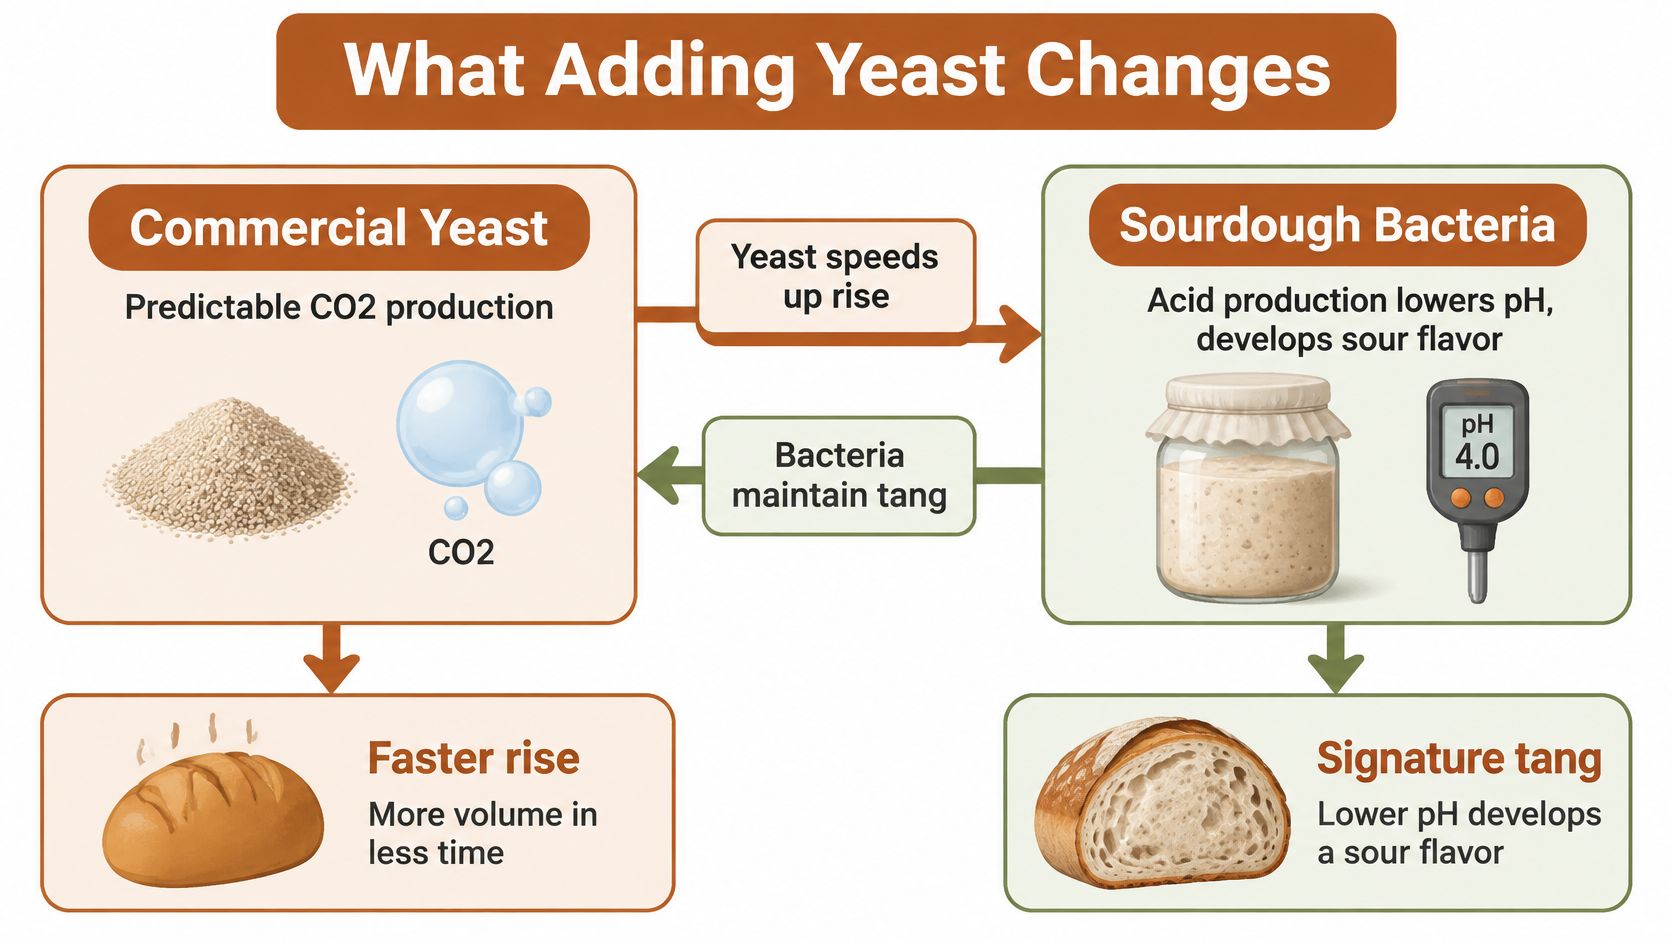
That's why a young mixture can bubble and rise convincingly without being a mature sourdough culture. Gas activity and acid development are separate signals. Bubbles show that fermentation is producing gas, not that the bacteria have had enough time and suitable conditions to develop sourdough character.
Use accurate names for the result. Bread leavened with both sourdough culture and baker's yeast is yeast-assisted sourdough. A dough deliberately built around both commercial yeast and sourdough microbes can be described as a hybrid dough. Naturally leavened sourdough relies on the starter for leavening without added baker's yeast.
The choice depends on the problem you're solving. If a weak starter needs help raising dough, added yeast may improve rise reliability. If you want tang, a faster rise alone won't deliver it. Treat commercial yeast as a control tool for leavening and timing, not as an instant maturity cure or a guarantee of identical flavor.
Choose the Right Yeast Strategy
Before feeding yeast into your starter, decide whether it needs to live there at all. If you want a dependable rise for one bake, adding a measured amount directly to the dough usually leaves your established starter's maintenance routine undisturbed. If you want yeast present in a preferment, you can build a hybrid while accepting that you're changing the fermentation system.
| Method | Best for | Main benefit | Main trade-off |
|---|---|---|---|
| Temporary starter rescue | A weak culture that needs more dependable leavening for a bake | Adds a predictable source of gas | Faster rise doesn't mean mature sour flavor |
| Ongoing hybrid feeding | Bakers who intentionally want a faster, mixed-yeast cycle | Combines sourdough inoculum with commercial yeast | Makes culture behavior and maintenance harder to compare |
| Direct dough addition | A single bake where the starter should remain unchanged | Helps the dough rise without altering the stored culture | Requires adjusting fermentation expectations |
| Continued natural propagation | Bakers prioritizing flavor development and culture continuity | Preserves the established starter's routine | Leavening can be slower and less predictable |
A separate naturally propagated starter can supply the sourdough inoculum even when you use commercial yeast in the dough. That's often the more practical choice if you want repeatability without permanently changing the culture you maintain.
Practical rule: Choose the smallest intervention that solves the immediate problem. Don't change the starter, dough formula, and fermentation conditions all at once.
Whichever option you choose, don't use bubbles alone as a maturity test. Judge the starter and the finished dough by their development, including expansion and acidity, rather than assuming that visible gas means the culture is ready to behave like an established sourdough starter.
Build a Controlled Hybrid Starter
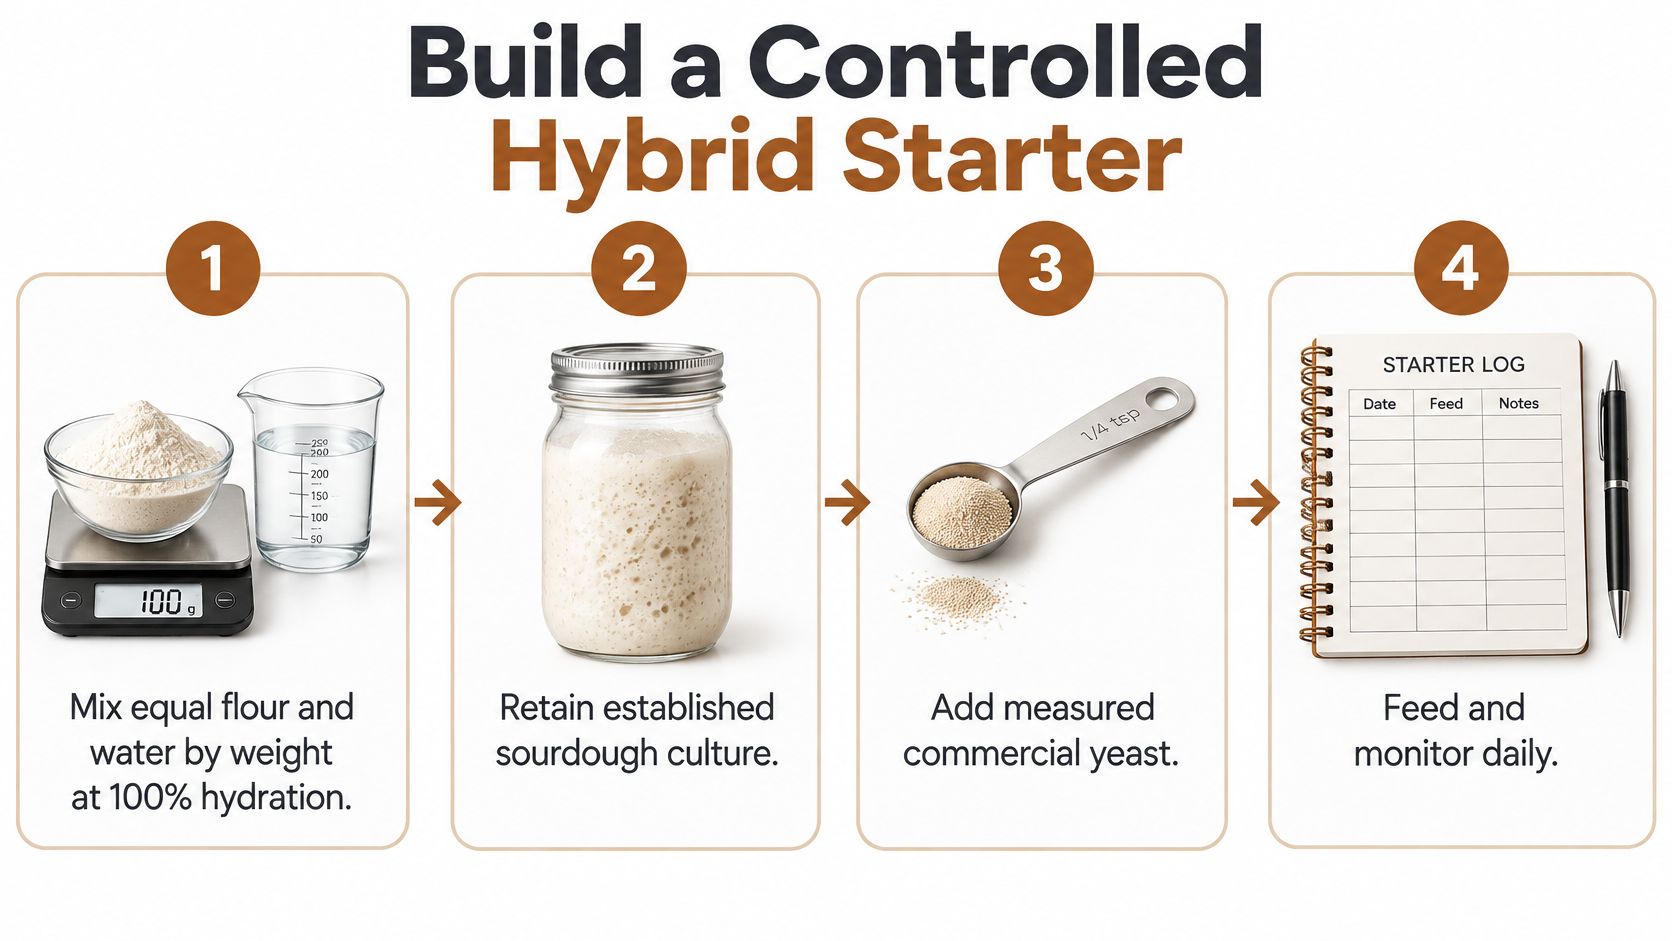
If you want commercial yeast inside a hybrid starter, weigh the ingredients and record what you add. Equal weights of flour and water make a 100% hydration mixture. Keep some established sourdough culture in the build if you want sourdough acidity and flavor to contribute from the start.
Measure, then monitor
A controlled build can use approximately 0.1–0.5% instant yeast based on flour weight, with the percentage and method described in research on stable sourdough propagation. For example, calculate the yeast from the flour weight rather than estimating a pinch. The intended dose is small; adding more isn't a substitute for bacterial development and can make the mixture peak and collapse before you use it.
Mix the flour, water, established sourdough inoculum, and measured yeast. Put the mixture in a marked container so you can see its expansion. Keep a written record of the temperature and elapsed time, and ferment at about 25–30°C. The cited research also reports a repeatedly propagated system maintained at 25°C for 5 hours with a pH of 4.24–4.31 and lactic-acid-bacteria populations near 8.9–9.1 log CFU/g. Those research conditions describe a repeated propagation process, not a promise that one quick yeast addition will produce a mature culture.
Decide when to use it
Look for substantial expansion and, if you have a pH meter, roughly pH 4.2–4.4 before using the mixture as a hybrid preferment. If it has only begun to bubble, give it more time rather than treating gas as proof of bacterial maturity. If it has peaked and started to collapse, note the timing and adjust the next build rather than assuming it needs more yeast.
Repeatedly adding flour and water without discarding or measuring makes it hard to track the culture's acidity and available food. Refresh by discarding part of the mixture and feeding a measured amount. That keeps the build interpretable, and helps distinguish a change in the yeast dose from a change caused by feeding, hydration, or temperature.
Add Yeast Directly or Preproof It
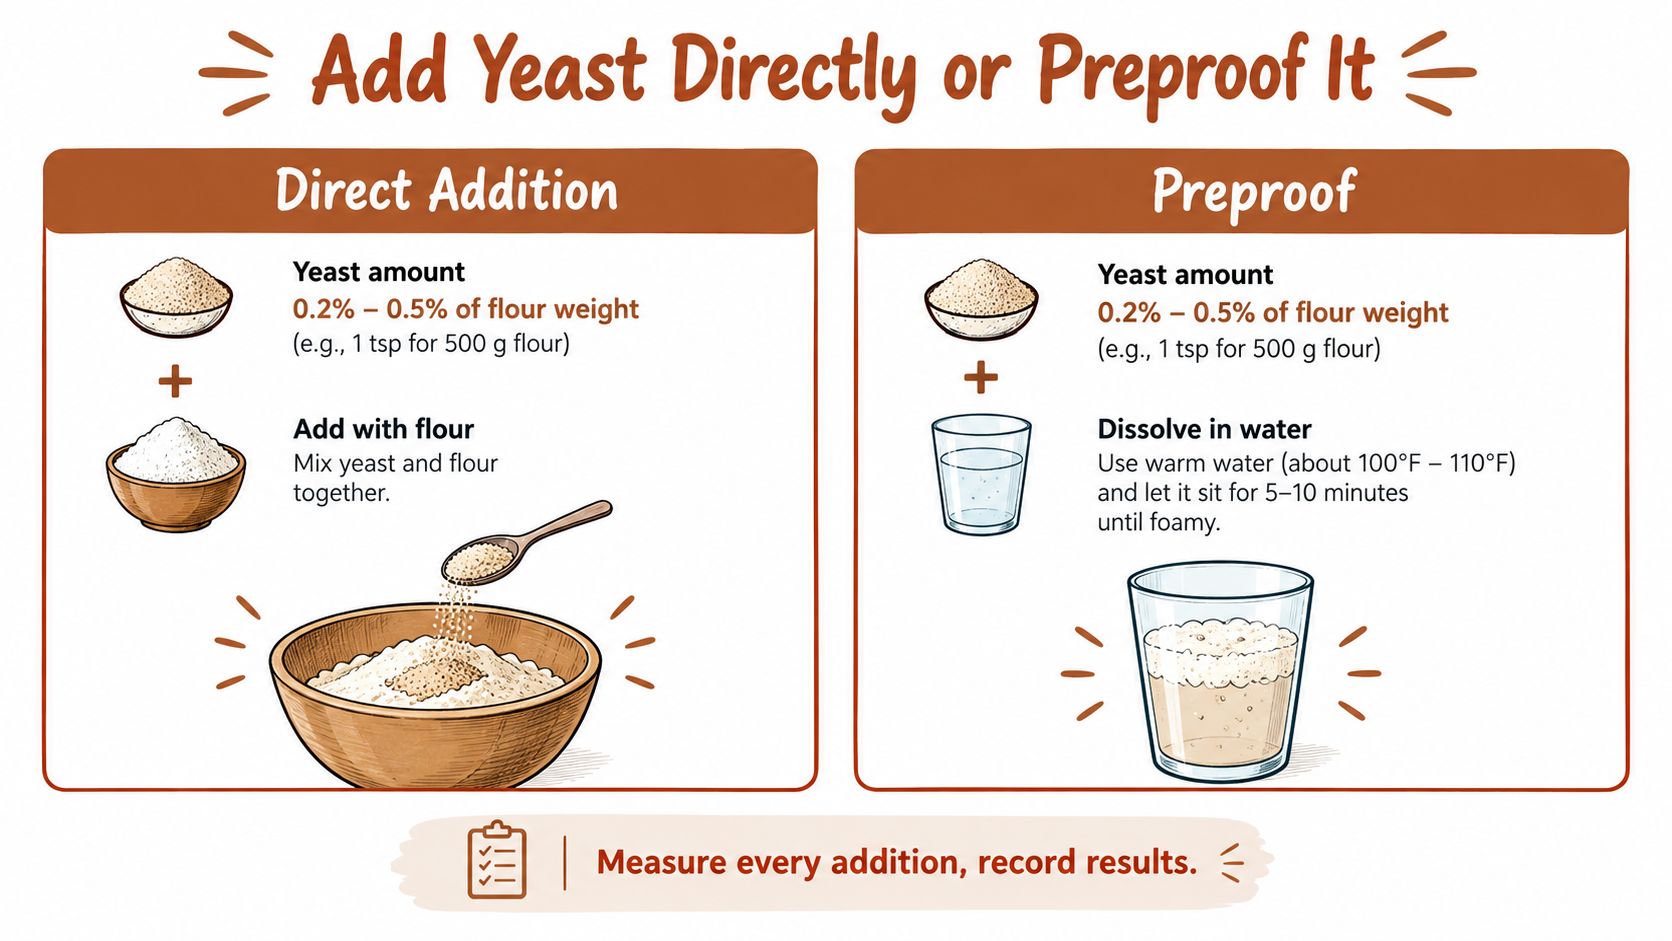
For one loaf, adding a measured dose to the dough is often simpler than changing the starter. Calculate the yeast from the flour weight, then add it with the flour during mixing. Keep the established sourdough preferment if you want its acidity and flavor; simplify or remove that component only if you're deliberately changing the formula.
Preproofing is another way to handle the yeast. Mix the measured amount with flour and water before combining it with the sourdough component. This can make it easier to see whether the yeast is active before mixing the final dough, but it adds another preparation step and doesn't mature the sourdough bacteria. Yeast products differ, so follow the manufacturer's dosing basis rather than assuming that instant yeast and other forms can be exchanged by volume.
| Method | Practical when | What to watch |
|---|---|---|
| Direct addition | You want a simple, one-bake adjustment | Weigh the yeast and mix it evenly with the flour |
| Preproof | You want to observe yeast activity before mixing | Use the manufacturer's guidance for the yeast product and account for the added liquid |
For step-by-step background on pre-fermenting instant yeast, see why instant yeast can benefit from pre-fermentation. Regardless of method, separate starter activation from final-dough leavening. A lively starter doesn't guarantee that the dough will be ready at the time printed in a recipe.
Judge the dough by its expansion, surface structure, and acidity. If those signals show that it needs more time, don't rush it because the original recipe clock says it should be ready. Added yeast can change the timing, and the dough's condition is more useful than a schedule that no longer matches the fermentation.
Manage Fermentation and Flavor
Commercial yeast can accelerate gas production, but the balance between rising and sour flavor still depends on the sourdough bacteria and the conditions they experience. A larger rise doesn't necessarily mean stronger tang. Likewise, warmer fermentation isn't automatically better: yeasts and bacteria respond differently to temperature, so a setting that speeds one part of fermentation may shift the overall result. Research on temperature and sourdough fermentation describes differences in growth conditions for Lactobacillus sanfranciscensis and the sourdough yeast Candida milleri; the modeling research reinforces why temperature matters even after commercial yeast is added.
Hydration, inoculation amount, flour, feeding rhythm, and fermentation duration remain active variables. A sourdough study comparing fermentation conditions found different effects on yeast metabolism and bacterial acidification, including a treatment at 28°C with higher yeast-cell density and carbon-dioxide production and lower acidity than its 35°C treatment. The findings don't establish a universal temperature setting for home baking; they show why warmer conditions shouldn't be treated as an automatic route to better rise or flavor. The study's fermentation results illustrate the trade-off.
A faster rise can solve a timing problem. It can't recreate sourness that hasn't developed.
Keep a simple log for each test: flour weight, yeast dose, starter percentage, fermentation temperature, elapsed time, and final rise. Compare batches before changing another variable. If the loaf rises faster but tastes less tangy, that's useful information about the trade-off, not proof that the fermentation failed.
Temperature control can help make those comparisons more repeatable. DBakerAid offers an appliance system with separate bowls for starter fermentation and dough proofing, plus a hub to control temperature and time. Its role is controlling fermentation conditions, not correcting every recipe, culture, or ingredient issue. For more background on the variables, see fermentation science for bread making.
Fix Common Yeast and Sourdough Problems
Troubleshoot what you can observe before adding more yeast. A starter that peaks and collapses before mixing may be moving through its food too quickly for your schedule. Reduce the yeast dose, use a cooler environment, or shorten the time before you mix. Marking the container helps you see whether the starter has already peaked rather than mistaking a collapsed mixture for one that never rose.
Dough that rises weakly calls for a different check. Confirm that the commercial yeast is still active, verify that you weighed the dose against flour weight, and check the fermentation temperature. Also confirm that the sourdough starter itself is active if the formula depends on it. Adding more yeast without checking these conditions can make the next batch harder to interpret.
Excessive tang or inconsistent flavor isn't automatically the fault of the added yeast. Consider how much starter you used, how long the mixture fermented, and how acidic it became. If flavors vary between batches, return to measured feedings and consistent records before changing the formula again.
Sourdough performance depends on flour-to-water ratio, inoculation amount, fermentation time, and temperature; research has found that maximum yeast counts and maximum lactic-acid-bacteria counts can occur under different time-and-temperature conditions. Research on sourdough propagation supports changing one variable at a time rather than treating added yeast as a universal fix.
Keep starter maintenance separate from the final dough proof. Record the feed, temperature, time, and rise for the starter, then separately track the dough's rise after mixing. That makes it easier to tell whether the culture or the final proof needs attention.
Use Yeast Without Losing Your Sourdough
Choose by goal: rescue a weak starter, speed up one dough, or preserve flavor and culture continuity. Use the least disruptive method, measure every yeast addition, and record fermentation conditions. Verify both rise and acidity instead of treating bubbles as proof of maturity.
If the yeast was a temporary rescue, return your established starter to measured feedings rather than carrying the accelerated cycle forward. A guide to sourdough starter maintenance can help you keep the culture's routine distinct from a one-off yeast-assisted bake.
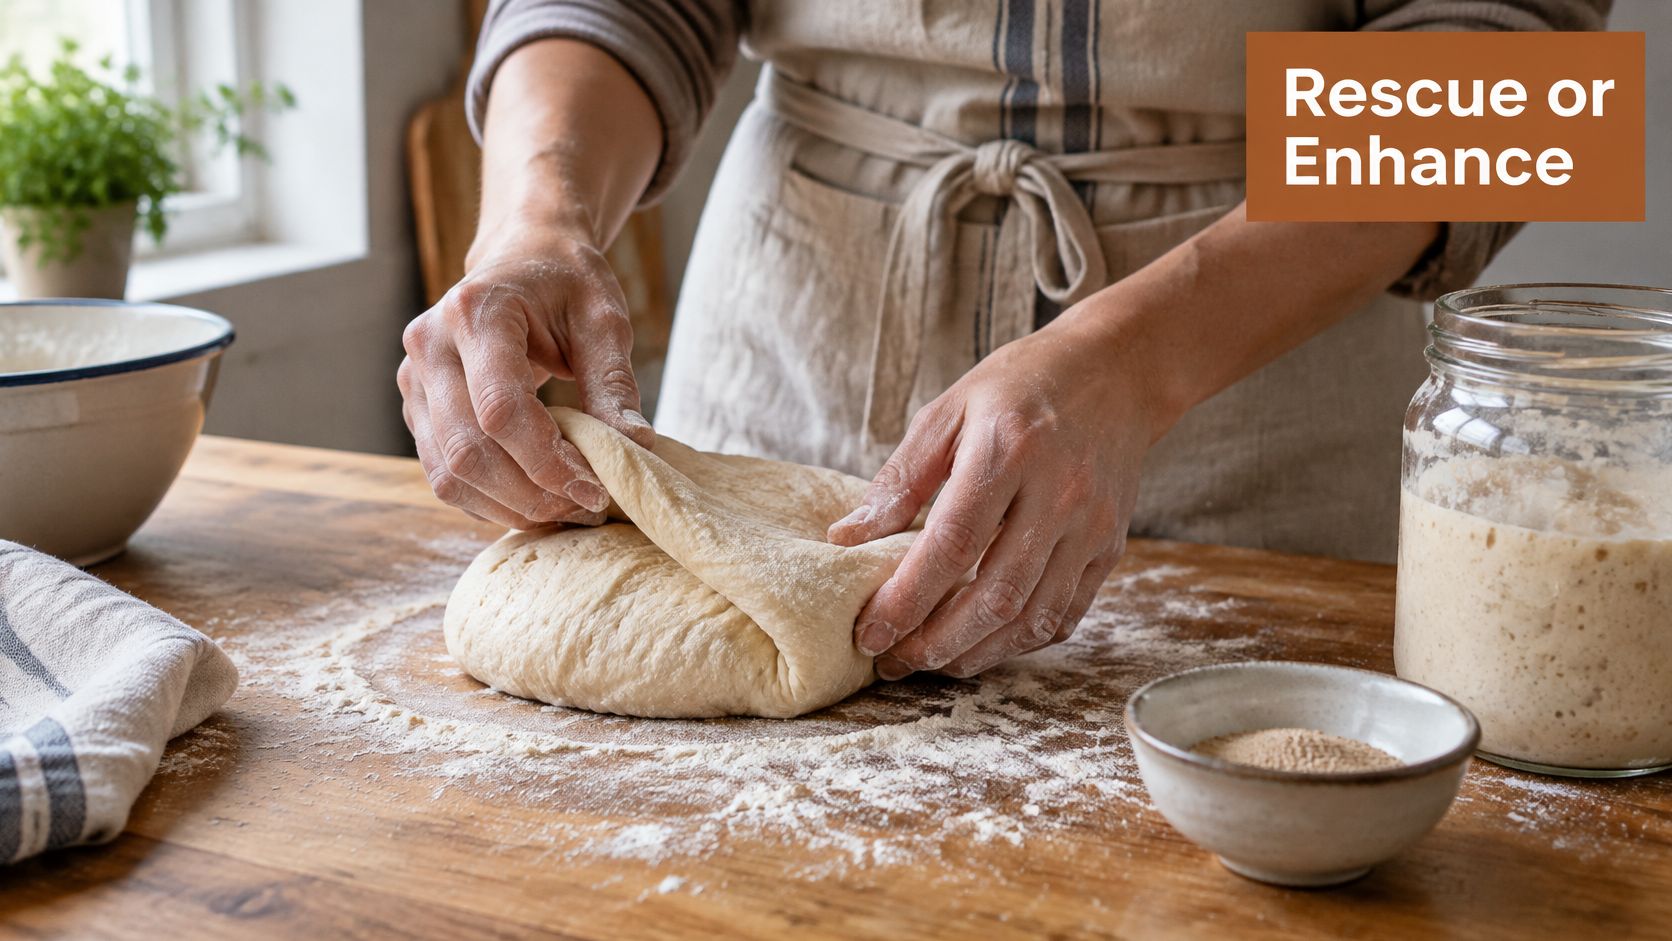
Added yeast can make leavening more reliable, but sourdough character still depends on time, bacteria, and disciplined handling.
DBakerAid™ offers a precision bread-making system with separate bowls for starter fermentation and dough proofing, plus temperature and time control. If you want more repeatable conditions while testing a yeast-assisted loaf or maintaining sourdough, visit DBakerAid™ to explore the system and its bread-making resources.