
5 loaf diagnosis
A free guide · D'BakerAid kitchen
The 5-Loaf Diagnosis
Why your bread keeps failing — and the pro fix for every one of them.

Read this first
You've followed a recipe carefully. Used good flour. Fed your starter on time. The bread still came out wrong.
You didn't fail. Your kitchen did.
Most home bakers, even experienced ones, blame themselves when a loaf goes flat, gummy, or pale. Almost every time, the real problem isn't skill — it's one of five invisible variables. Once you know what to look for, the same recipe stops betraying you.
This guide walks through the five most common bread failures, what's actually causing each one, and the fix the pros use. Five symptoms, five causes, five pro fixes.
Let's go.
— The D'BakerAid Team
Diagnosis 01Flat loaf. Poor rise.
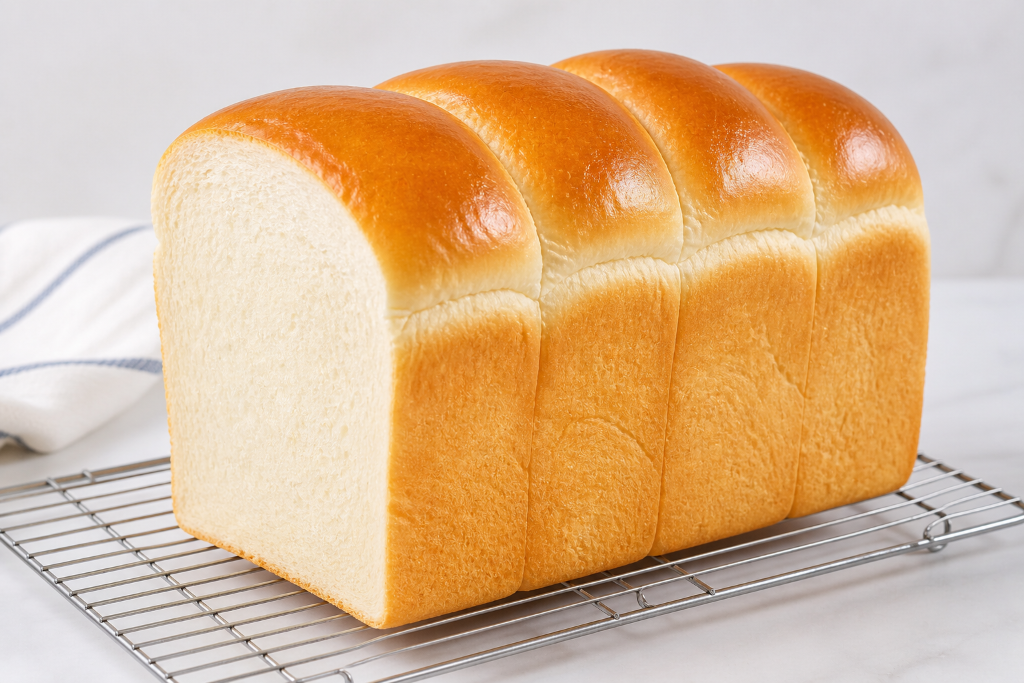
A properly risen loaf — high crown, even tight crumb. The opposite of a flat result.
The real cause: your yeast never woke up properly.
Yeast is alive. It's a single-celled fungus that wakes up, eats sugar, and exhales carbon dioxide — the gas that inflates the dough. The catch: different yeast types only wake up at specific temperatures.
Instant yeast activates at 27–32°C (80–90°F). Below 22°C, it's half-asleep.
Active dry yeast needs 35–43°C (95–110°F) to bloom in water. Colder water leaves it dormant.
Fresh yeast is fragile, happiest at 24–30°C.
Wild sourdough yeast thrives at 24–28°C. Below 22°C, it goes dormant. Above 30°C, the bacteria take over.
If your kitchen is 19°C in winter (which is normal), your yeast is barely metabolizing. If you put the bowl on top of the fridge to "warm it up," you might overshoot to 32°C and cook the yeast instead of activating it.
Pro fix
Bring the yeast to its biological temperature — before the flour goes in.
Activate the yeast in warm water, in a small bowl, for 10–15 minutes until you see foam. No foam after 15 minutes means the yeast is dead or the temperature is wrong — start over. The professional approach is a controlled chamber that holds the yeast at its precise activation temperature for the full activation window. That's one of the two stages the SureDough™ system controls.
Diagnosis 02Gummy, dense crumb.
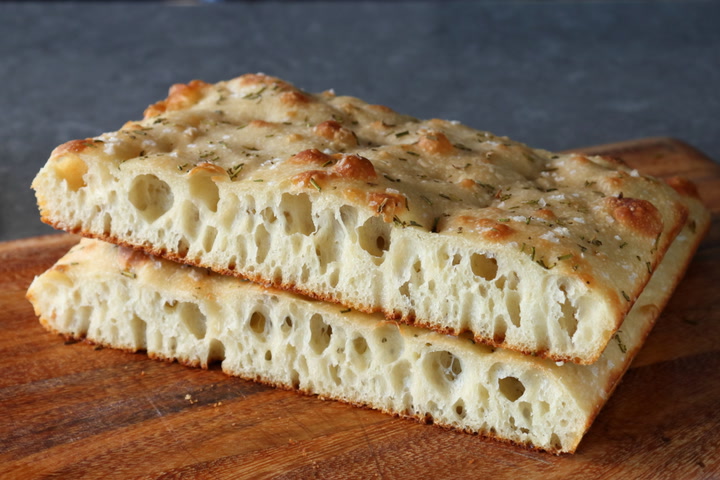
Big, airy, open crumb — what proper hydration and full proofing look like.
The real cause: under-proofed dough.
Most home bakers under-proof. They follow a recipe that says "rise until doubled," but their kitchen is colder than the recipe assumed, so the dough is only 60% proofed when they shape and bake. The gluten network hasn't fully developed, the gas pockets are small and tight, and the bread is dense.
A second possibility: wrong hydration. Most home recipes use 60–65% hydration because it's easy to handle. Truly great bread uses 75–85%. Lower hydration always means tighter crumb.
The three-test method
The poke test: Press a floured finger gently into the proofing dough. Springs back fully → under-proofed. Stays indented → over-proofed. Springs back halfway → perfect.
The visual test: Dough should have risen 70–80% and feel airy and light when you lift the bowl. Heavy = needs more time.
Try higher hydration: Add 5% more water to your favorite recipe. Then 10%. Wet your hands when handling.
Pro fix
Hold the dough at a steady, correct temperature.
Recipes work the way they were written when conditions match the assumptions. Bakeries use proofing cabinets — and that's exactly what the SureDough™ Dough Proofing Modes recreate at home.
Diagnosis 03Pale, soft crust.

The mahogany, crackled, blistered crust that steam and Maillard chemistry produce together.
The real cause: no steam in the first ten minutes of baking.
This is the single most-asked question we get. The fix isn't a recipe change — it's an environment change.
In the first 8–10 minutes of baking, two things have to happen at once:
- The dough has to keep expanding ("oven spring").
- The surface has to stay moist so the crust doesn't form yet.
If the crust hardens early, it traps the dough mid-rise. You get a dense loaf with a pale, leathery shell. If the surface stays moist for the first ten minutes, the dough keeps inflating in the heat. Then the steam clears, the surface dries, and the Maillard reaction kicks in — the same browning chemistry that darkens a seared steak. That's the deep mahogany color. That's the malty, almost-caramelized smell.
Why home workarounds usually fail
Tray of hot water on the bottom rack — leaks out fast.
Ice cubes thrown onto a hot pan — same problem.
Wet dish towel — fire risk and uneven.
Dutch oven with lid on for the first 20 minutes — works if you're baking a boule that fits.
Pro fix
Recreate bakery humidity for the first 10 minutes.
The D'Steamer mounts on your oven wall, fills with water, and releases steam at 82–88% humidity through the critical first minutes. Same physics as a professional steam-injected oven. The crust hardens last. Maillard does its job.
Diagnosis 04Dead or sluggish sourdough starter.
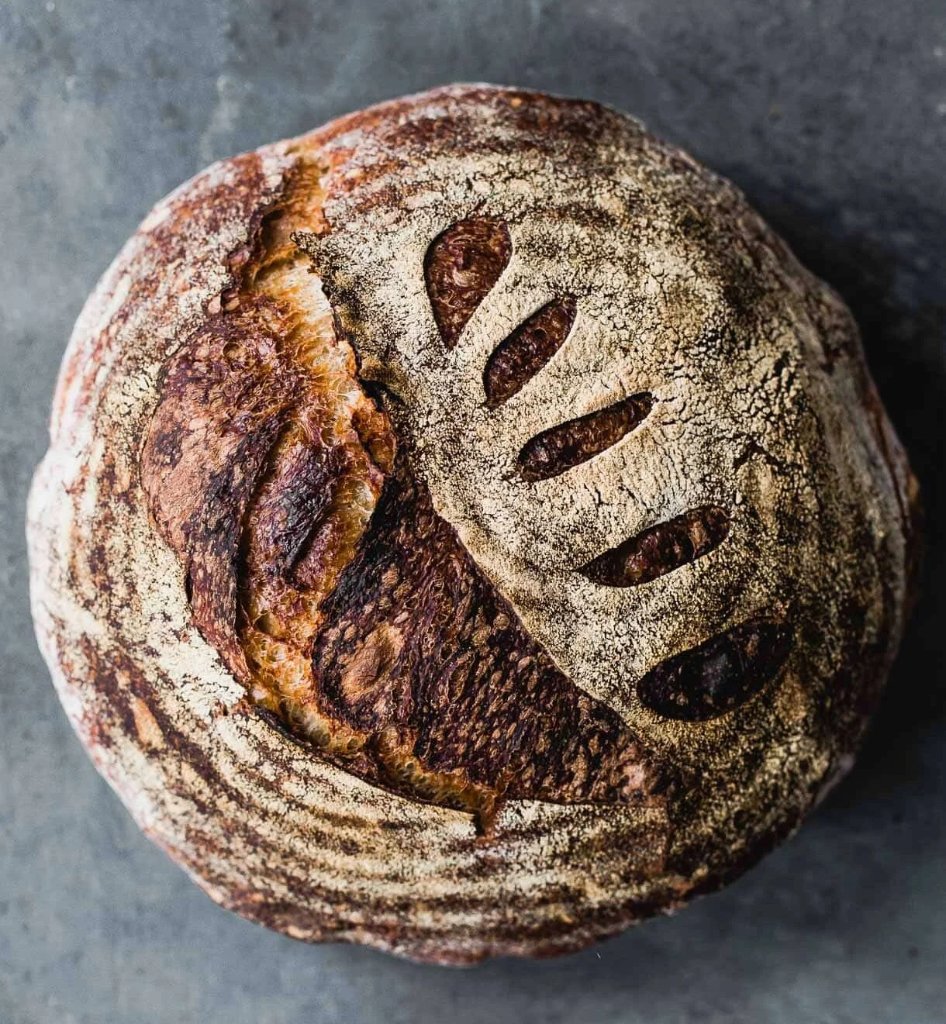
A healthy, active starter is the difference between sourdough as routine and sourdough as a mystery.
The real cause: temperature swings have stalled the culture.
A healthy sourdough starter is a stable ecosystem of wild yeast (mostly Saccharomyces) and lactic-acid bacteria (mostly Lactobacillus). Both live in balance. The yeast makes the gas. The bacteria make the tang.
Both species are temperature-sensitive in different ways. Wild yeast thrives at 24–28°C. Below 22°C, it goes dormant. Above 30°C, it burns through sugars too fast and dies off. Lactic-acid bacteria keep working at colder temperatures than the yeast.
So in a cold kitchen, the yeast slows, the bacteria don't, and your starter shifts from "rising bread" to "sour, weak, gluey." That's why most starters die in winter — and why the ones that survived 2020 lost it the following November.
Three fast restarts
Restart from scratch: 50g flour, 50g water, room temp, feed twice a day. Vigorous activity by day 5.
Keep it warm and consistent: Find the warmest stable spot in your kitchen. Use a thermometer. Aim for 24–26°C consistently.
Feed by ratio, not by clock: 1:5:5 (starter:flour:water) builds a stronger culture than 1:1:1 in a slow kitchen. Wait until it has doubled and started to fall — that's when it's ready to bake with.
Pro fix
A controlled chamber at 26°C.
The exact midpoint of both species' optimal range. Keeps the starter active year-round, regardless of season. That's what the Sourdough proofing mode does on D'BakerAid.
Diagnosis 05Inconsistent results from the same recipe.
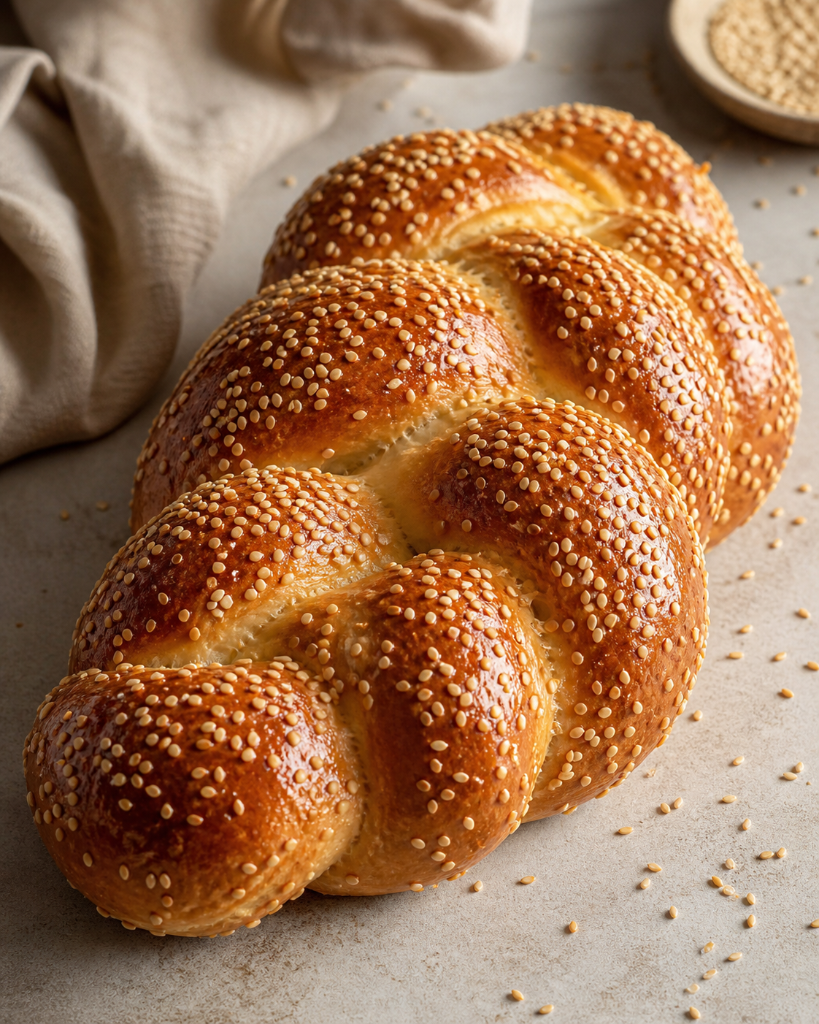
A braided challah is the loaf that humbles bakers — three strands, all expected to look identical. Consistency is the whole game.
The real cause: your kitchen is changing under you.
Most home kitchens swing ±4.2°C every single day. Mornings are cool. Afternoons are warm. Tuesday isn't Saturday. Summer isn't winter. Even the spot you put the bowl matters.
Yeast notices every degree. A two-degree shift can mean:
- A 4-hour proof becomes 6 hours.
- A 6-hour proof becomes 3 hours, and over-fermentation collapses the structure.
- A dough that should be airy ends up dense or gummy.
This is why every baking forum is full of "what did I do wrong?" posts. Most of the time, nothing was done wrong. The kitchen shifted, and the dough went a different direction.
Professional bakeries are consistent for one reason: they control the environment. Their proofing cabinets hold the dough at one exact temperature, every batch, year-round.
Until you have a chamber
Use a thermometer. Take your kitchen's temperature where you proof. Morning and afternoon. You'll be shocked how much it moves.
Adjust by season. In winter, find a warmer spot or add 30 min. In summer, watch for over-proofing and pull early.
Match the conditions to the recipe. Recipes are usually written assuming 24°C / 75°F. If your kitchen is 19°C, the recipe is lying to you about timing.
Pro fix
A precision-controlled chamber holding the dough at ±1°C.
Independently validated under IEC 60068-2-1:2007. That's roughly eight times tighter than the average kitchen — and exactly what the SureDough™ system does.
Where this leaves you.
If you've read this far, you now understand five things most home bakers never figure out:
- Flat loaves are a yeast-temperature problem, not a recipe problem.
- Gummy crumb is usually under-proofing or low hydration.
- Pale crust is a steam problem.
- Dead starters are almost always temperature-stability problems.
- Inconsistent results are kitchen-environment problems.
Once you see the cause, the fix becomes obvious. You can solve every one with patience, a thermometer, and some workarounds. Or you can solve them at the source with a system built for it.
The system at the source
D'BakerAid™ SureDough™ Complete Kit.
A precision dough preparation system that handles the two stages of bread-making where temperature decides everything — yeast activation and dough proofing — plus the D'Steamer for the crust. You shape and bake your way; the system handles the invisible part.


Stage 1 — Yeast activation

Stage 2 — D'Steamer crust
What's in the box:
- D'BakerAid device — built-in scale, touchscreen, smart monitoring
- 2 dough bowls — 2.5L D'Yeast + 4.5L D'Dough
- 1 stainless chocolate/butter bowl
- D'Steamer — 700ml anodized aluminum, ceramic non-stick
- Baker's tool kit — bench scraper, lame, banneton liner, whisk
- 2 aprons — one for the baker, one for the helper
- Recipe library — sourdough, pizza, focaccia, brioche, gluten-free pastries
- 1-Year Warranty · 30-Day Money Back · Free US Shipping over $99
$299.95 $446.95
4 interest-free payments of $74.99 with Shop Pay · or from $27.07/mo
See the kit →Either way — thanks for reading.
Happy baking — The D'BakerAid Team