

You've loaded a loaf into a hot oven, poured water into a tray, and watched the door fog over. Twenty minutes later, the bread is pale, the bottom is damp, and the crust still feels soft. The problem usually isn't a lack of steam. It's that the oven humidity was treated as an on/off switch instead of a timed part of the bake.
Oven humidity control is about managing moisture in stages, alongside temperature, oven load, dough hydration, and venting. The practical target changes during the bake. Early humidity keeps the dough surface flexible for expansion. Later, dry heat sets the crust and drives browning. A good result comes from knowing when to create moisture, when to hold it, and when to remove it.
Table of Contents
- What Oven Humidity Control Means
- Why Humidity Changes Bread at the Crust and Crumb
- Comparing Home Methods to Add Steam
- Target Humidity and Timing for Common Doughs
- When More Steam Backfires and Why
- A Practical Workflow From Proof to Bake
- Quick Checklist and Safety Notes
What Oven Humidity Control Means
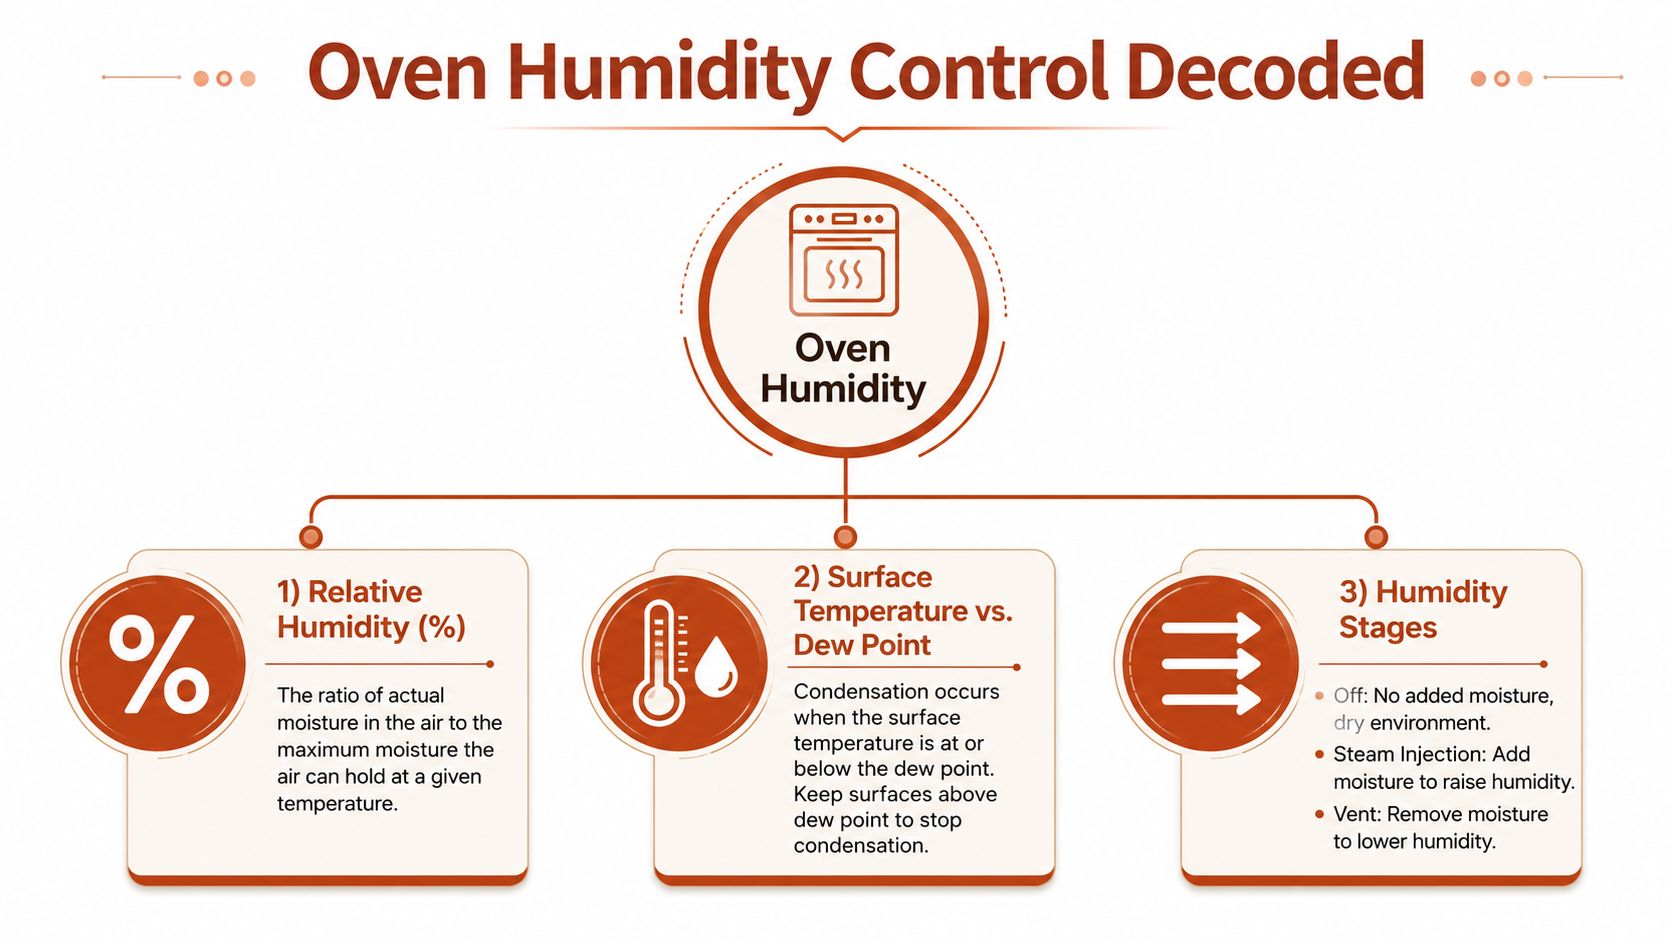
Steam is only one delivery method. Humidity control means managing the water vapor around the dough, how long it remains there, and how quickly the oven dries after the expansion window. Treating humidity as a timed process gives more control than relying on a single steam burst.
Relative humidity compares the moisture in the air with the maximum that air can hold at its temperature. In a hot oven, that reading is difficult to interpret because temperature changes quickly and differs greatly from room conditions. For practical baking, dew point and absolute moisture load can offer a clearer working reference than a consumer oven's vague “steam” setting. This explanation of managing oven moisture with dew point and absolute humidity shows why the distinction matters during the opening minutes.
The dough surface is the working zone. Moisture there lets starches gelatinize while the loaf continues expanding. Rapid drying sets the crust before the main oven spring is complete. Industrial bakery research has treated humidity as an engineered process variable for decades. A USDA bakery-oven project described a crustless-bread steaming method at 100% relative humidity, showing that saturated conditions can be produced deliberately for a defined structural result rather than added casually. (USDA/NIFA bakery-oven research)
The three useful stages
Use three operating phases:
- Ramp-up: Load the dough and create moisture quickly. Raise surface humidity before the crust begins tightening.
- Peak hold: Keep the surface humid through the main expansion window. This supports oven spring and limits tearing during that phase.
- Release: Vent moisture so the crust can dry, brown, and become mechanically stable.
Home ovens rarely measure absolute humidity directly. Infer the conditions from condensation on the glass, how quickly fog clears, loaf expansion, and crust color. A practical guide to steam in bread ovens provides useful background, but the working rule is straightforward: add steam on schedule, hold it through expansion, then vent.
Why Humidity Changes Bread at the Crust and Crumb
The first minutes of baking decide whether the dough surface remains extensible or becomes a shell. Steam condenses on the cooler dough, keeping the exterior supple while heat moves inward. That delay lets the loaf expand before the crust fully sets.
A food-science study found that steam level affects loaf volume, crust tearing, crust-to-crumb ratio, glossiness, failure force, and firmness. Both low and high steam conditions could produce the largest bread volume, but low steam also caused crust tearing and a higher crust-to-crumb ratio. Increasing steam reduced crust color intensity and mechanical firmness while increasing glossiness. (Peer-reviewed study on steam and bread quality)
The useful lesson is not “more steam wins.” It's that the humidity curve changes the physical behavior of the loaf.
| RH range | Bake phase | Effect on crust | Effect on crumb |
|---|---|---|---|
| High, near saturation | Early expansion | Delays setting and reduces early tearing | Gives the dough more time to expand |
| Moderate and falling | Transition to dry heat | Browning begins as surface moisture leaves | Helps the interior finish without trapping excess moisture |
| Low, after venting | Final bake | Sets color, crispness, and strength | Reduces the risk of a damp layer beneath the crust |
A lean, moderately hydrated dough can tolerate a stronger early humidity pulse than an enriched dough. A wetter dough already brings substantial moisture into the oven, so an aggressive steam load can leave the surface wet for too long. Oven load matters too. More loaves release more water vapor, and a heavy load can also pull down oven temperature, changing the rate at which the surface dries. (Trade guidance on oven humidity and load)
Crust and crumb are separate moisture systems
By the end of baking, the crust and crumb shouldn't be expected to contain the same amount of water. Bread-science guidance places crust moisture around 12–17% and crumb moisture around 35–40%, a difference that explains why the outside becomes firm while the center stays soft. (Bread crust and crumb moisture guidance)
That contrast is the target. Hold humidity too long and the crust can't dry properly. Release it too early and the exterior can harden before the crumb has expanded.
Comparing Home Methods to Add Steam
Home steam methods differ mainly in control, safety, and repeatability. A sealed Dutch oven creates a reliable humid microclimate because the dough's own moisture stays close to the loaf. An open tray depends on pan temperature, water volume, door leakage, and how quickly the oven vents vapor. Those variables make humidity a staged process rather than an on/off switch.
| Method | Peak RH | Cost | Repeatability | Watch out for |
|---|---|---|---|---|
| Sealed cast-iron Dutch oven | ~95–100% | Varies by pot | High | Burns, heavy handling, limited loaf shape |
| Preheated sheet pan with lava rock | ~70–85% | Varies by pan and rock | Medium | Rock cracking, uneven steam, difficult refilling |
| Water pan on oven floor | ~70–85% | Low | Low to medium | Cold pan, weak vapor release, soggy oven floor |
| Ice cubes on a hot tray | Variable, often brief | Low | Low | Thermal shock, inconsistent melt rate |
| Spray bottle | Localized burst | Low | Low | Scalding vapor, poor cavity coverage |
| Towel in a tray | High but unstable | Low | Low | Burned towel, smoke, difficult removal |
| Wall-oven steam injection | Set by appliance | Appliance-dependent | High | Installation, calibration, venting behavior |
The RH ranges are approximate operating guides. Most home ovens do not measure cavity humidity accurately, so surface appearance, expansion, and drying matter more than a displayed percentage.
A peer-reviewed home-style method used two trays containing 1 liter of water each, with additional spray water every five minutes to maintain chamber humidity. This can sustain vapor for longer, but repeated manual additions are coarse and difficult to reproduce. (Humidified baking method with water trays and spray)
For readers comparing professional equipment, choosing a combi oven in NZ explains why commercial systems separate steam generation, convection, sensors, and venting. You don't need that level of hardware at home to improve bread, but you do need to avoid confusing a large amount of water with precise control.
A sealed pot usually gives the cleanest low-effort result for one round loaf. Its humidity is high and relatively stable until the lid comes off, but it limits loaf shape and batch size. For baguettes, pan loaves, or repeated batches, an open tray can cover more space, though it requires careful timing and safe handling of hot water.
Spraying the walls or adding ice creates a short, uneven humidity pulse. A towel can produce more vapor, but its smoke and removal risks outweigh the convenience. Use a staged approach: generate vapor during early expansion, then vent so the crust can dry. The home-oven steam-injection guide details practical differences between improvised steam and dedicated delivery.
Target Humidity and Timing for Common Doughs
Doughs carry different water loads and build different crusts, so a staged humidity target works better than holding one level from loading through cooling. Keep the early phase humid enough for expansion, then taper moisture as the surface begins to set.
| Dough type | Peak RH, first window | Peak duration | Taper to RH | Vent / door open at |
|---|---|---|---|---|
| White pan loaf | ~80–90% | About 10 minutes | ~60–70% | Fully by minute 18 |
| Baguette or ciabatta | ~90% or higher | About 12 minutes | ~65% | Crack door for another 10 minutes |
| Brioche and enriched dough | ~70% | About 6–8 minutes | Lower and drying | Begin early to prevent a gummy layer |
| Dense rye or whole wheat | ~75–85% | About 15 minutes | Slow taper | Vent gradually after the peak |
Treat these windows as operating starting points. A white pan loaf should look moist and slightly glossy during its first phase, then become matte as the crust sets. Baguettes and ciabatta can retain visible condensation through their main expansion, but the oven should clear as drying begins. Enriched dough needs a shorter, gentler humid period because its surface can stay soft after the structure has formed.
Read the oven, not just the clock
Verify the oven temperature with an oven thermometer. Door opening can cause a noticeable drop in some appliances, so use the glass and the crust as additional indicators. Fogging that starts to clear at the planned release point suggests the taper is working. If the surface remains wet and pale beyond that point, the cavity is holding too much moisture or venting too slowly.
Humidity before loading also affects the result. Final proof conditions are commonly set around 75–85% relative humidity. Below 65%, a dry skin can form, restricting expansion and contributing to cracking. (Bread proofing humidity guidance)
Adjust one variable at a time. Keep the loading method constant, shorten the peak hold when the loaf stays pale, or extend the humid phase slightly when the crust tears before the dough has expanded. For a home oven, this staged approach is easier to reproduce than chasing a precise reading while steam escapes through an imperfect seal.
When More Steam Backfires and Why
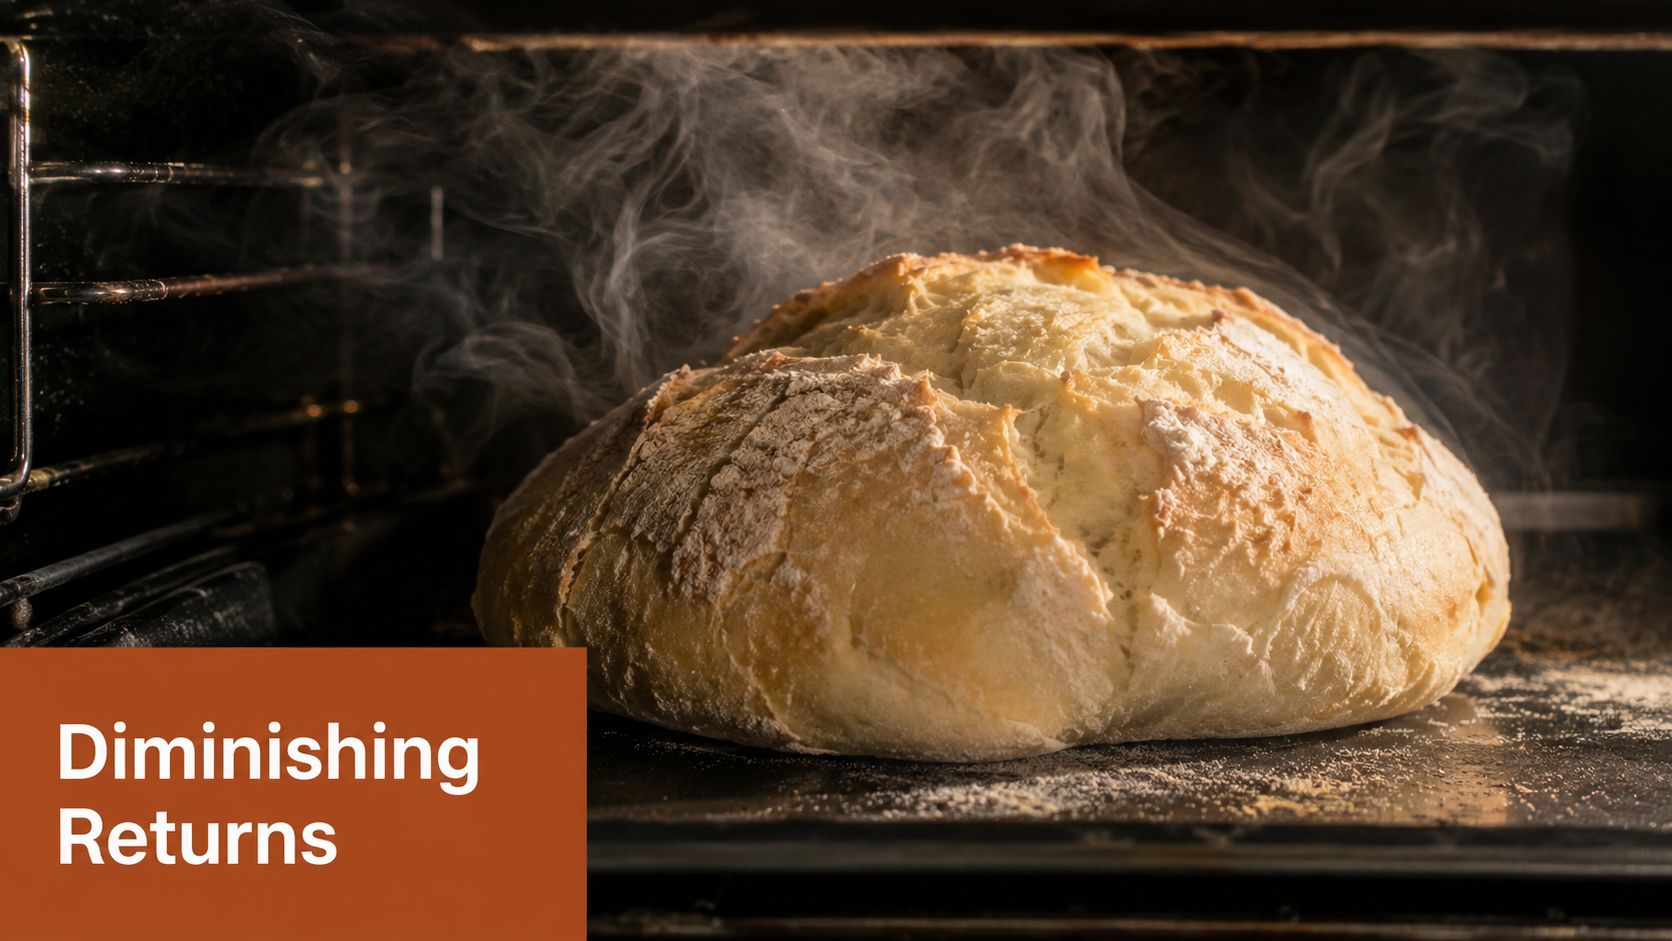
A saturated oven isn't automatically a better oven. Once the dough surface reaches the dew point of the surrounding air, additional steam has nowhere useful to go. It condenses on the loaf, floor, tray, or oven walls instead of improving expansion.
Over-humidification also delays browning. Steam should be vented before the crust needs to color because high surface moisture suppresses Maillard reactions. Independent oven-science guidance places the usual steam phase in the first 8–15 minutes, when oven spring is taking place, and identifies prolonged humidity as a common reason for delayed crust setting and browning. (Oven-science guidance on venting steam)
Match the failure to the overshoot
- Pale, rubbery crust: The humid phase ran too long. Vent earlier and allow dry heat to finish the surface.
- Gummy band beneath the crust: An enriched or wet dough received a peak humidity load intended for lean dough. Shorten the peak window.
- Collapsed expansion: Steam stayed high after the main spring period. Release moisture rather than extending saturation.
- Blistered rye crust: The surface remained wet while the structure was setting. Use a gentler taper and avoid a near-saturated cavity for too long.
- Soggy bottom: A water pan stayed in place after it had done its job. Remove it, or move to a vented phase before the base loses heat.
A useful correction is small. If a white loaf looks right except for a soft crust, don't change the formula first. Vent a few minutes earlier. If a high-hydration loaf tears, increase the early humidity only enough to protect the surface, then release it before the crust turns glossy and wet.
The visible rise people call oven spring depends on both dough strength and surface flexibility. A concise explanation of what oven spring requires helps separate the role of steam from the role of fermentation and shaping.
A Practical Workflow From Proof to Bake
Proofing and baking belong to one moisture plan. A dry skin formed during final proof can split in the oven, even with strong steam.
Before loading
- Proof at controlled ambient humidity. Keep roughly 75–80% humidity around the dough with a proofing box, a cool oven and warm water nearby, or a damp towel that does not touch the surface.
- Check the dough early. Test for over-proofing about 20 minutes before baking. This gives you time to adjust the schedule instead of loading a weak loaf.
- Preheat fully. Heat the oven with the baking stone, steel, cast-iron pot, or steam pan already in position. Have the steam source ready before making the final score.
During the bake
Load quickly and establish peak humidity within roughly 90 seconds. With a tray method, pour boiling water into the preheated metal pan. With a Dutch oven, close the lid immediately so the dough's evaporation creates an enclosed humid environment.
At minute 10–12, remove the open water pan or crack the door about 1 inch to start reducing humidity. Lean doughs usually benefit from the strongest early moisture because their surface needs flexibility during expansion. Enriched doughs generally need a shorter wet phase, which limits the chance of a gummy crust line.
By minute 18–22, vent fully and finish with dry heat. Check the loaf with a thermometer instead of relying only on crust color. The stated workflow target is a fully baked crumb at about 205–210°F.
If opening the door drops the heat
Some ovens recover slowly after the door opens. Crack the door briefly rather than leaving it open, or use the damper if the oven has one. A dedicated steam generator can reduce repeated door opening, although the bake still needs a planned release phase.
Oven spring depends on dough strength and surface flexibility working together. A concise explanation of what oven spring requires helps separate steam's role from fermentation and shaping.
Cool the loaf fully before slicing. Cutting while the crumb is still setting compresses the interior and can make a cutting problem look like a baking problem.
Quick Checklist and Safety Notes
Keep this list beside the oven until the sequence becomes automatic:
- Preheat the oven: Set it to 230–250°C with a baking stone or steel in place.
- Prepare the steam pan: Use 1 cup of boiling water in a preheated metal pan.
- Set the wet phase: Steam for 0–12 minutes with lean doughs, or 12–18 minutes with enriched doughs.
- Start the release: Crack the door or open the damper about 1 cm after the early phase.
- Check the crust: Use an infrared thermometer and look for a crust temperature around 200°C before venting.
- Confirm the crumb: Finish when the interior reaches 95–100°C for a fully gelled crumb.
For a thicker crust, use a Dutch oven lid during the first 20 minutes, then uncover and continue with a water pan for the next 10 minutes. High-hydration loaves benefit from a second sheet pan beneath the baking stone, which helps return heat to the base after loading.
Water and heat precautions
Place water pans on the lowest rack so your hands and face stay away from the strongest burst of steam. Wear oven mitts rated for 250°C or higher when adding water or ice, and never pour water onto a glass door or heating element.
Keep a clear 30 cm zone above the oven so steam and heat can escape without damaging cabinets or nearby materials. Never pour cold water into a hot pan, and don't use a glass vessel for a direct thermal shock test.
The best setup is the one you can repeat safely. If steam pans, ice cubes, and door cracking produce different results every bake, a controlled appliance system can take over the fermentation and proofing variables, while a dedicated steamer handles the early oven environment.
DBakerAid™ combines a Stage 1 fermentation bowl, Stage 2 proofing bowl, and a temperature-and-time control hub, with the optional D'Steamer producing controlled humidity during the opening minutes of baking. Visit DBakerAid™ to see the system, recipes, and tools for making repeatable bread at home.