

The first time I made Mexican Chocolate Pudding for a dinner service, I pulled it off the stove a little too soon because it looked thick enough. It set, but not beautifully. The spoon dragged through it instead of gliding, and the spice never seemed to settle into the chocolate.
Table of Contents
- The Surprising Story of Mexican Chocolate Pudding
- Choosing Your Key Ingredients
- A Step-by-Step Guide to Perfect Pudding
- Creative Variations on the Classic Recipe
- Troubleshooting Common Pudding Problems
- How to Serve and Store Your Pudding
The Surprising Story of Mexican Chocolate Pudding
What most home cooks call Mexican Chocolate Pudding isn't a centuries-old Mexican dessert with a long standalone paper trail. It's a modern adaptation, usually an American-style chocolate pudding flavored with Mexican chocolate, cinnamon, and a touch of chile.
Its deeper roots are more interesting than the name suggests. The term primarily refers to a modern home-baked adaptation, not a historical dish. Its lineage traces to the Filipino dessert champorado, which itself evolved from the Mexican beverage champurrado during the Spanish colonial era, establishing a clear culinary link between the two cultures, as noted in this history of champorado and champurrado.
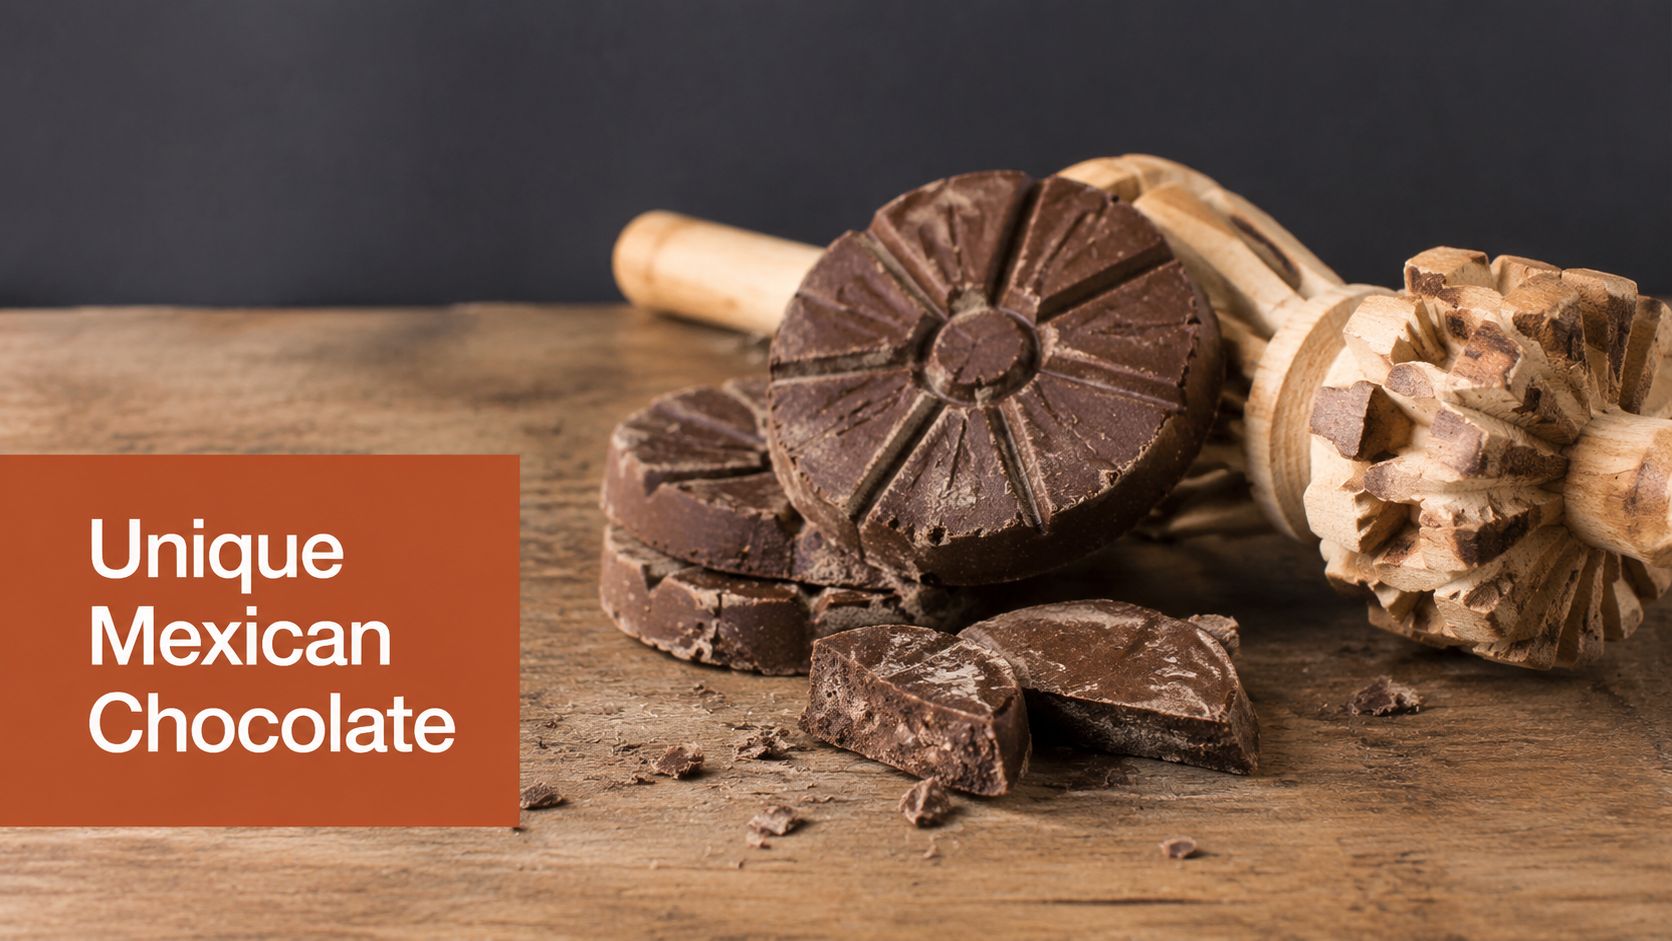
From Champurrado to a Spoon Dessert
Champurrado serves as the ancestral flavor reference here. It's a thick Mexican chocolate atole made with masa harina, chocolate, piloncillo, and cinnamon. That matters because the flavor profile of modern Mexican chocolate pudding, warm spice, deep cocoa, gentle heat, comes from that tradition of drinking chocolate as much as from American pudding technique.
Champorado took that route in another direction and became a rice pudding in the Philippines. That transnational history explains why people often assume there's an old, fixed dessert category called Mexican chocolate pudding, when the record points instead to adaptation and crossover.
Practical rule: Treat this dessert as a technique-driven chocolate pudding with a Mexican chocolate flavor profile, not as a rigidly codified traditional formula.
If you enjoy cooking from actual regional traditions, a useful companion is Mexican Home Cooking, especially for understanding how cinnamon, chocolate, and corn-based preparations show up across the broader Mexican kitchen.
That framing helps in the kitchen. Once you stop chasing a mythical “authentic” pudding template, you can focus on what makes this dessert work: good chocolate, disciplined heat, and patience while it chills.
Choosing Your Key Ingredients
The ingredient list is short, but every item has a job. If one piece is weak, the pudding tastes flat or sets poorly.
Start With the Right Chocolate
The best version begins with Mexican chocolate tablets, the rustic discs sold for hot chocolate. Mexican chocolate has a 3,000-year history, starting with the Olmecs, and its traditional composition remains consistent: coarsely ground cacao, granulated sugar, and cinnamon. Mexico produces about 3% of the world's cacao, yet it dominates the global market for these cinnamon-infused chocolate tablets, according to Naatik Mexico's history of chocolate in Mexico.
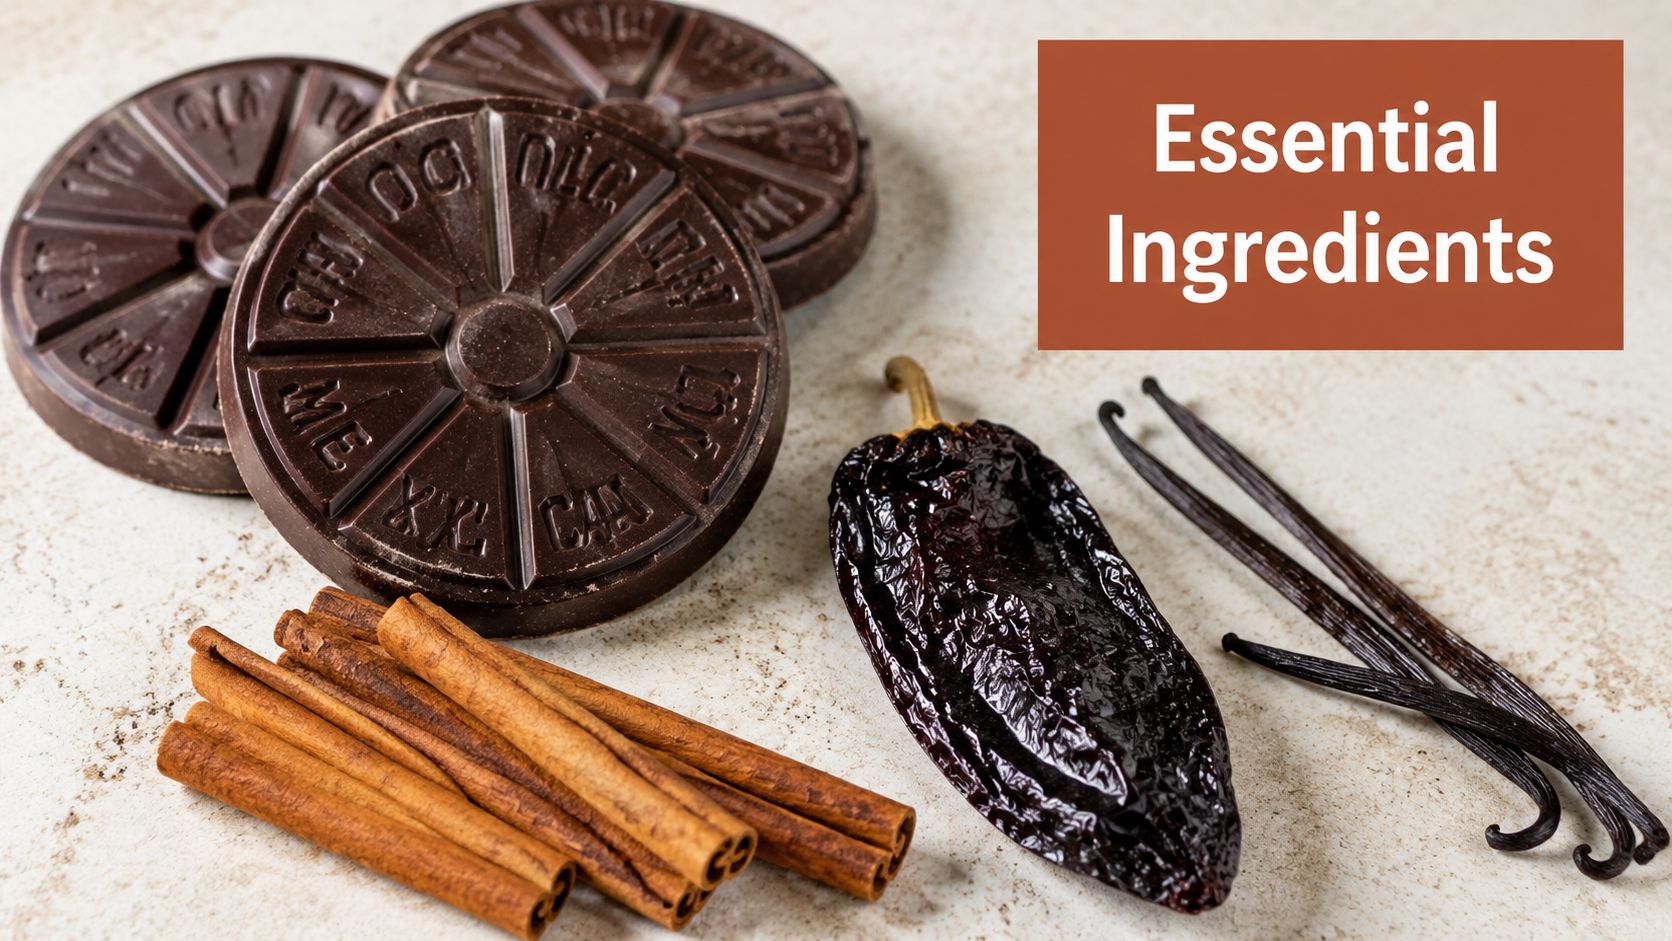
What you're looking for in a tablet:
- Visible grain: Mexican chocolate isn't refined to silky smoothness before it goes into the pot.
- Cinnamon already built in: That integrated spice tastes rounder than cinnamon added at the end.
- A slightly rustic melt: Tiny granular bits are normal at first. They dissolve as the custard cooks.
If you can't get Ibarra or Abuelita, use bittersweet chocolate plus cocoa powder and add cinnamon yourself. The result can still be excellent, but it will taste more like a chef's adaptation than a tablet-based pudding.
The Supporting Ingredients Matter
A reliable home version often uses 3 tablespoons of cocoa powder, 3 tablespoons of cornstarch, ¼ teaspoon of cayenne pepper, and 4 oz of bittersweet chocolate chips per 2.5 cups of milk, which reflects the modern fusion style many cooks recognize as Mexican chocolate pudding.
Here is how I think about the rest of the formula:
| Ingredient | What it does | What happens if you swap carelessly |
|---|---|---|
| Whole milk | Gives body without making the pudding heavy | Low-fat milk can taste thinner |
| Cornstarch | Sets the pudding cleanly | Too little leaves it loose |
| Cinnamon | Reinforces the chocolate tablet flavor | Added late, it can taste dusty |
| Cayenne | Creates the signature back-of-the-throat warmth | Too much overwhelms the cocoa |
| Bittersweet chocolate | Adds depth and gloss | Very dark chocolate can turn the finish bitter |
Good pudding isn't just sweet and thick. It needs a chocolate base strong enough to carry cinnamon and chile without tasting like spiced cocoa sludge.
Use Restraint With Richness
Cream sounds like an automatic upgrade, but it isn't always one. Whole milk usually gives a cleaner set and lets the spice read clearly. Heavy cream can push the texture toward ganache territory, which is luscious but less balanced if you're aiming for a classic spoonable pudding.
For spice, keep the profile focused. Cinnamon gives warmth. Cayenne gives lift. Vanilla is welcome, but too many extra spices muddy the line between chocolate pudding and holiday potpourri.
A Step-by-Step Guide to Perfect Pudding
This is the version I trust when I want a smooth, sliceable set in the cup, a polished surface, and flavor that blooms after chilling rather than fading.
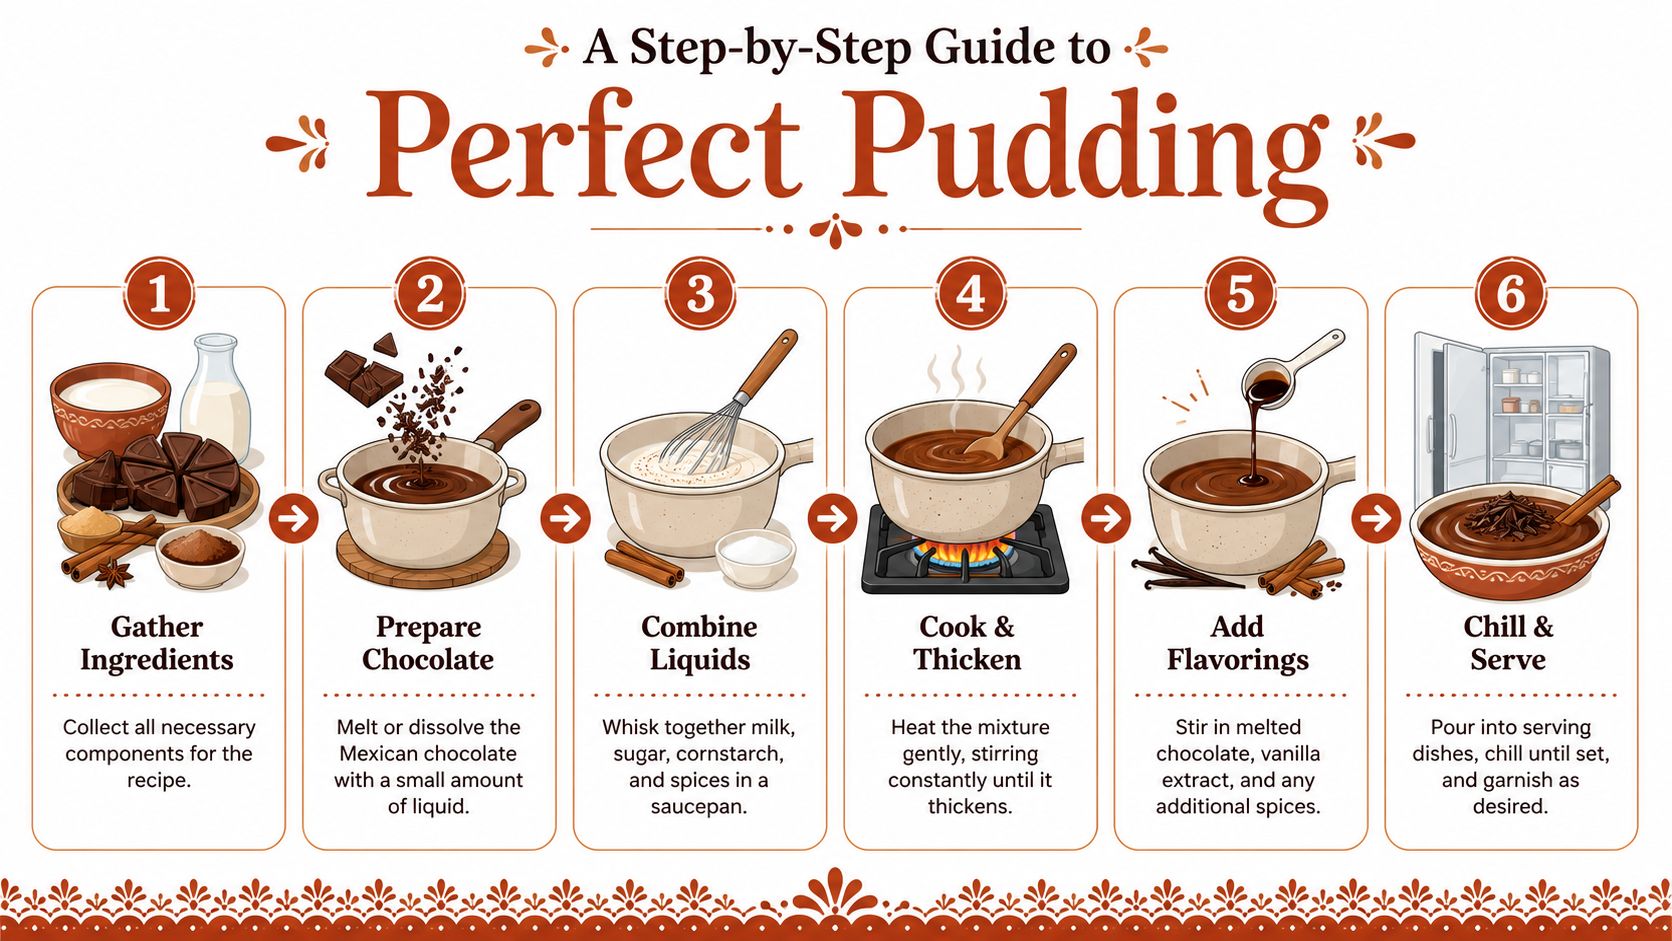
Build the Base Correctly
For a balanced batch, use:
- Dry mix: 3 tablespoons cocoa powder, 3 tablespoons cornstarch, 1 teaspoon cinnamon, ¼ teaspoon ground cayenne
- Chocolate: 4 oz bittersweet chocolate chips or chopped chocolate
- Liquid: 2.5 cups whole milk
- Optional enrichment: egg yolks for added richness and a more custard-like finish
- Flavoring: a little vanilla and a pinch of salt
Whisk the cocoa, cornstarch, cinnamon, and cayenne together before any liquid goes in. This matters more than cooks think. The cayenne must be whisked into the dry base first to prevent clumping and to distribute heat evenly through the finished pudding.
Warm the milk separately until it's hot but not boiling. If you're using yolks, add the warm milk slowly to the egg mixture. Don't dump it in all at once. A fast temperature jump tightens the egg proteins too early and gives you sweet scrambled bits instead of a smooth emulsion.
For bakers who like clean, printable layouts for kitchen use, BarkerBooks' cookbook design resource is a smart reference for formatting recipe pages that are readable at the stove.
A quick visual demo can help if you like seeing texture cues before you cook.
Cook to the Right Temperature
This is the hinge point. To achieve proper thickness, the pudding must reach 200°F (93°C) to fully gelatinize the cornstarch. Experts recommend cooking for 2 to 3 minutes after it begins to boil, while whisking constantly, to deactivate enzymes that can cause a watery texture, a common failure in over 40% of home attempts, according to this technical discussion of starch-thickened pudding cooking.
That one detail separates “looks done” from “is done.”
Use medium heat. Scrape the bottom and corners of the saucepan with the whisk. The pudding will move through clear stages:
- Thin and foamy
- Slightly thicker, with steam building
- First boil
- Noticeably glossy and heavier after the extra cooking time
Whole milk thickens predictably. Cream can make the pudding tighten faster, but it also narrows your margin for error. If you whisk cream-rich pudding too aggressively once it's thick, the texture can go grainy.
If you want to sharpen your chocolate handling generally, this guide to tempering chocolate at home is worth reading. Tempering isn't required for pudding, but understanding how chocolate responds to heat makes you calmer and more precise at the stove.
Pulling pudding early is the fastest route to disappointment. If it hasn't fully boiled and stayed there briefly, it probably hasn't finished setting.
Chill for a Better Finish
As soon as the pudding comes off the heat, pour it into a bowl or individual cups. Press plastic wrap directly on the surface if you're holding it chilled. That keeps the top supple instead of leathery.
Then wait.
The pudding will firm in the refrigerator, but the flavor also changes as it rests. Freshly cooked, the cayenne can feel separate from the chocolate. After a long chill, the spice sinks in and reads as warmth rather than heat.
Creative Variations on the Classic Recipe
Once the base recipe is reliable, variation becomes fun instead of risky. I don't change the structure first. I change the accent.
Turn Up the Heat
A hotter version works best when you increase chile in small steps. Add a little more cayenne, or use a mild ancho powder for a broader warmth. Ancho gives a dusky, almost fruity depth that suits chocolate well.
Don't try to make it “spicy” in the same way you would a mole sauce. Pudding should finish with warmth, not aggression.
Make It Dairy-Free
A vegan-style adaptation works best with full-fat oat milk or coconut milk, plus a starch-based thickener. Without eggs, the texture will be a little less custardy and a little more pudding-household-classic, but that's not a flaw.
A few practical notes:
- Choose body over thinness: carton plant milks that feel watery before cooking usually stay watery after cooking.
- Expect flavor drift: coconut milk adds its own personality, while oat milk stays more neutral.
- Adjust sweetness late: some dairy-free milks are sweeter than expected.
If you like decorative finishes or want to change the look of white chocolate garnishes on top, this chocolate coloring guide covers the basics clearly.
Add a Gentle Boozy Note
For an adult version, stir in a small splash of coffee liqueur, tequila, or orange liqueur after the pudding comes off the heat. Adding alcohol too early can flatten its aroma.
My preference is orange liqueur with a cinnamon-heavy chocolate base. Tequila can work, but it needs a light hand. The dessert should still taste like chocolate first.
A variation is successful when the original pudding still reads clearly underneath it.
Troubleshooting Common Pudding Problems
Most failed batches go wrong for ordinary reasons, not mysterious ones. Pudding is forgiving if you know what each failure means.
Why It Turned Lumpy or Grainy
Lumps usually come from one of two mistakes. Either the dry ingredients weren't whisked together thoroughly before the liquid went in, or the egg mixture seized because the hot milk was added too fast.
Graininess is slightly different. That's often a heat-management issue. Chocolate can look melted and still be unevenly incorporated, or a richer dairy base can tighten so quickly that aggressive whisking roughs up the texture.
Fixes that help:
- Strain immediately: pass the hot pudding through a fine-mesh sieve if you catch the problem early.
- Temper slowly: add warm milk in a thin stream, not a rush.
- Whisk with purpose: constant motion is good. Violent whipping isn't.
Why It Stayed Thin
If the pudding tastes good but slumps like sauce, it almost always needed more cooking. The critical benchmark isn't visual thickness alone. It has to reach the proper cooking point for the starch to do its job fully.
A second cause is under-boiling after thickening begins. Once the first bubbles break, keep whisking and give it the extra cooking time the starch needs. That's what creates a stable set rather than a false one.
Why a Skin Formed on Top
The most frequent quality defect is a skin forming on the surface, cited in 90% of failed home-bake reviews. The prevention is simple: press plastic wrap directly onto the pudding's surface immediately after it's made. The same source notes that the minimum chilling window is 90 to 120 minutes, but the best texture and flavor come after 12+ hours in the refrigerator, as explained in this Mexican chocolate pudding guide from The Unlikely Baker.
That long chill isn't fussy chef behavior. It changes the dessert.
- Texture improves: the pudding firms evenly.
- Flavor rounds out: cinnamon and chile settle into the chocolate.
- Serving gets easier: the spoon cut looks cleaner and the surface stays neater.
If you have time for only one improvement, give the pudding an overnight chill.
How to Serve and Store Your Pudding
Serve Mexican Chocolate Pudding cold, but not so cold that the flavor goes mute. A little whipped cream, a light dusting of cinnamon, shaved chocolate, or a few flakes of sea salt are enough. Anything more elaborate can distract from the point, which is the contrast between deep chocolate and warm spice.
For pairings, strong coffee works naturally. If you're serving it after dinner, a small pour of añejo tequila can be elegant alongside it. I also like to spoon it into small cups and top each portion just before serving so the garnish stays fresh.
If you want a tangy dairy contrast on the side, this quark cheese recipe offers useful ideas for cultured dairy applications, even if you'd use them more as inspiration than direct accompaniment here.
Store leftover pudding in the refrigerator with plastic wrap pressed directly on the surface. That keeps the top from drying and preserves the smooth finish you worked for. Stirring isn't usually necessary before serving if it was cooked and chilled properly.
If you like precision in the kitchen and want the same kind of repeatability for bread that good temperature control gives you in pudding, take a look at DBakerAid™. It's a precision bread-making system from Ignivio Brands with a 4.7★ rating and a price of US$299.95, built around a Stage 1 yeast fermentation bowl, a Stage 2 dough proofing bowl, and a temperature-and-time control hub. Its companion app at D'BakerAid recipes includes high-protein bread formulas that land at about ~10 to 11g protein per slice, roughly ~2× typical store protein bread and ~4× plain white, depending on recipe, protein brand, and slice thickness. Those loaves aren't gluten-free. They're high-gluten and built with wheat flour plus vital wheat gluten. If your goal is fresh, macro-friendly bread at home with the hard part of fermentation handled for you, Shop D'BakerAid or See the high-protein recipes.