

You've got a bag of tart apples, a tray that looks right, and a recipe that gives one bake time with no explanation. Then the center stays wet while the crumbs darken, and you don't know whether to wait, cover it, or pull it out. That's the normal problem with German apple cake with streusel. The cake itself is simple. The variable is apple moisture, and the pan decides how much of that moisture can escape before the base and topping are done.
Table of Contents
- Pan Times for a Classic Tray Cake
- Ingredients and Quantities for One Cake
- Butter Batter or a Yeast Dough Base
- Apples That Stay Juicy Without a Soggy Base
- How to Assemble and Bake the Cake
- Fixes for Wet Centers and Burnt Crumbs
- Sheet Bundt and Spiced Cakes to Serve Next
Pan Times for a Classic Tray Cake
Start with the pan, because it sets the time more reliably than the recipe title does. This is Apfel-Streuselkuchen, a tray cake from central and eastern Germany, cut into squares for afternoon coffee and cake. Pick your format first, then use its row.
| Pan | Oven | Time | Doneness cue |
|---|---|---|---|
| Shallow 23 cm / 9 in round | 170–175°C (338–347°F) | 40–45 min | Golden crumbs, set center, tender apple |
| Standard rectangular sheet | 170–175°C (338–347°F) | 45–55 min | Skewer with moist crumbs, not wet batter |
| Deeper tin or Bundt | 170–175°C (338–347°F) | 50–60 min | Loose foil if streusel browns before the center sets |
Why the tray shape matters
A wide, shallow layer bakes differently from a deep one. Heat reaches the middle sooner, apple juice has a larger surface to evaporate from, and the streusel stays exposed to dry oven air. In a deep tin, the same amount of fruit sits thicker, so the center lags and the top can color first.
That's why you shouldn't move batter from a sheet to a Bundt and keep the same clock. You can do it, but you need the longer row, careful greasing, and patience at the testing stage. The shape isn't decoration here. It's the main timing control you have before the oven door closes.
The German Culture apple crumb cake guide describes the traditional version as a large rectangular tray cake from regions including Saxony and Thuringia, baked about 40–45 minutes until the topping is golden and the apples are tender. Use that as the shallow pan benchmark, not as a promise for every tin.
Test by sight, not only by time
Don't start poking early just because you're nervous. Wait until the crumbs look golden and the center no longer wobbles as a liquid mass. Then test once, decisively.
- Skewer check: Look for moist crumbs, not shiny wet batter.
- Apple check: Push a small knife into a piece of fruit. It should meet tender apple with slight resistance.
- Top check: If crumbs are already dark but the middle is unset, use loose foil rather than raising the heat.
Heat the oven fully before the cake goes in. A cold start gives apples time to leak into raw batter, and that early leak is hard to reverse later.
Practical rule: Choose the pan row first, then judge the finished cake by golden crumbs, a set center, and tender fruit together.
Ingredients and Quantities for One Cake
Before measuring, decide which base you are making and how juicy the apples are. Those choices shape the ingredient list: a wetter filling may need a moisture helper, while the butter batter and yeast dough use different proportions. Keep to one tested recipe rather than swapping amounts between methods.
The two possible bases
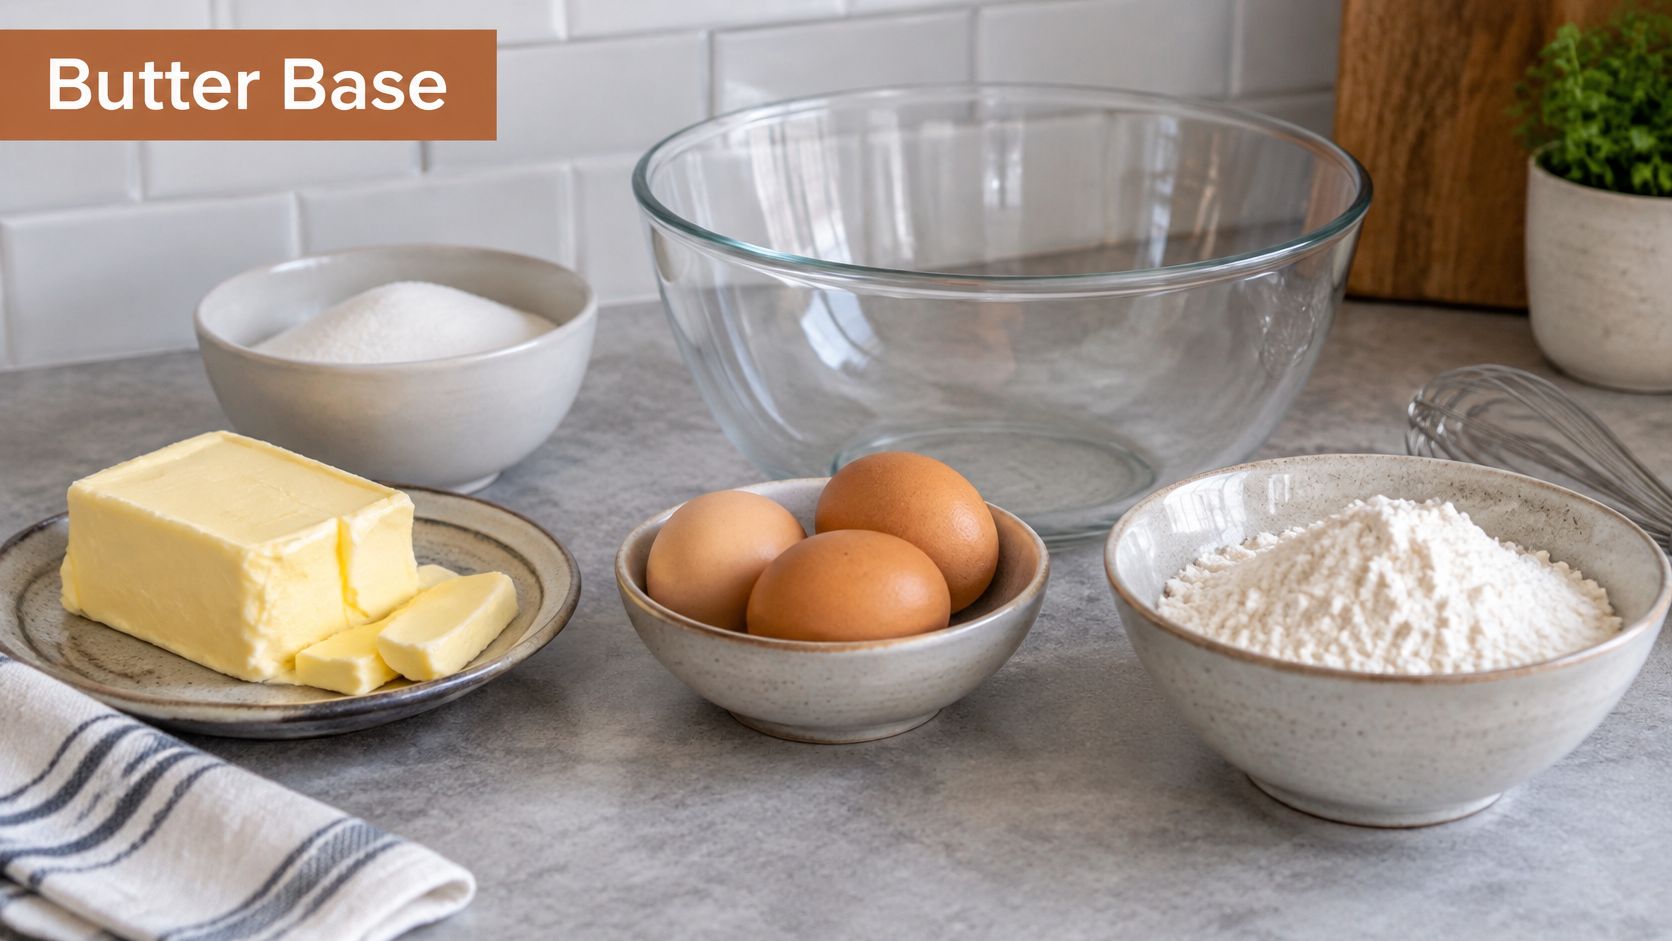
For a butter batter, set out butter, sugar, whole eggs at room temperature, sifted flour, baking powder, salt, and any liquid specified in your recipe. Room-temperature ingredients combine more readily, so you are less likely to overmix while trying to smooth the batter. For repeatable results, weigh each ingredient; this guide to using a kitchen scale explains a simple way to weigh without making a mess.
A yeast dough base calls for flour, yeast, and the enrichment listed in the recipe, such as milk, egg, butter, or sugar. It rests in a warm spot until risen and soft enough to dimple. Compared with butter batter, it takes longer and gives the cake a breadier slice, which suits a large tray.
Both bases use wheat flour, so neither is gluten-free. A generous layer of fruit or streusel does not change that.
Apples, streusel, and extras
- Apples: Choose tart, firm fruit such as Boskoop or Granny Smith, then slice thinly or dice evenly. Even pieces soften at a more consistent rate.
- Streusel: Use flour, sugar, and cold butter in the proportions given by your tested recipe. The exact ratio matters, so don't borrow quantities from a different method.
- Fruit seasoning: Cinnamon and sugar flavor the apples; a little lemon juice slows browning.
- Moisture helpers: Add cornstarch or applesauce only if your fruit is very juicy or the recipe calls for it. These ingredients affect how the filling releases moisture, so they are not automatic additions.
- To serve: Offer whipped cream on the side, rather than spreading it over the hot cake.
Use the recipe's specified weights for a round cake, and follow its separate scaling for a sheet. A pan holds a different amount of batter, so copying quantities from a similar-looking cake can leave the base too thin or the apple layer too heavy. Set out separate bowls for streusel and apples, plus the prepared tin, before mixing. That keeps the batter from sitting while you look for an ingredient.
Butter Batter or a Yeast Dough Base
A cake can have a tender crumb and still turn heavy beneath juicy apples. The base helps decide how much moisture it can handle, so choose it for the texture you want and spread it evenly. For a quick tray cake, butter batter is the straightforward option.
Butter rührteig as the default
A butter-based rührteig needs no rise. Cream the butter and sugar until pale and aerated, rather than merely combined. Add the eggs individually, letting each blend in before adding the next, then mix in the sifted dry ingredients.
The Allrecipes German apple cake method advises stopping as soon as the batter is smooth. That restraint helps protect the tender crumb. Once flour is added, excess mixing can develop gluten and make the cake dense or rubbery.
Cold eggs may make the mixture look curdled. Beat briefly until it comes together, then continue. Adding flour to disguise the texture changes the recipe's proportions and can leave the cake heavier.
Spread the batter in a greased, lined tin, keeping the layer level. In a deep tin, avoid piling extra batter in the center; a thicker middle takes longer to set while the edges bake. Have the apples ready before mixing, since batter left standing can lose some of its aeration.
Yeast dough as the older tray base
A yeast base is closer to soft enriched bread dough than to cake batter. After it rises, press or dimple the surface so the fruit sits in small pockets instead of gathering in one wet patch. The result is breadier and less cake-like, a texture that suits a large sheet cut into squares.
This base takes more time and needs a reliably warm place to rise. A cold spot can slow the rise, while an unchecked hot spot may make it difficult to judge. Let the dough rise properly before adding fruit; an under-risen base can remain compact beneath the topping.
The shaping is different, too: spread the dough rather than rolling it thin. Watch the sequence here before choosing this method.
With either base, an even layer helps the cake bake more consistently. A central mound holds more apple juice and sets later than the edges, which can tempt you to leave the whole cake in the oven too long. Level batter or dough gives the fruit and crumb a more even start.
Apples That Stay Juicy Without a Soggy Base
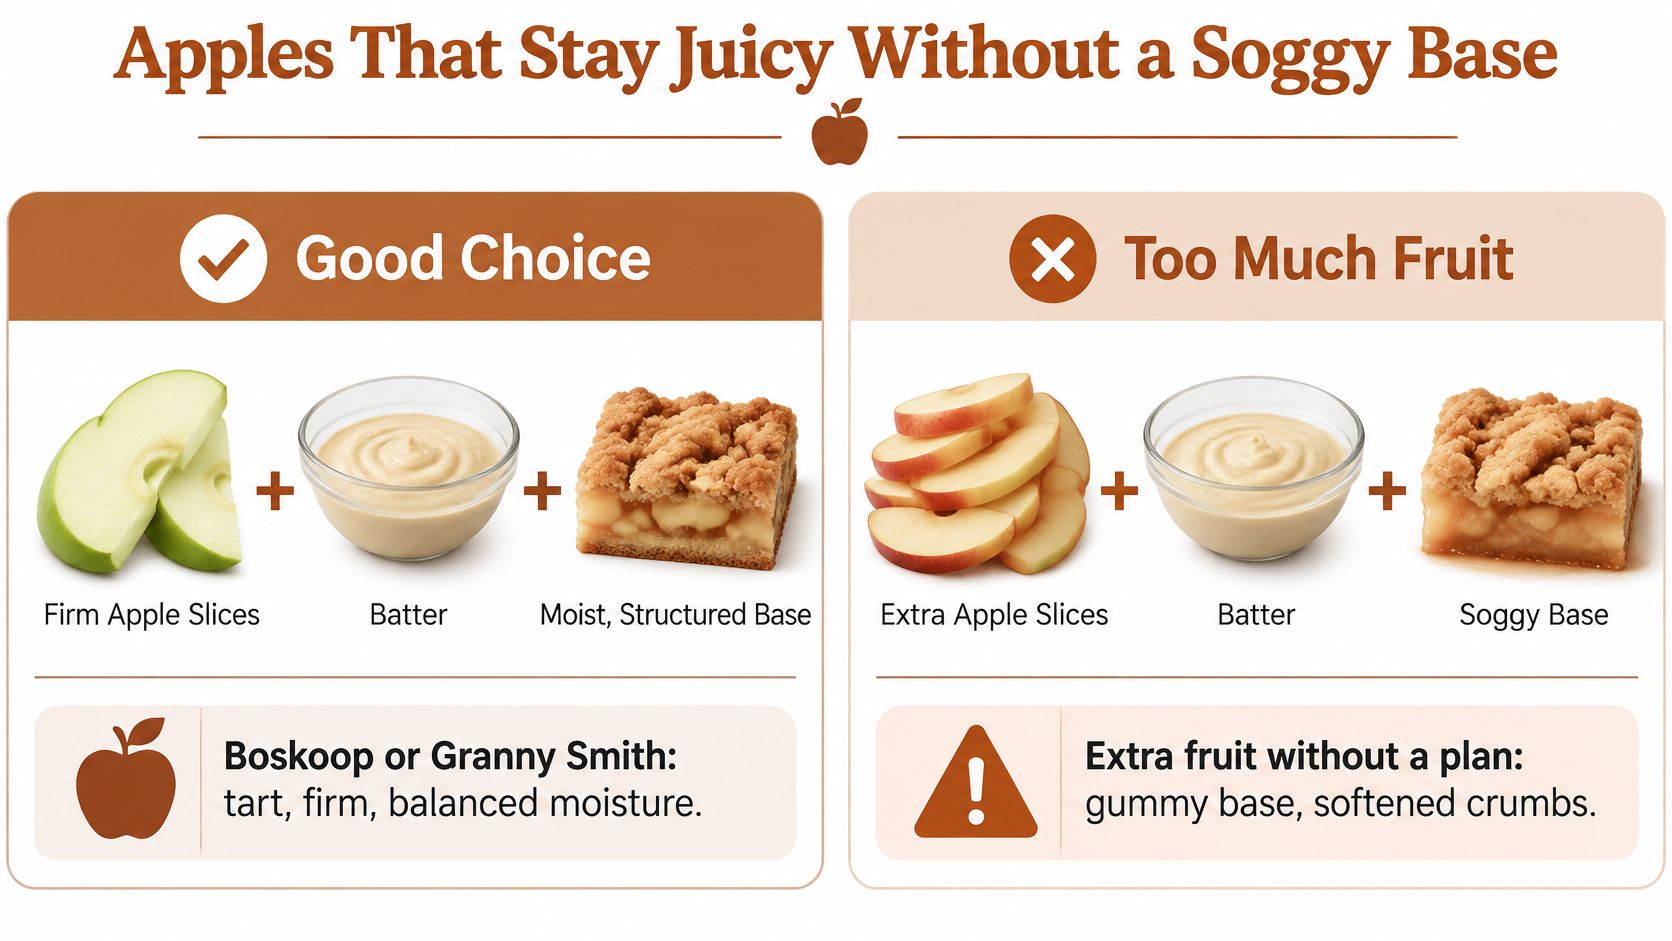
More apple isn't automatically better. Extra fruit without a plan for its water gives you a gummy base and softens the crumbs you worked to keep distinct. Your job isn't to dry the apples out. It's to decide where their juice goes before it reaches the batter.
Choose and cut for even cooking
Pick tart, firm apples so acidity balances butter and sugar. Peel, core, and cut everything to one thickness. Thin slices suit a shallow tray because they soften quickly and lie flat. Small dice suit a cooked filling because they release juice into the pan where you can see it.
Toss cut fruit with lemon juice to slow browning, then drain the bowl well. That surface liquid is often the source of the wet line between fruit and cake. Don't skip the draining just because the juice smells good. You can cook it down with diced apples if you want the flavor, but don't pour it raw over batter.
Match the prep to the fruit and pan
| Method | Use when | What it changes |
|---|---|---|
| Raw thin slices, lemon juice, drained | Firm tart apples in a shallow pan | Fresh bite; highest soggy risk if the layer is thick |
| Skillet 5–7 min, then 1 min with lemon, sugar, cinnamon | Firm dice that would stay raw | Softens fruit and drives off water before the batter sets |
| Applesauce plus fresh pieces and cornstarch; base prebaked about 15 min | Very juicy fruit or a pastry shell | Starch binds juice and the prebake keeps the base crisp |
The Brod & Taylor German apple cake method cooks about 415 g of diced apples for 5–7 minutes, then adds lemon juice, sugar, and cinnamon for one additional minute. It also places the cooked apples over a dimpled dough layer so the filling spreads across the cake instead of concentrating in the center, and it recommends tart varieties such as Boskoop or Granny Smith.
Use raw slices when the pan is wide and the fruit layer stays thin. Use the skillet when your dice are firm enough that they'd still crunch after the crumbs are done. Use cornstarch with applesauce when the fruit is so juicy that a spoon leaves a pool in the bowl.
Spread whatever you choose in one even layer, not a dome. Stop when the filling looks glossy and spoonable, not swimming. If you can see free liquid moving when you tilt the bowl, you've got more work to do before assembly.
How to Assemble and Bake the Cake
Assembly order protects the streusel. Cold crumbs go on last, wet fruit never sits on top of them, and the oven is already hot when the tin goes in. Follow the sequence, and don't improvise the layers because the bowls happen to be in a different order on your counter.
Build the layers in order
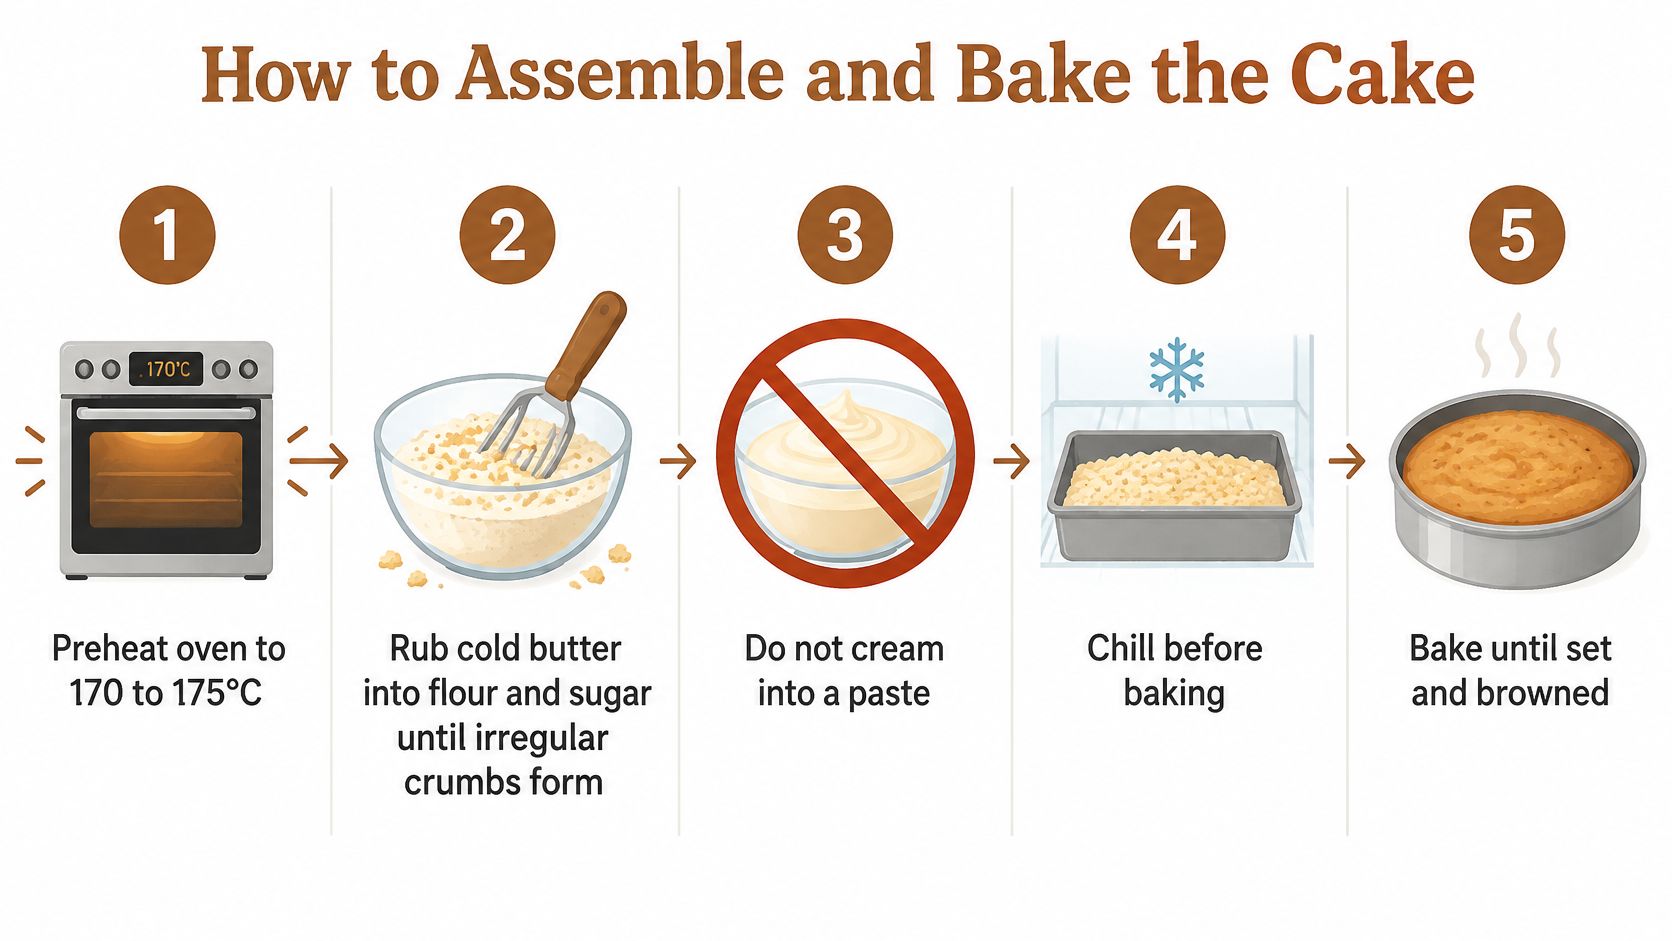
- Make the streusel first: Rub or cut cold butter into flour and sugar until irregular crumbs form. Chill the bowl while you finish the base and apples.
- Set the base: Spread butter batter evenly, or dimple risen yeast dough so fruit has pockets to sit in.
- Add drained apples: Lay them in one layer and dust lightly with cinnamon sugar if your method uses it. Don't press them down hard into raw batter.
- Scatter streusel on top: Cover the fruit evenly, keeping crumbs as separate pieces rather than a packed blanket.
- Bake and test: Use your pan row, tent loosely with foil if the top runs ahead, and cool before cutting.
The BBC Food German apple cake recipe emphasizes rubbing flour, sugar, and cold butter to irregular crumbs, chilling them, cutting apples to consistent thickness with lemon juice, and using loose foil when deeper cakes taking about 50–60 minutes brown before the center is done. Don't cream the streusel into a paste. A homogeneous paste spreads into a brittle sheet instead of staying granular.
Chilling isn't fussy extra work. Cold fat holds its crumb shape long enough for the flour and sugar to set around it. Warm streusel melts early, sinks toward the fruit, and loses the rough texture that makes this cake recognizable.
Finish and cool without losing the topping
Test only when the top is golden and the center looks set. A skewer should show moist crumbs, and a knife in the fruit should meet tender apple. If one cue passes and the other doesn't, believe the one that says it isn't ready.
Cool a round in the pan briefly before unmolding so the starch and protein structure firms up. Leave a sheet cake in its tray until you can cut clean squares without dragging crumbs across the surface. Cutting hot cake doesn't prove it's tender. It usually proves the crumb hadn't finished setting.
Cold fat keeps the topping granular, and a level apple layer keeps the center from lagging behind the crumbs.
Fixes for Wet Centers and Burnt Crumbs
Match the slice in front of you to one cause, then change one variable next time. If you switch apples, pan, temperature, and mixing method together, you won't know which fix worked. If you're experimenting with coffee flavor in a later bake, the baking tips from Cartograph Coffee are useful context, but solve moisture first.
| What you see | Likely cause | Fix |
|---|---|---|
| Soggy base | Free juice and a thick apple pile | Drain, skillet-cook 5–7 min, or add cornstarch; use a wider pan |
| Gummy line under crumbs | Wet fruit on the streusel, or an underbaked center | Crumbs on top only; bake until the center is set |
| Firm, pale apple pieces | Dice too large for the bake time | Thinner slices, or the short skillet cook |
| Streusel baked as a sheet | Butter creamed or too warm | Rub in cold butter and chill; do not cream |
| Rubbery or collapsed crumb | Overmixed batter, or sliced while hot | Stop mixing at smooth; cool 10–15 min in the pan |
| Curdled batter | Cold eggs | Room-temperature eggs, added one at a time |
| Dark crumbs, wet middle | Top browned before the center set | Loose foil; do not raise the oven temperature |
The Home Cooking Adventure Apfelkuchen method sits alongside versions that contrast raw apples baked 40–45 minutes, diced apples cooked 5–7 minutes, and a crust prebaked about 15 minutes with applesauce, fresh pieces, and cornstarch. That range is the point. Different apple prep isn't random variation. It's different moisture control for different fruit.
Pan material changes your margin. Dark metal browns faster than light metal or glass, so check earlier and foil sooner. Before you blame the recipe, use our guide on how to test oven temperature to confirm the dial matches the cavity.
A soggy base doesn't always mean you need less fruit. It often means the fruit layer was too thick for its pan, so evaporation couldn't keep up. A wider pan is sometimes the cleanest fix because it thins everything at once without changing flavor.
Sheet Bundt and Spiced Cakes to Serve Next
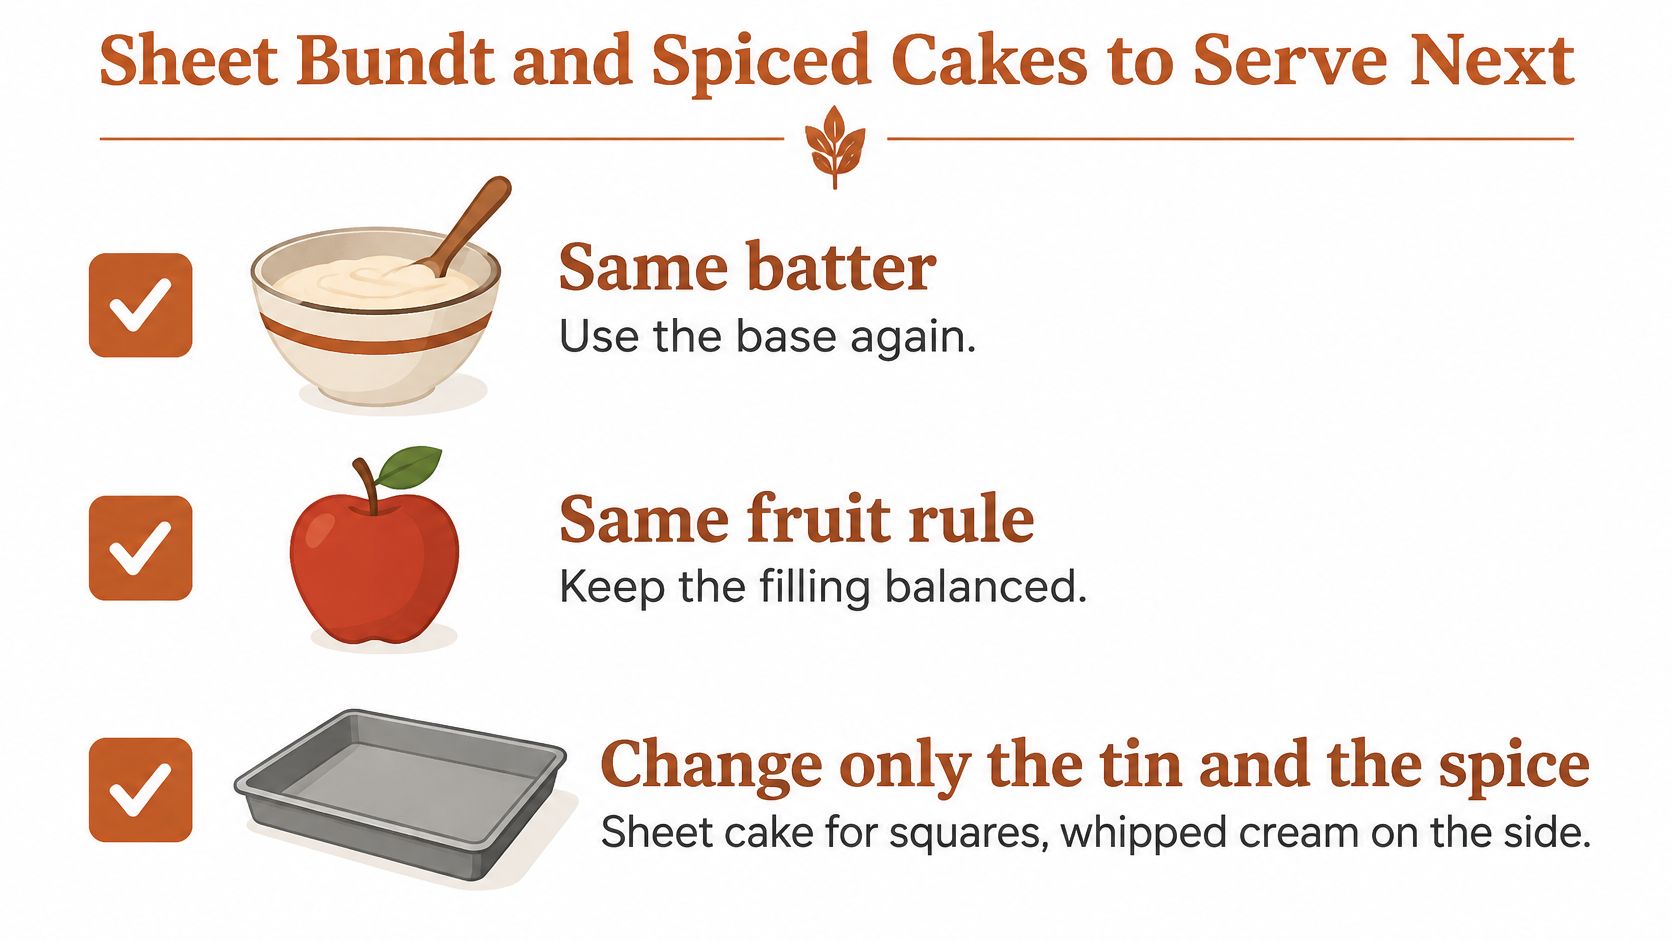
You don't need a new recipe for the next occasion. Keep the same batter logic, fruit rule, and crumb method, then change only the tin and, if you like, one spice. That restraint is what makes the variations reliable.
Decide by pan and occasion
A sheet cake is the gathering version. Bake one even layer, cool it in the tray, and cut squares that travel and serve without ceremony. A round cake suits a smaller table and gives you neater wedges. A Bundt looks special, but it needs the longest bake, thorough greasing, and a patient cool so the crown releases without tearing crumbs away.
For a spiced version, keep cinnamon as the base and add only a small pinch of nutmeg or a strip of lemon zest to the apples. A heavy spice blend covers the fruit and makes the cake taste generic. Apple should still be the first flavor you notice.
If you're moving between cake and bread baking, the approach is familiar. You knead your dough your way, place it in the device for fermentation and proofing, and then bake it in your own oven. The kit works with any recipe and any flour, including sourdough, pizza, artisan loaves, enriched doughs, and gluten-free doughs, and D'BakerAid is not a bread machine. For a grain based variation to try afterward, see our whole grain cake recipe.
Serve and store while crumbs stay dry
Serve the cake the same day if you can, slightly warm or at room temperature, with whipped cream beside it rather than melting on top. If dessert will be part of a fuller menu, you can explore wine pairings for sweet courses before you choose what to pour.
Cover leftovers and keep them at room temperature for a day or two, because the fridge softens streusel. Bring slices back to the counter before serving so the butter crumb doesn't taste hard. Freeze the cake whole or in squares, well wrapped, and thaw it uncovered so condensation doesn't steam the topping back into softness.
If a yeast based tray cake is your next bake, DBakerAid™ can control fermentation and proofing at home, while you still shape the dough and bake it in your own oven. That steady rise makes enriched bases easier to repeat when your kitchen temperature won't cooperate. Visit DBakerAid™ to see how the system fits the way you already bake.