

Most crusty bread advice is incomplete. It tells you to use a Dutch oven, keep the lid on, and hope for the best. That works sometimes for standard dough. It breaks down fast with high-protein dough, where a small miss in fermentation, proofing, or steam control turns a promising loaf into something dense, leathery, and disappointing.
A better crusty bread recipe starts by rejecting the usual trade-off. You shouldn't have to choose between bread that fits a high-protein lifestyle and bread that feels fresh, slices well, and develops a real crust.
Table of Contents
- The End of Compromise Protein Bread
- High Protein Bread By the Numbers
- The 10g-per-Slice Crusty Bread Recipe
- How the Machine Guarantees a Perfect Crust
- Recipe Variations and Serving Ideas
- Your High-Protein Bread Questions Answered
The End of Compromise Protein Bread
Bread is usually the first thing people cut when they're tracking macros. It isn't because they stopped liking bread. It's because most bread doesn't earn its place in a high-protein meal.
Store protein bread is the usual compromise. It gives you ~5 to 7g per slice, while plain white bread sits around ~2.5g per slice and whole wheat around ~3.5g per slice. The stronger homemade high-protein loaves in this category land around ~10 to 11g per slice, depending on recipe, protein brand, and slice thickness. That puts homemade bread at about 2× typical store protein bread and ~4× plain white on a per-slice basis.
That difference changes how bread functions in a meal. For macro-trackers and gym-goers chasing a ~30g protein meal, three slices of the right loaf can clear that target from the bread alone, depending on the recipe. That's a completely different use case from standard sandwich bread.
Practical rule: If bread contributes meaningfully to the meal's protein target, it stops being filler and starts being part of the plan.
The other compromise is cost. Shoppers often accept $6 to $8 store protein bread because they assume homemade versions are complicated or inconsistent. The better way to judge value isn't the bag price. It's cost per gram of protein. The verified recipe set here runs at ~2 to 3 cents per gram of protein, compared with ~5.2 cents for retail protein bread, or about half the cost per gram, depending on recipe and ingredients.
This is why high-protein bread has become a serious category. The US high-protein bakery market is about ~$1.49B in 2024 and projected to reach ~$2.25B by 2030 at 7.1% CAGR, with bread making up about 52%, or roughly ~$770M of the US sub-market. Globally, the category is projected from ~$4.8B to ~$9.3B by 2035, with the US representing ~33.5% of the global market.
The point isn't trend-chasing. It's that people still want bread. They just want bread that fits the way they eat now.
High Protein Bread By the Numbers
The fastest way to judge a high-protein crusty bread recipe is to ignore the front-label marketing and compare what lands on the plate. Protein per slice, protein per loaf, and cost per gram tell you almost everything you need to know.
Protein per slice is the real comparison
High-protein bread recipes built with vital wheat gluten plus protein powder can reliably reach 10g+ per slice, which is about double the 5 to 7g per slice found in commercial protein bread and about four times the ~2.5g in standard white bread, as shown in this high-protein bread breakdown.
Here's the practical comparison for this recipe family.
| Bread Type | Protein per Slice (approx.) |
|---|---|
| Plain white bread | ~2.5g |
| Whole wheat bread | ~3.5g |
| Dave's Killer / Kodiak | ~5 to 6g |
| Best retail protein bread | ~7g |
| D'BakerAid-style high-protein loaf | ~10 to 11g |
Within the five-recipe set, the numbers are tight and useful:
- Whey + Sprouted Wheat HERO gives ~170g protein per loaf, ~24g per 100g, ~10.6g per slice, and ~32g for a 3-slice meal.
- Vegan Pea + Whole Grain gives ~171g per loaf, ~24g per 100g, ~10.7g per slice, and ~32g for a 3-slice meal.
- Soy Multigrain Fitness gives ~170g per loaf, ~24g per 100g, ~10.7g per slice, and ~32g for a 3-slice meal.
- Seeded Whey + Flax gives ~163g per loaf, ~23g per 100g, ~10.2g per slice, and ~31g for a 3-slice meal.
- Collagen + Whole Wheat gives ~184g per loaf, ~26g per 100g, ~11.5g per slice, and ~34g for a 3-slice meal.
If you're comparing flours before you bake, this guide to flour protein content is useful because flour strength changes how well these formulas hold gas and shape.
Cost per gram matters more than sticker price
Protein powder is the cost driver, so this isn't one of those recipes where it makes sense to say the loaf costs pennies. It doesn't. But it does compare well where it matters.
Per loaf, the ingredient cost runs about:
- Soy at ~$3.56
- Pea at ~$4.04
- Whey at ~$5.04
- Collagen at ~$6.81
That works out to roughly ~$0.22 to $0.43 per slice, and about ~$0.67 to $1.28 for a 3-slice meal, depending on the protein used. The more important figure is the efficiency: ~2 to 3 cents per gram of protein at home versus ~5.2 cents in retail protein bread, or roughly 42% to 60% cheaper, which is fair to summarize as about half.
The honest framing is simple. Homemade isn't the cheapest bread. It's the cheaper protein.
What to expect from the loaf
A good high-protein loaf doesn't behave like airy white sandwich bread, and pretending otherwise only causes frustration.
Expect these trade-offs:
- The dough feels different. It's denser, stiffer, and slightly tacky.
- The rise looks smaller. It usually rises ~50 to 75%, not a full doubling.
- Color changes with protein choice. Whey and collagen stay closer to a normal cream crumb. Pea can look slightly grey-green and taste more beany. Soy tends tan and darker. Whole-grain versions brown more.
- The crumb is tighter. Not gummy if baked properly, but more uniform and heavier.
- The crust browns faster. That's helpful for a crusty bread recipe, but you need to manage the bake so the outside doesn't outrun the center.
Those are not flaws. They're the expected signs of a loaf designed to carry much more protein than regular bread.
The 10g-per-Slice Crusty Bread Recipe
High-protein bread fails for one predictable reason. Bakers treat it like regular lean dough, then wonder why the loaf bakes heavy, browns too fast, or tears at the sidewall. This formula works because the dough is built for protein first, then baked for crust.
The strongest starting point is the Whey + Sprouted Wheat HERO loaf. It delivers about ~170g protein per loaf, or ~10.6g per slice, with a milder flavor and better browning than pea or soy versions. For anyone trying to make "forbidden" bread fit a high-protein plan, this is the version that gives the best balance of taste, structure, and cost efficiency.
Ingredients and dough profile
The formula relies on whey isolate, vital wheat gluten, and bread or whole-wheat flour. That combination is what pushes the loaf into the ~10g-plus-per-slice range while still giving enough gluten strength to hold gas and slice cleanly. The trade-off is handling. The dough feels firm, slightly tacky, and resistant.
All five high-protein formulas are scaled as Pullman-style loaves at ~800g dough weight, yielding ~704g baked and about ~16 slices. That fixed loaf size is what makes the protein-per-slice math and cost-per-gram comparison hold up from one batch to the next.
Use the dough cues, not white-bread expectations. You want strength, even fermentation, and a loaf that cuts into consistent slices for meal prep.
Method
- Mix until no dry pockets remain and the dough looks uniform. High-protein dough punishes weak mixing. If the gluten and protein powders are not fully hydrated, the baked loaf shows dense streaks and fragile corners.
- Bulk ferment in controlled conditions. Time alone does not fix a stiff dough if temperature drifts. D'BakerAid controls the early stages with a Stage 1 yeast fermentation bowl, a Stage 2 dough proofing bowl, and a control hub that holds the process in range. That matters more with protein-heavy dough than with standard white bread because the margin for error is smaller.
- Stop bulk fermentation at a 50 to 75% rise. Waiting for a full doubling usually pushes this dough too far. You get weaker oven spring and a tighter top.
- Shape with real surface tension. Pull the outer layer tight enough that the loaf climbs upward in the pan instead of spreading and doming unevenly.
- Proof until the dough feels slightly springy. If it turns puffy and fragile, it is over-proofed for this style.
A high-protein dough should feel organized on the bench. Slack dough rarely bakes into a strong loaf.
Use the recipe app for the matched formula and timing, then handle the dough gently after bulk fermentation. The machine removes the hardest variable, which is repeatable fermentation in a dough that carries far more protein than standard bread. That consistency is what protects both texture and yield. It also protects the economics, because a failed loaf wipes out the cost-per-gram savings that make this recipe worth baking in the first place.
For steam timing and crust setup, follow the same principles covered in D'BakerAid's guide on how to bake with steam for better crust development.
A quick visual walkthrough helps if you want to see the dough texture before shaping:
Baking for crust without burning the loaf
For this loaf, use an initial 430°F for 30 minutes, then reduce to 400°F for 20 minutes. Bake until the center reaches at least 190°F.
That schedule solves the main trade-off in protein bread. The loaf needs enough early heat to set structure and support crust formation, but whey, gluten, and whole-grain components brown faster than standard artisan dough. Lowering the temperature for the second phase gives the center time to finish without pushing the crust too dark.
If you bake free-form, score cleanly and load with steam ready. If you bake in a Pullman or loaf pan, expect straighter sides, a more controlled bloom, and cleaner slices. That is usually the better choice for a loaf designed to deliver double-digit protein per serving.
How the Machine Guarantees a Perfect Crust
A real crust isn't just about heat. It's about heat plus moisture at the right moment, then dryness later. That's where most home crusty bread recipe advice goes off track.
Why most home crusts go wrong
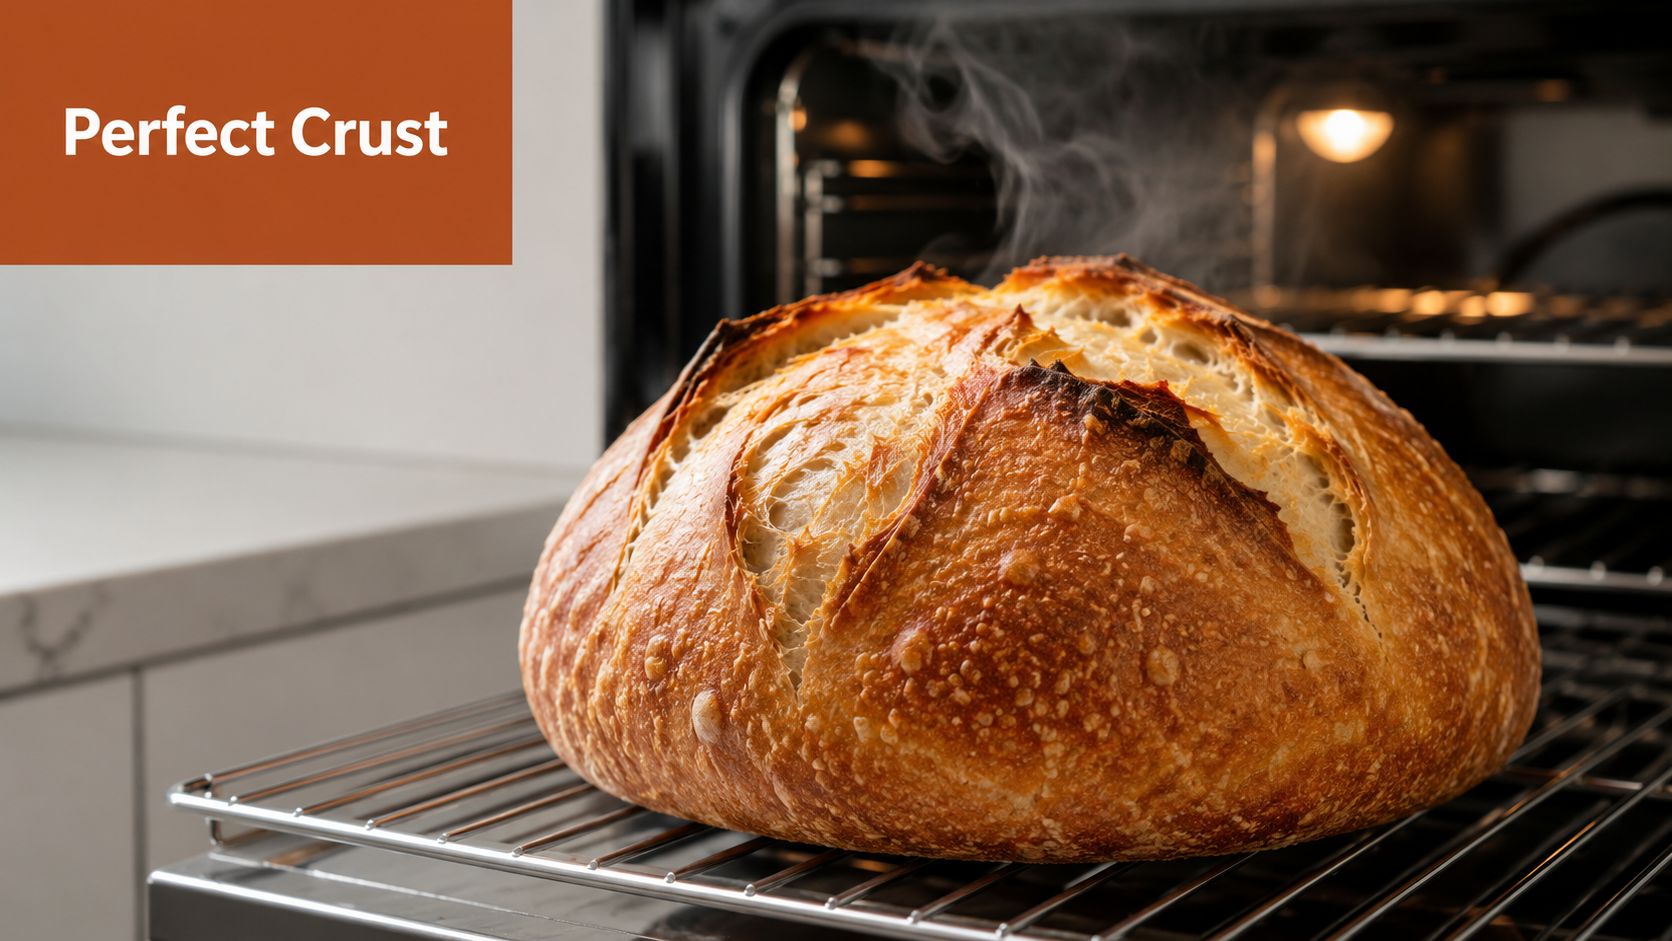
Home bakers often get told to trap steam with a lid and uncover later. The problem is that lid timing alone doesn't tell you whether the loaf experienced the moisture conditions it needed. As this crust and steam guide points out, bakers often miss a thin, shattering crust because recipes rely on the Dutch oven lid trick without explaining the critical 82 to 88% humidity threshold needed for proper crust formation.
That omission matters. If the surface dries too early, the loaf forms a hard shell before it finishes expanding. You don't get a delicate crust. You get resistance.
What controlled steam changes
The science is straightforward. A crusty loaf needs 82 to 88% relative humidity during the first 10 to 12 minutes of baking. A common manual method is a Dutch oven preheated to 450°F, usually with a covered phase first. If you miss the steam window or use a vessel that isn't properly preheated, oven spring can drop by 40% to 60%, and the crust turns thick and leathery instead of thin and brittle, according to this small-batch crusty bread method.
That requirement gets even more important with high-protein dough. These doughs don't have the same margin for error as a conventional white boule. They need help staying extensible at the surface while the interior expands.
Steam buys the loaf time. Without it, the outside sets before the inside finishes its work.
A controlled steaming setup earns its keep. D'BakerAid's optional D'Steamer is built to create the same humidity range that bakers usually try to approximate manually. Instead of guessing whether a hot tray, a lid, or a spritz bottle created enough moisture, the system targets the actual condition that matters. If you want the practical baking mechanics behind that, this article on how to bake with steam is worth reading.
The result isn't magic. It's repeatability. A thin crust, better expansion, and less trial-and-error, especially with loaves that are harder to ferment and proof by feel alone.
Recipe Variations and Serving Ideas
The hero loaf is whey-based, but the format is wider than that. Different protein sources change the flavor, color, and feel of the crumb, so the best version depends on how you're planning to eat it.
Protein options that change the loaf
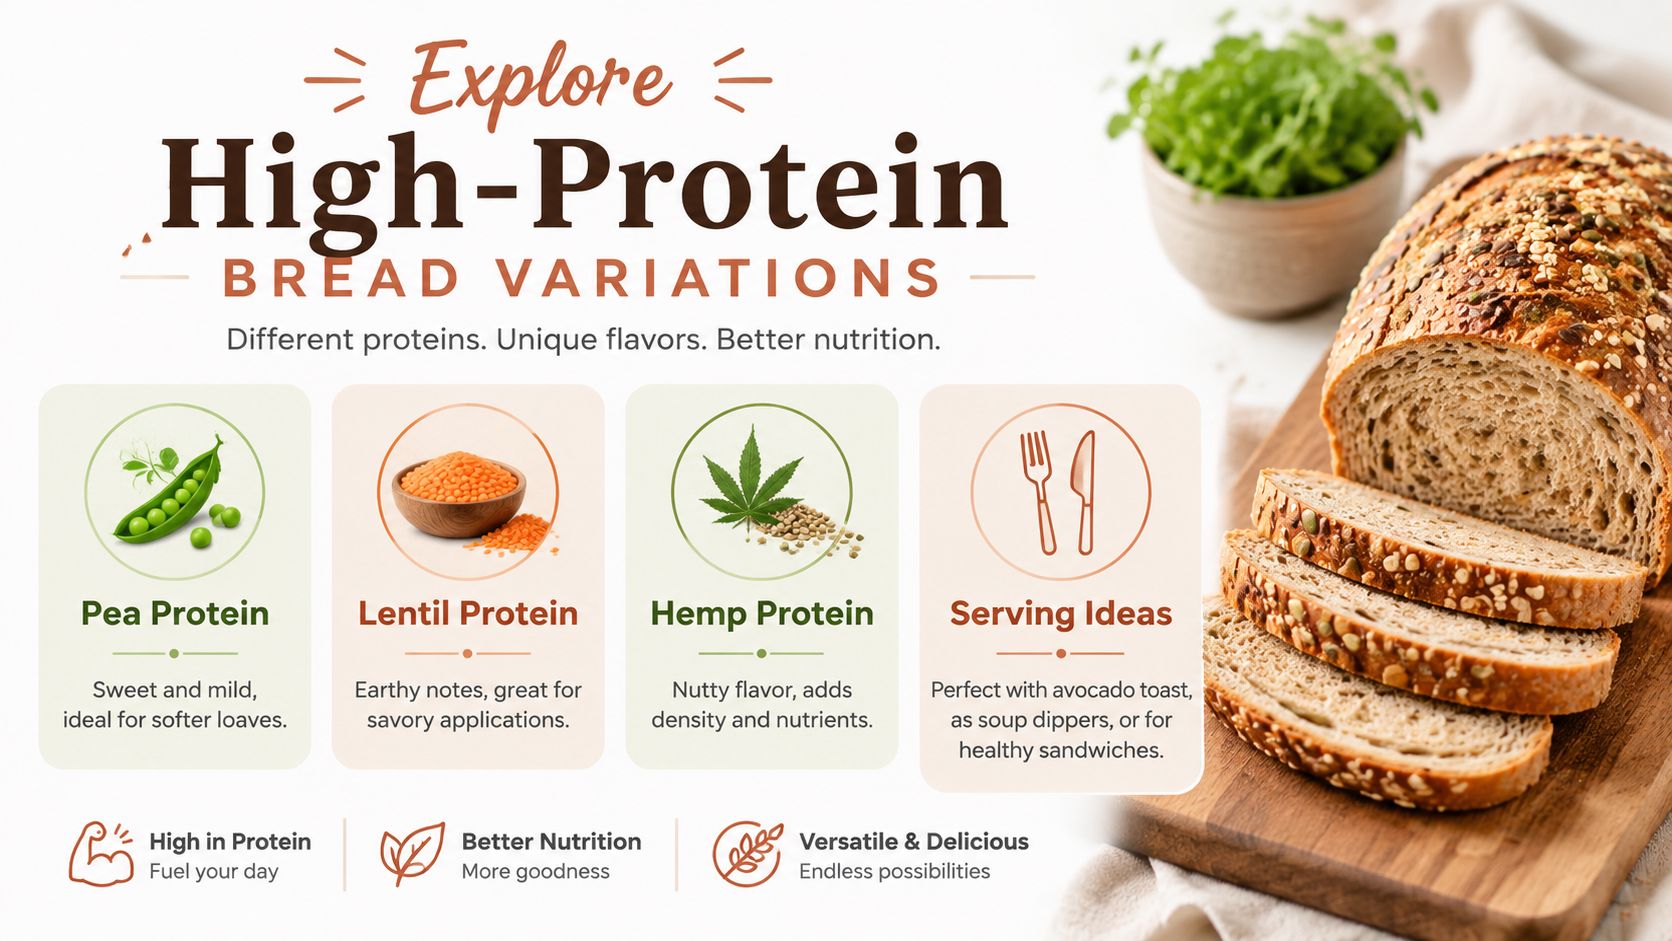
The five core directions are straightforward:
- Whey + Sprouted Wheat HERO works best if you want the most familiar flavor.
- Vegan Pea + Whole Grain is the plant-based option with a mild but slightly earthier profile.
- Soy Multigrain Fitness bakes darker and brings a more grain-forward finish.
- Seeded Whey + Flax leans savory and works well when you want texture.
- Collagen + Whole Wheat produces the highest protein-per-slice figure in the set, though collagen shouldn't be framed as a sports-protein hero.
The crust itself still follows the same rule. A crusty exterior depends on 82 to 88% humidity early in the bake, then a dry finish so the loaf sets crisp. Fully baked loaves should reach at least 200°F internal temperature for complete bake-through and crumb structure.
If you like experimenting with nonstandard flour blends, this guide to chickpea flour bread is a useful contrast because it shows how quickly formula changes affect texture expectations.
Easy ways to use it through the week
For people tracking macros, the simplest use is still the best. A 3-slice meal clears the common ~30g protein target with several of these loaves from the bread alone, depending on the formula. That can mean toast plus eggs, a stacked sandwich, or slices served alongside soup.
A few practical serving notes help:
- Slice after full cooling. The crumb is tight and clean-cutting once set. Slice too early and you compress it.
- Use thinner slices for toast, thicker for sandwiches. Denser loaves eat better when the slice matches the job.
- Store for structure, not just freshness. Wrap once fully cool. If you package bread for gifting or small-batch sales, this guide to food paper for Australian businesses is a useful reference for clean, functional wrapping options.
- Choose the protein by use case. Whey for neutral sandwiches, pea or soy for savory toppings, seeded versions for soup or open-face toast.
The best serving idea is the one you'll repeat on a weekday. High-protein bread only helps if it's easy to reach for.
Your High-Protein Bread Questions Answered
How much protein is in this bread
Depending on the recipe, protein brand, and slice thickness, the loaves here run about ~10 to 11g per slice, ~170g per loaf, and roughly ~24g per 100g. That's why they work for a high-protein lifestyle in a way regular bread usually doesn't.
Is it gluten-free
No. These recipes are not gluten-free. They're explicitly high-gluten because they use wheat flour and vital wheat gluten.
There is a separate gluten-free recipe range in the D'BakerAid app, but those loaves are different formulas and are not the high-protein loaves discussed here.
How much does it cost to make
About ~$0.22 to $0.43 per slice, depending on the protein used. A 3-slice meal runs about ~$0.67 to $1.28.
The honest value claim isn't cheap bread. It's that the loaf comes out to about half the cost per gram of protein versus retail protein bread.
What protein can you use
The dedicated recipe set supports whey, pea, soy, and collagen, each with its own matched formula. That's important because each protein changes water absorption, dough strength, browning, and flavor.
If you're choosing based on eating style, whey is the easiest entry point, pea and soy cover the plant-based route, and collagen works best as a specific variation rather than the default.
Will it taste like protein powder or feel dense
It will be slightly denser and softer-crumbed than airy white bread. That's normal. The flavor is generally mild, especially in the whey and collagen versions.
Color and aroma depend on the protein source. Pea can read a bit more beany, soy darker and more grainy, and whey closer to standard bread.
Do you need baking skill
Not much. The difficult part of high-protein bread isn't stirring ingredients together. It's controlling fermentation, proofing, and early-bake steam well enough to get consistent results.
That last part matters for crust. Expert crust methods require 82 to 88% humidity during the first 10 to 12 minutes of baking, often using a Dutch oven preheated to 450°F. When bakers miss that steam phase, oven spring can drop by 40% to 60% and the crust turns thick and leathery instead of shattering crisp.
Fresh bread doesn't need to be the thing you "cheat" with. If you want a loaf that fits a high-protein routine and still bakes like real bread, take a look at DBakerAid™. For step-by-step formulas, start with the recipe library at See the high-protein recipes.