

Most recipes tell you to let this dough double, then bake on the clock. Don't trust either instruction. Cherries bring sugar and fruit acids, chocolate brings fat, and both add weight that hides expansion and weakens gluten, so chocolate cherry sourdough bread can look underdone when it's ready and ready when it's already past its best.
I judge this loaf by dough temperature, volume gain, surface bubbles, and how it handles. That approach is slower to learn than setting a timer, but it's repeatable. You'll get better rise, cleaner chocolate pockets, and fewer gummy streaks around the fruit.
Table of Contents
- Ingredients and Weights for One Chocolate Cherry Loaf
- Starter Care and Timing Before You Mix
- Mixing, Resting and Folding in the Chocolate and Cherries
- Bulk Fermentation, Shaping and Cold Proof
- Baking for an Open Crumb Without Scorched Chocolate
- What Sourdough Changes and What It Does Not
- Troubleshoot Your Loaf and Plan the Next Bake
Ingredients and Weights for One Chocolate Cherry Loaf
This formula makes one dough of about 985 g built on 500 g total flour, counting the flour inside the starter. It's at 75% hydration, with about 20% combined inclusions by flour weight. That keeps the fruit and chocolate noticeable without closing the crumb.
| Ingredient | Weight | Baker's percentage |
|---|---|---|
| Bread flour | 450 g | 90% |
| Active starter (100% hydration) | 100 g | 20% |
| Water | 325 g | 65% |
| Fine sea salt | 10 g | 2% |
| Semisweet or dark chocolate, chopped | 50 g | 10% |
| Dried tart cherries, drained and blotted | 50 g | 10% |
| Total dough | 985 g | 197% |
Weigh and prep before you mix
Use bread flour at about 12 to 13% protein. Weaker flour can bake a plain loaf, but it struggles once chocolate cuts into the gluten network and cherries add dead weight. Weigh starter from a jar fed 4 to 12 hours earlier and use it near peak, not after it has collapsed.
Chop semisweet or dark chocolate into small, even pieces of about 5 to 8 mm. Large chunks melt into weak pockets and can tear the surface during shaping. Tiny shards and dust streak the whole crumb brown, so shake off the dust if you want distinct pockets.
Dried cherries need the opposite treatment from fresh fruit. If they're hard, rinse or briefly soak them, then drain and blot them thoroughly. Surface water raises hydration in patches and creates gummy lines around each cherry. I spread them on a towel while the flour hydrates.
Published formulas vary widely. One comparison notes formulas using 84 g dried cherries and 100 g chocolate versus another using 160 g of each, in the Farmhouse on Boone recipe discussion. My 50 g of each is a moderate middle path, enough flavor without turning shaping into repair work. A long schedule is also normal here. The 2025 Dark Chocolate-Cherry Sourdough recipe from The Perfect Loaf produces 2 loaves with a total dough weight of 1,800 grams, 75.0% hydration, and a 25-hour total preparation time.
Before you feed the starter, weigh everything, chop and chill the chocolate, blot the cherries, and set out salt, parchment, a floured basket, and a thermometer.
Starter Care and Timing Before You Mix
Your starter sets the schedule. If it's sluggish, no fold schedule will rescue the loaf, because the inclusions give weak fermentation nowhere to hide.
Signs it's ready
A ready starter has doubled within about 4 to 12 hours of feeding. Its surface is domed and bubbly, not soupy or flat. It should smell tangy and fruity rather than sharp like solvent. Use it at peak or just before it falls.
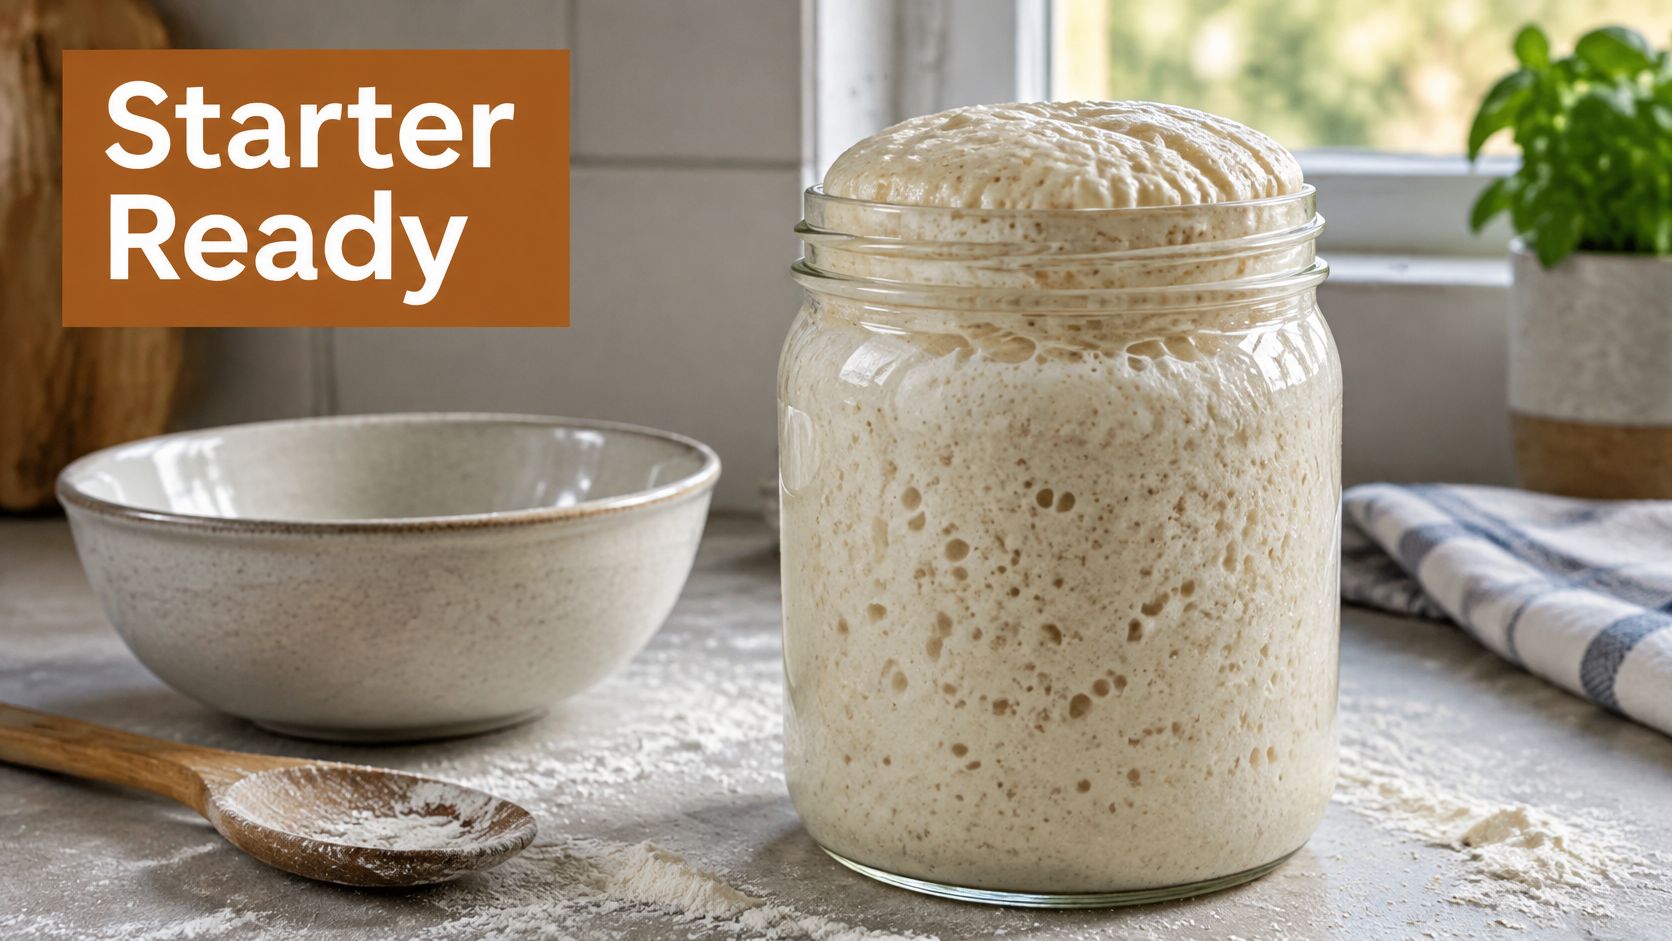
- Discard down to 34 g of starter.
- Feed 33 g bread flour and 33 g water at 24 to 26°C, about 1:1:1 by weight, giving about 100 g.
- Mark the jar level with a rubber band.
- Cover loosely and leave it at room temperature.
- Mix when it's at peak, usually 4 to 8 hours later.
The biology is simple. Wild yeast makes carbon dioxide that the gluten network traps for volume, while lactic-acid bacteria produce acids that shape flavor, structure, and keeping quality. This system is old. The PMC review of sourdough history and fermentation notes sourdough has been used for more than 5,000 years, with leavened bread in Switzerland dating to over 5,000 years ago and deliberate development commonly associated with ancient Egypt.
If you're starting from scratch, we use Sourdough mode at 27°C with rye flour and water at 50:50 by weight, and most starters are bake-ready within 5 to 7 days. Plan a week before your first bake. For routine feeding ratios and recovery steps, our sourdough starter maintenance guide gives the full routine.
A starter that peaks much later than 12 hours isn't late. It's hungry or cold.
Feed it again and wait. Mixing with a tired starter stretches bulk fermentation, and long exposure to fruit sugar and acid makes the dough harder to judge.
Mixing, Resting and Folding in the Chocolate and Cherries
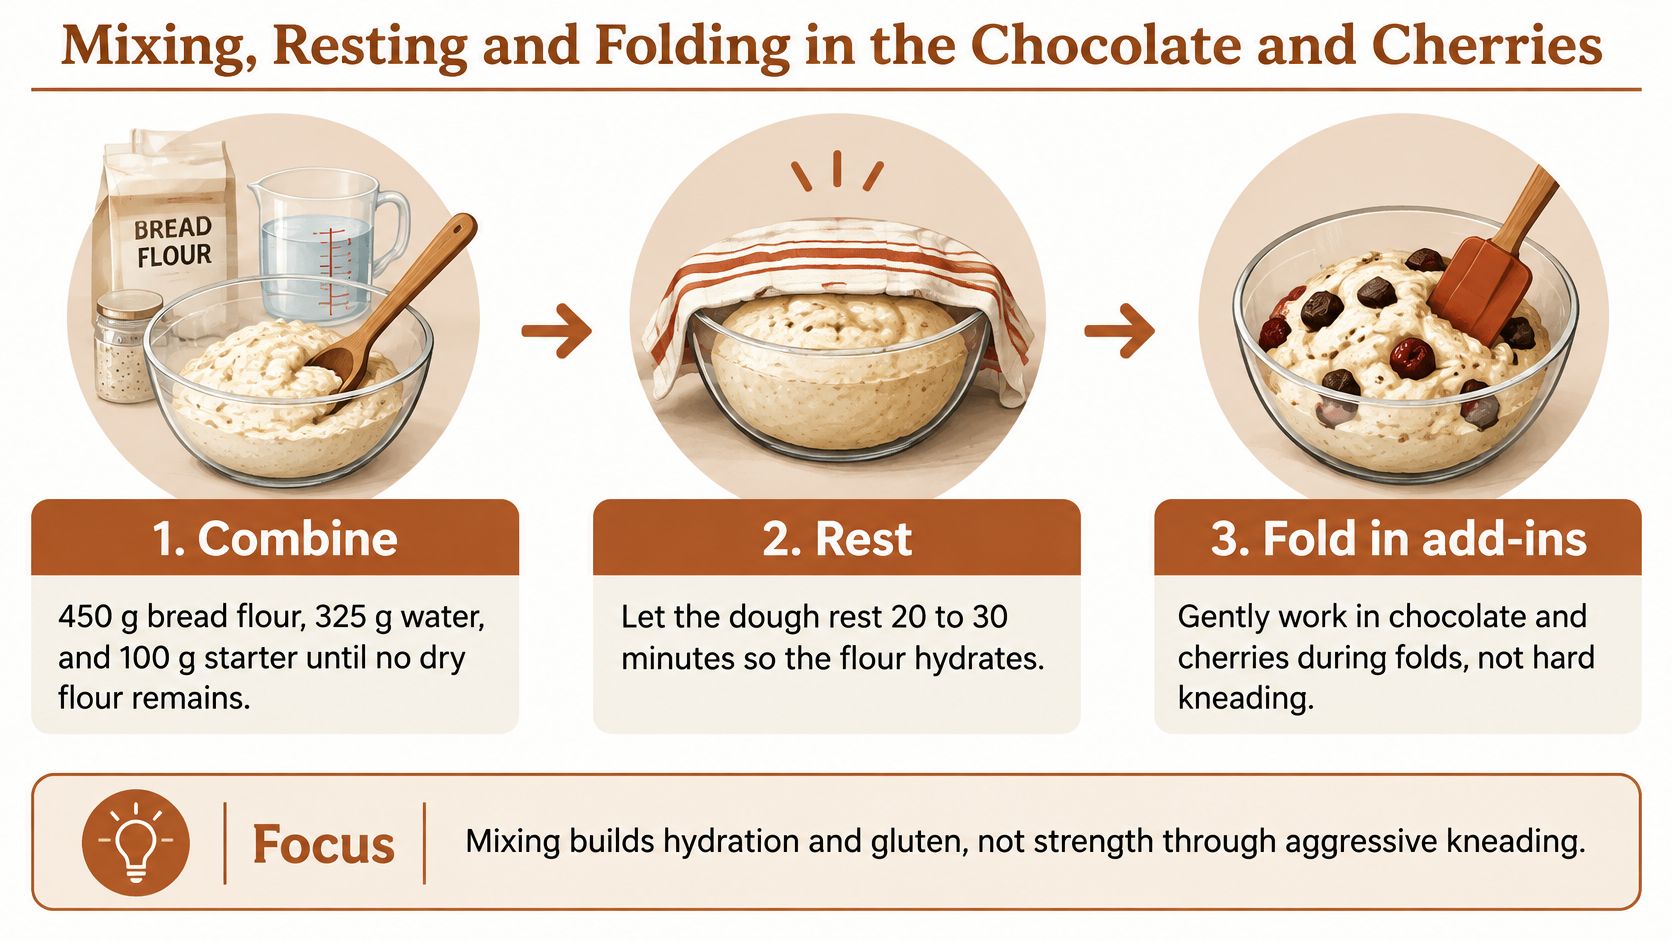
Mixing this dough is about hydration and gluten development, not hard kneading. You're building a network strong enough to hold gas and inclusions, then stopping before you tear it.
The sequence
- Combine 450 g bread flour, 325 g water, and 100 g starter until no dry flour remains.
- Rest 20 to 30 minutes, covered.
- Sprinkle 10 g salt over the dough, then pinch and fold it in until absorbed.
- Do three to four gentle stretch-and-folds during the first 2 to 3 hours of bulk fermentation, about 30 minutes apart.
- At the second fold, scatter the chopped chocolate and drained cherries over the dough and fold them in with 8 to 10 gentle turns.
- Finish the remaining folds with nothing else added.
Use wet hands and pull one side up until you feel resistance, then fold it to the center. Turn the bowl and repeat around all four sides. Our stretch and fold technique guide shows the hand position if your dough keeps tearing.
A well-mixed dough feels smooth, slightly tacky, and elastic. Pinch off a small piece and stretch it gently. It should thin into a translucent window before it tears. Don't chase a perfect windowpane after the inclusions go in, because chocolate edges will puncture the film even in a strong dough.
Expect this dough to feel heavier and tighter than plain sourdough. Cherries don't stretch, chocolate doesn't absorb water, and both interrupt the sheet of gluten you're trying to form. That resistance is normal. Slackness, tearing, and a soupy surface are not.
Three slips that damage structure
- Adding cherries at the first mix: They tear early gluten and bleed color through the dough as you keep working it.
- Using warm, soft chocolate: It smears fat across the gluten strands and suppresses structure instead of staying in pockets.
- Kneading hard after inclusions: You'll tighten the dough, pop the surface, and push cherries and chocolate toward the outside.
I keep the chopped chocolate in the fridge until the second fold. Cold pieces distribute cleanly, and you won't spend the next fold scraping brown paste off your hands.
Bulk Fermentation, Shaping and Cold Proof
Temperature and dough signs run this stage, not the clock. Aim for dough near 25°C, where acidity builds at a pace you can manage. A warmer kitchen shortens your window, and a cooler one stretches it, which is why the same recipe can behave differently in July and January.
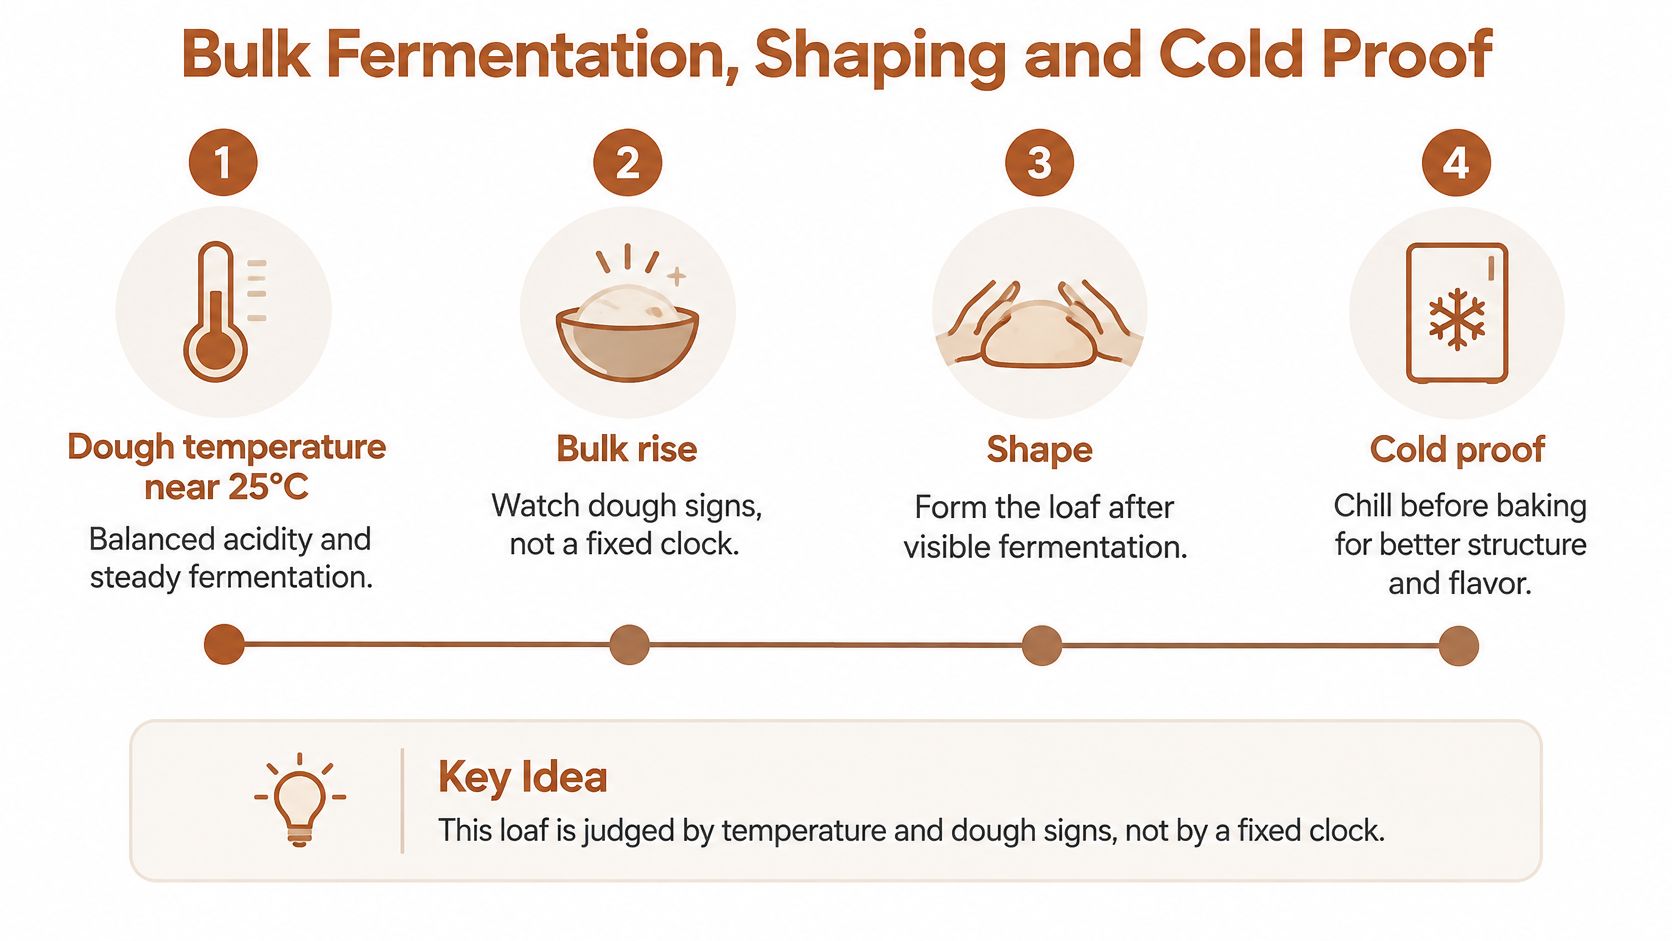
The PMC study on sourdough fermentation temperature found sourdough reached an optimum pH in approximately 11 hours at 25°C versus 9 hours at 35°C. Don't use double in volume as your test. Heavy inclusions, sugar, and fruit acids can slow apparent expansion and weaken gluten, so shape at about 50 to 75% rise with aerated edges and retained strength.
| Checkpoint | Under-fermented | On target | Over-fermented |
|---|---|---|---|
| Volume | Below about 50% | About 50 to 75%, edges aerated | Flat or collapsing after rising |
| Surface and edges | Smooth with few bubbles | Domed, bubbly, aerated edges | Sticky, slack and streaky |
| Handling | Tight, springs back hard | Stretchy, holds a window | Slumps and loses shape |
| Indentation test | Springs back fast | Springs back slowly, faint dent | Dent stays and does not recover |
Shape, then chill
Pre-shape gently into a round and rest about 20 minutes. Shape tightly without tearing, seal the seam, and place it seam-up in a floured basket or lined bowl. If cherries poke through, push them back in and pinch dough over them, because exposed fruit scorches and leaks.
Refrigerate for the cold proof and check with a gentle indentation. You want the dent to spring back slowly and leave a faint mark. Sourdough uses a longer dedicated proofing program, and whole-grain, gluten-free and traditional sourdough recipes may need longer than the standard times, so variable windows are expected.
Practical rule: If the dough is slack, sticky, and spreading flat after rising, the window has passed.
That dough won't recover in the oven. Bake it in a pan or as focaccia instead of expecting an open, tall boule.
Baking for an Open Crumb Without Scorched Chocolate
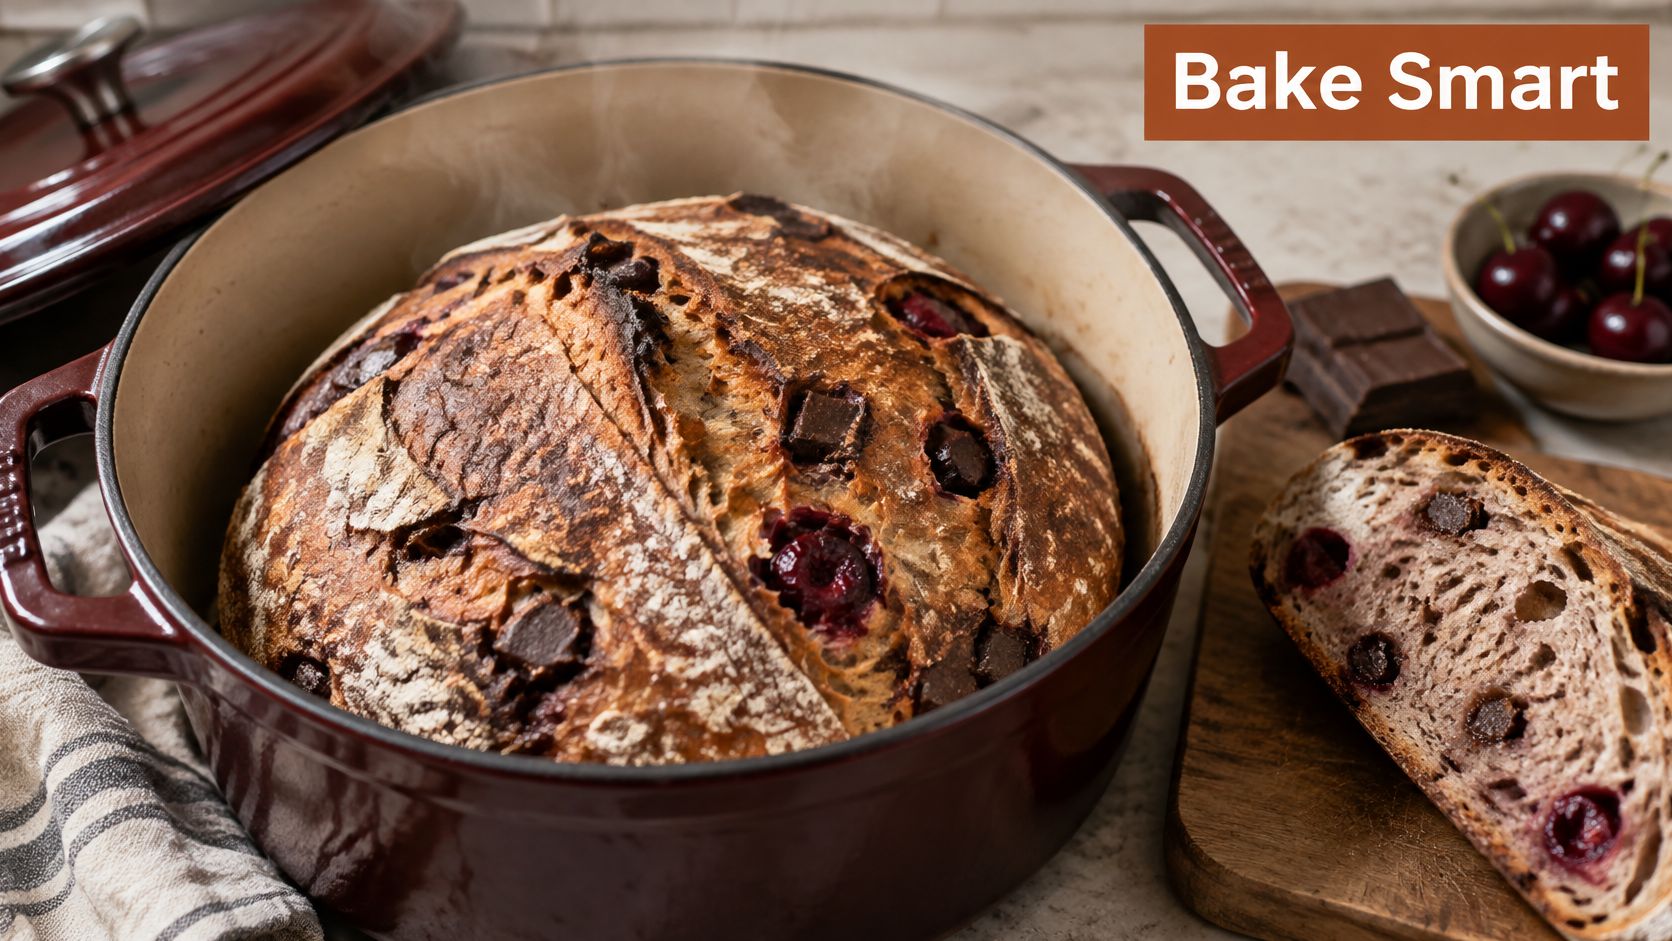
Steam early, dry heat late. The covered phase delays crust setting so the loaf can expand, and the uncovered phase browns the crust and sets the crumb. In this loaf, color lies: cherry sugars caramelize early and exposed chocolate darkens well before the center is done.
Bake steps
- Preheat a covered Dutch oven at 245°C for 45 to 60 minutes so the pot holds enough heat to spring a cold loaf.
- Turn the dough onto parchment, score about half an inch deep, and lower it into the pot.
- Cover and bake 20 to 25 minutes at 230 to 245°C. The score should bloom open; dough straight from the refrigerator usually needs the full window.
- Uncover, lower the oven to 210 to 220°C, and bake until browned.
- Check that the crumb reaches 96 to 99°C with an instant-read thermometer.
- Cool at least 2 hours before slicing.
Treat the covered window as a range: a loaf that has barely sprung by 15 minutes gets the full 25. I pull the loaf when the crumb hits 96°C and the crust is deep brown, whichever comes second.
This walkthrough shows the scoring angle and lid timing in real time.
Chocolate on exposed surfaces darkens fastest. Once the lid comes off, check every few minutes and lay a loose foil tent over the loaf if surface pieces turn matte-black. Extending the covered phase to protect them trades scorching for a soft crust, since trapped humidity softens it.
| Stage | Oven temperature | Time | What to check |
|---|---|---|---|
| Covered bake | 230 to 245°C | First 20 to 25 minutes | Score opens and the loaf springs |
| Uncovered finish | 210 to 220°C | Until deeply browned | Chocolate on exposed surfaces is not scorching |
| Internal check | 210 to 220°C | At the end of the bake | Crumb reads 96 to 99°C |
| Cooling | Room temperature | At least 2 hours | Crumb has set before slicing |
Cutting early releases steam and compresses still-soft crumb around melted chocolate, so the loaf looks gummy even when baked correctly. If the crust darkens before the center reaches 96°C, tent sooner next bake or hold the finish nearer 210°C.
What Sourdough Changes and What It Does Not
Fermentation changes flavor and structure. It doesn't cancel chocolate, dried fruit, or sugar.
Consumer expectations run ahead of that distinction. The Puratos consumer trends report states 58% of consumers believe sourdough makes bread healthier and 70% say it improves flavor. The flavor part is easy to taste. The health conclusion depends on the whole recipe, portion, and what you eat with it.
Sourdough fermentation lowers pH, builds tang, and helps the dough hold its structure. It doesn't remove the fat from chocolate or the concentrated sugars in dried cherries. Compared with plain sourdough, this loaf has higher energy density and a different carbohydrate profile, so a thick slice is closer to a dessert-style portion than a neutral sandwich slice.
I handle it with portion and pairing, not promises. Cut thinner slices, toast them well, and pair a slice with yogurt, cheese, eggs, or another protein-and-fat food instead of stacking sweet spreads on top.
Your main recipe lever is inclusion level. Dropping chocolate and cherries within the moderate range lowers sugar and fat while keeping the identity of the loaf. Adding more fruit for sweetness and calling fermentation a balance doesn't work.
Treat chocolate cherry sourdough bread as a flavor bake. Its nutrition depends on your flour, inclusions, slice thickness, and serving context, and I wouldn't position it as a diet food.
Troubleshoot Your Loaf and Plan the Next Bake
Most failures with this loaf come from water and timing, not from the flour. Wet cherries, soft chocolate, and bulk judged by the clock explain the majority of flat or gummy results. Use our sourdough bread troubleshooting guide if your symptom doesn't match the table.
| Symptom | Likely cause | Fix |
|---|---|---|
| Gummy streaks through the crumb | Wet cherries or underbaking | Drain and blot cherries; bake to 96 to 99°C |
| Chocolate burnt on top | Exposed pieces and late high heat | Tent loosely with foil after the covered phase |
| Flat, dense loaf | Over-proofed dough | Shorten the cold proof and check the indentation test earlier |
| Small, tight loaf | Under-fermented dough | Extend bulk in 30-minute checks until volume reads 50 to 75% |
| Smeared, dark chocolate streaks | Warm or soft chocolate | Chill the chocolate and add it at the second fold |
| Slack, sour dough | Over-fermentation | Cut bulk time and keep dough near 25°C |
| Sluggish starter | Cold kitchen or hungry jar | Feed 1:1:1 twice daily and wait for peak before mixing |
Choose one fix for the next bake
If the first loaf is gummy, drop the cherries to about 40 g and bake fully to temperature before changing anything else. That keeps total inclusions near 18% of flour weight and removes the biggest moisture variable. If the loaf is flat, shorten the cold proof and test the indentation earlier, rather than cutting bulk first. If it's small and tight, extend bulk in 30-minute checks until the dough signs are right.
Plan the next schedule backwards. Feed the starter the night before, mix in the morning, hold bulk near 25°C, add inclusions at the second fold, and finish with an overnight cold proof. Sourdough mode holds 27°C steady, runs by design for up to 24 hours, and is safe for unattended overnight operation, which helps when your kitchen temperature swings.
Change one variable at a time and write it down. You'll learn faster from one measured adjustment than from a new recipe.
If temperature swings make your starter and bulk proof unpredictable, DBakerAid™ offers a controlled system for yeast activation and dough proofing before you bake in your own oven. It's a useful fit for loaves like this one, where holding fermentation steady matters more than adding hands-on work. Visit the site to see the sourdough programs and recipe support before your next bake.